
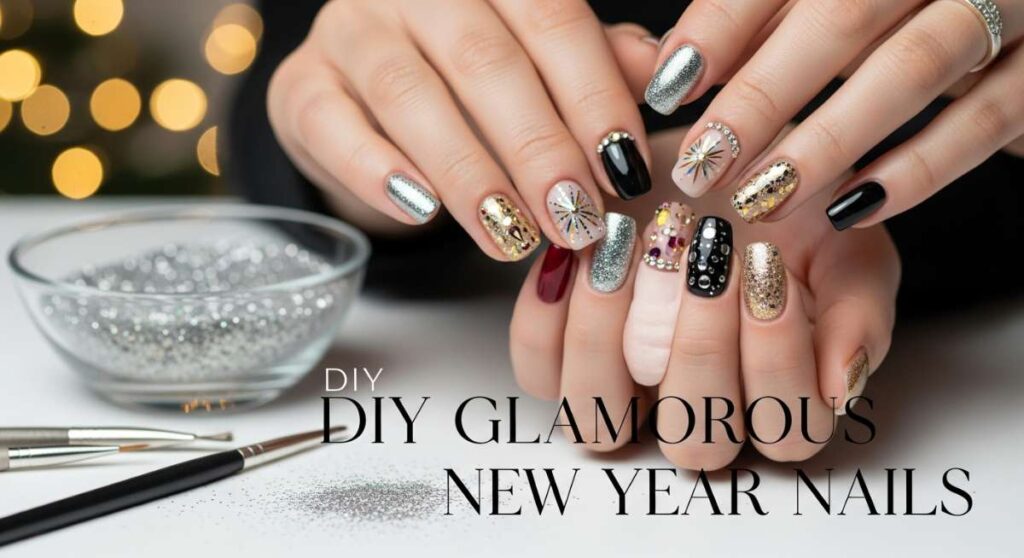
Sparkle Into the New Year: DIY Glamorous Nail Art for Any Celebration
Oh, my loves, can you feel that magic in the air? The year is softly folding its pages, and as we look toward the horizon of a brand-new beginning, I want to wrap you all in a warm, cloud-soft embrace. There is something so poetic about the transition into the New Year—it’s a time for reflection, for dreaming, and of course, for adding a little bit of extra twinkle to our lives. I’ve always believed that our hands tell our story, and what better way to welcome fresh adventures than with fingertips that catch the light like fallen stars?
I know how busy these days can be, between the cozy gatherings and the quiet moments of gratitude, so I’ve gathered my favorite DIY secrets to help you achieve that salon-worthy glow right from the comfort of your favorite armchair. Think of this as our little tea date, where we share the secrets to feeling absolutely radiant. Grab your favorite mug of cocoa, find a sunny spot, and let’s dive into the world of glamorous nails that are as easy to create as they are beautiful to behold.
4 easy steps to apply GLITTER nails

Why to love this Design:
Glitter nails are like a celebration you can carry with you everywhere you go! They have this wonderful way of lifting your spirits every time you catch a glimpse of them while typing or holding a warm cup of tea.
Essential Elements:
- Fine loose glitter or glitter polish
- A small makeup sponge
- Clear top coat
- Cuticle protector or liquid latex
How to Prepare:
- Apply a base coat and let it dry completely to protect your natural nails.
- Paint the glitter onto the edge of a makeup sponge rather than directly on the nail for maximum density.
- Dab the sponge onto your nail until you reach your desired level of sparkle.
- Seal the magic with a thick layer of glossy top coat to ensure a smooth, snag-free finish.
Budget Range
- Holo Taco Loose Glitter: $8.00
- Wet n Wild Clear Shine: $2.50
- Generic Makeup Sponges (10-pack): $4.00
3 simple ways to get CHROME nails
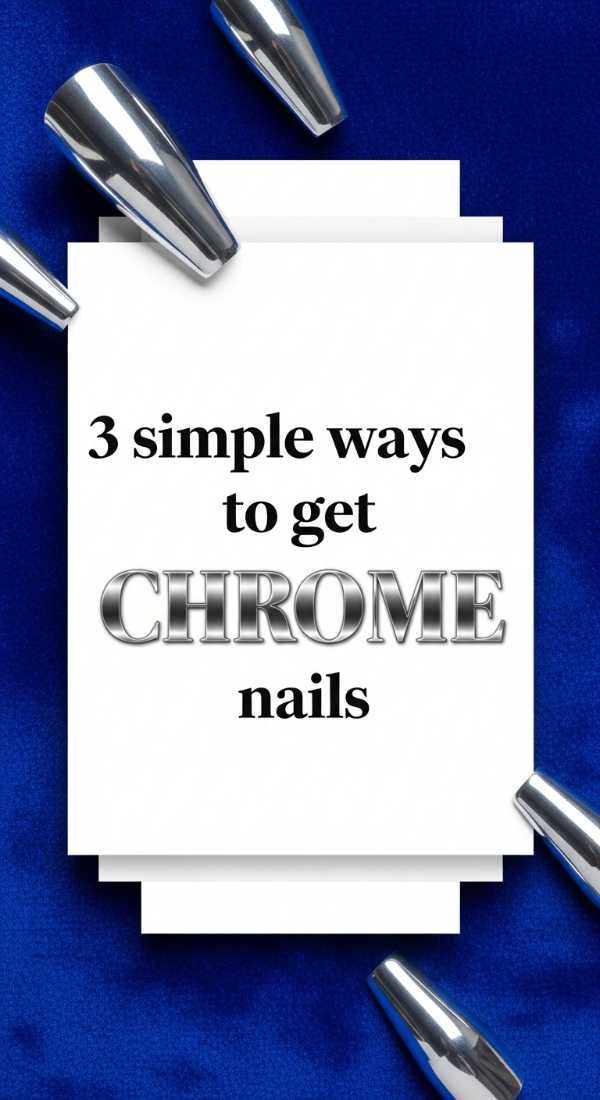
Why to love this Design:
There is a modern, sophisticated elegance to chrome nails that feels like wearing liquid moonlight. They are sleek, reflective, and give your hands such a high-fashion look with very little effort.
Essential Elements:
- Chrome pigment powder
- No-wipe gel top coat
- Silicone applicator or eyeshadow stick
How to Prepare:
- Apply your base color (black makes chrome pop!) and cure a no-wipe top coat until it’s just slightly tacky.
- Use the silicone tool to buff a tiny amount of chrome powder onto the nail surface until it turns into a mirror.
- Gently brush off excess powder and seal with one final layer of top coat.
Budget Range
- Artdone Mirror Powder Kit: $12.00
- Beetles No Wipe Gel Top Coat: $7.99
- SunUV LED Lamp: $22.00
5 quick tips for perfect PARTY nails

Why to love this Design:
Party nails are all about durability and impact! You want a look that can survive the midnight countdown, clinking glasses, and maybe even a little dancing under the confetti without losing its luster.
Essential Elements:
- High-quality primer
- Strengthening base coat
- Rich, festive jewel-tone polish
- Fast-drying top coat
- Nail oil pen
How to Prepare:
- Dehydrate the nail plate with a quick swipe of alcohol to ensure the polish grips perfectly.
- Apply very thin layers of color, allowing each to dry for at least two minutes.
- Cap the free edge (the very tip of your nail) with polish to prevent early chipping.
- Apply a fast-dry top coat to lock everything in place before you head out.
- Keep a nail oil pen in your clutch to keep your cuticles looking hydrated and fresh all night.
Budget Range
- Essie Gel Couture Color: $13.00
- Seche Vite Fast Dry Top Coat: $9.50
- Cuccio Revitalize Oil: $7.00
6 easy steps for NEW YEAR nail designs
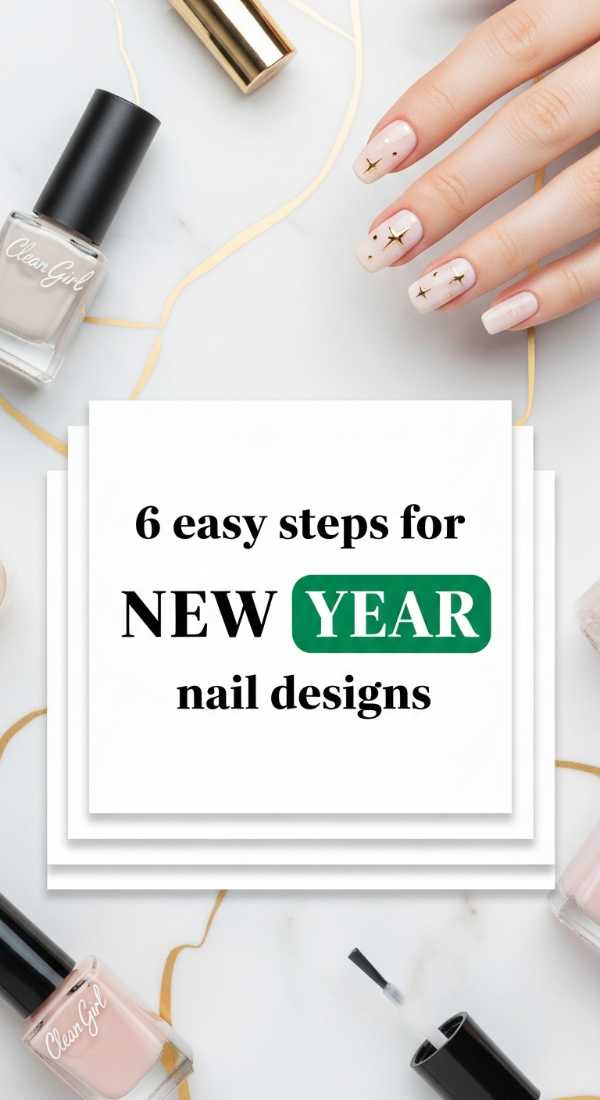
Why to love this Design:
These designs are the ultimate way to express your personality! Whether you love tiny stars or elegant clock faces, creating a custom New Year design feels like setting an intention for the months to come.
Essential Elements:
- Striper brush (very thin)
- Dotting tools
- Gold and silver metallic polishes
- Nail decals (optional)
- Matte or glossy top coat
- Tweezers
How to Prepare:
- Start with a neutral base color like a soft nude or a deep midnight blue.
- Use the striper brush to draw thin lines radiating from a corner to create a firework effect.
- Place tiny dots of gold at the center of your fireworks using the dotting tool.
- Apply small star decals using tweezers if you want extra precision.
- Allow the art to dry for at least 10 minutes to avoid any smearing.
- Finish with your preferred top coat to protect your miniature masterpiece.
Budget Range
- Winstonia Nail Art Brushes: $9.00
- Sally Hansen Insta-Dri Gold: $6.00
- New Year Decal Sheet: $5.00
4 minutes to achieve flawless GLAM nails
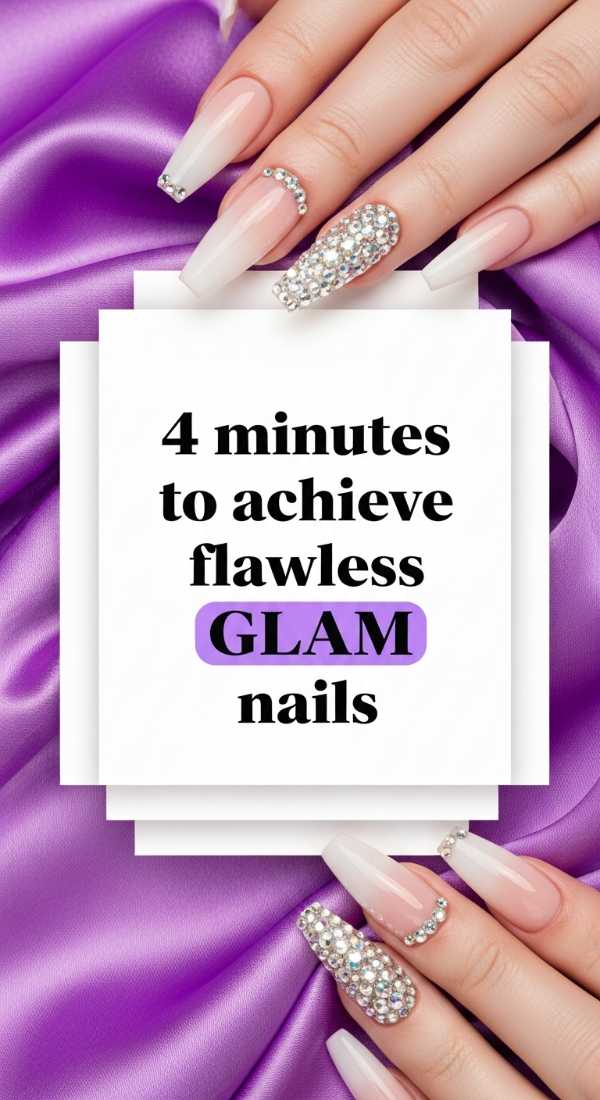
Why to love this Design:
Sometimes we are in a rush, but we still want to feel like royalty! This method focuses on high-impact simplicity, giving you a polished, glamorous look in the time it takes to brew a pot of tea.
Essential Elements:
- Press-on nail kit
- Nail glue or adhesive tabs
- Nail file
- Buffer block
How to Prepare:
- Lightly buff the surface of your natural nails to create a bit of texture for better grip.
- Size the press-ons to each finger before applying any glue.
- Apply a small drop of glue to the press-on and hold it firmly against your nail for 30 seconds.
- File the edges for a custom fit that looks exactly like a professional manicure.
Budget Range
- KISS imPRESS Color Press-ons: $8.99
- Static Nails Reusable Pop-On: $16.00
- Makartt Nail Glue: $6.00
3 secret tricks for extra SPARKLY nails
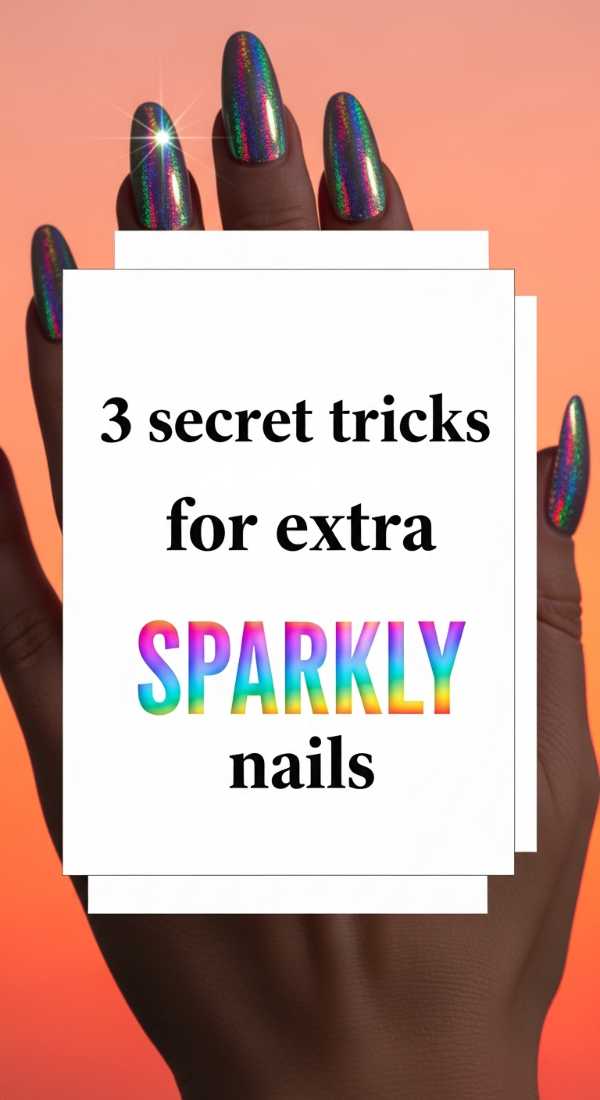
Why to love this Design:
If you’re a ‘more is more’ kind of person, these tricks will make your nails shine so bright they might actually glow! It’s the ultimate way to bring a little extra light into the winter season.
Essential Elements:
- Reflective glitter polish
- Iridescent flakies
- Clear builder gel
How to Prepare:
- Layer a chunky iridescent flakie polish over a reflective glitter base to create a 3D depth.
- Use a ‘sandwich’ technique: Polish, thin layer of clear gel, more glitter, then top coat.
- Always finish with a ‘plumping’ top coat to make the glitter look like it’s encased in glass.
Budget Range
- KBShimmer Reflective Polish: $12.00
- ILNP Flakie Topper: $12.50
- Glisten & Glow Plumping Top Coat: $8.50
5 essential tools for NEW YEAR nails
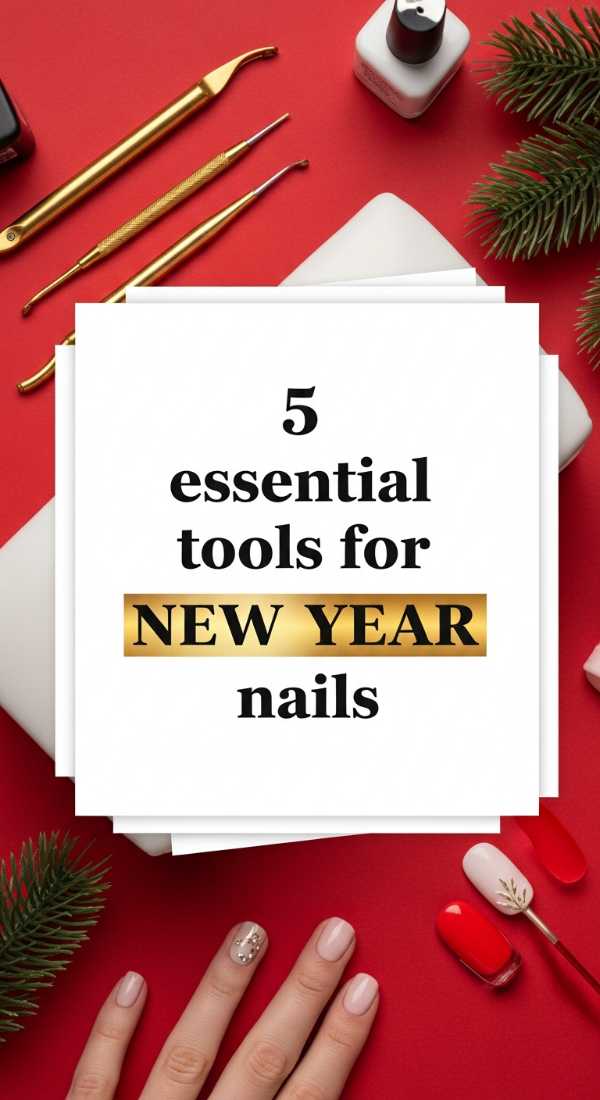
Why to love this Design:
Having the right tools is like having a magic wand. It takes the stress out of DIY and makes the process feel like a relaxing ritual of self-care rather than a chore.
Essential Elements:
- Glass nail file
- Stainless steel cuticle pusher
- Clean-up brush
- Acetone-resistant dappen dish
- LED Desk Lamp
How to Prepare:
- Use the glass file to shape nails without causing microscopic tears or peeling.
- Gently push back cuticles to create a clean, elongated canvas for your polish.
- Dip the clean-up brush in acetone to wipe away any ‘oops’ moments around the edges.
- Organize your tools on a soft towel so everything is within easy reach.
- Position your lamp so you can see every detail without straining your eyes.
Budget Range
- Mont Bleu Glass Nail File: $10.00
- Blue Orchid Cuticle Pusher: $8.00
- Kolinsky Clean-up Brush: $11.00
4 steps to master GOLDEN chrome nails
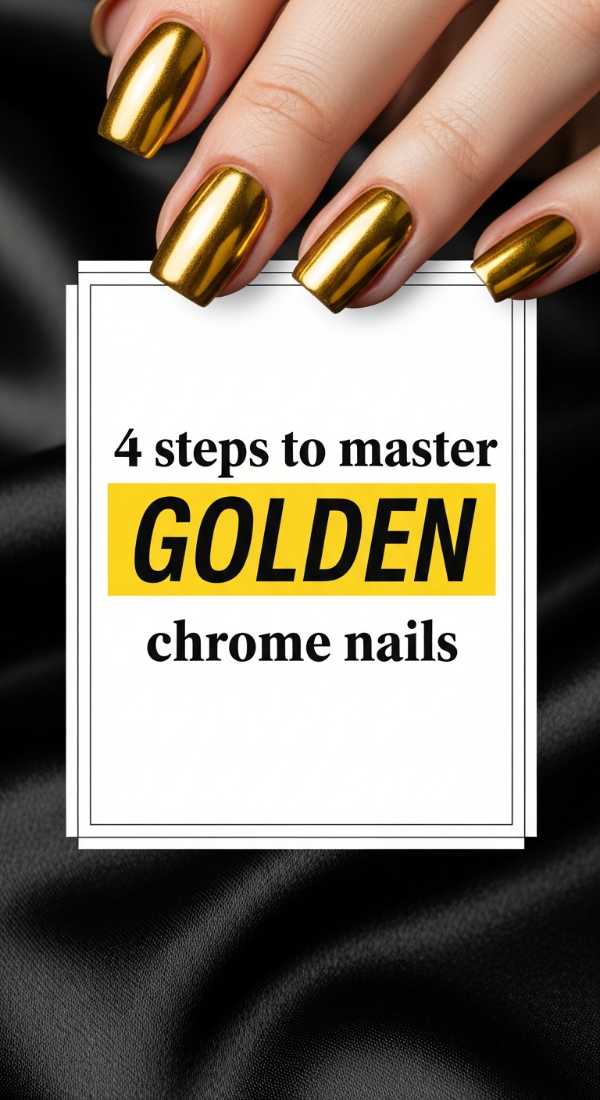
Why to love this Design:
Gold is the color of abundance and joy. Mastering golden chrome gives you a timeless, luxurious look that pairs perfectly with your favorite jewelry and a celebratory glass of bubbly.
Essential Elements:
- Yellow or Tan base polish
- Gold chrome powder
- Sponge applicator
- Water-based top coat (to prevent dulling)
How to Prepare:
- Apply your tan or yellow base color; this provides a warm undertone that makes the gold look richer.
- Apply a non-wipe top coat and cure for exactly 30 seconds (timing is key for chrome!).
- Rub the gold powder in circular motions until the surface is flawlessly metallic.
- Apply a water-based top coat first, followed by a regular top coat for maximum durability and shine.
Budget Range
- Born Pretty Gold Chrome: $7.00
- Maniology Water-Based Top Coat: $9.00
- OPI ‘Sun, Sea, and Sand in My Pants’: $11.50
3 ways to style stunning GLITTER nails
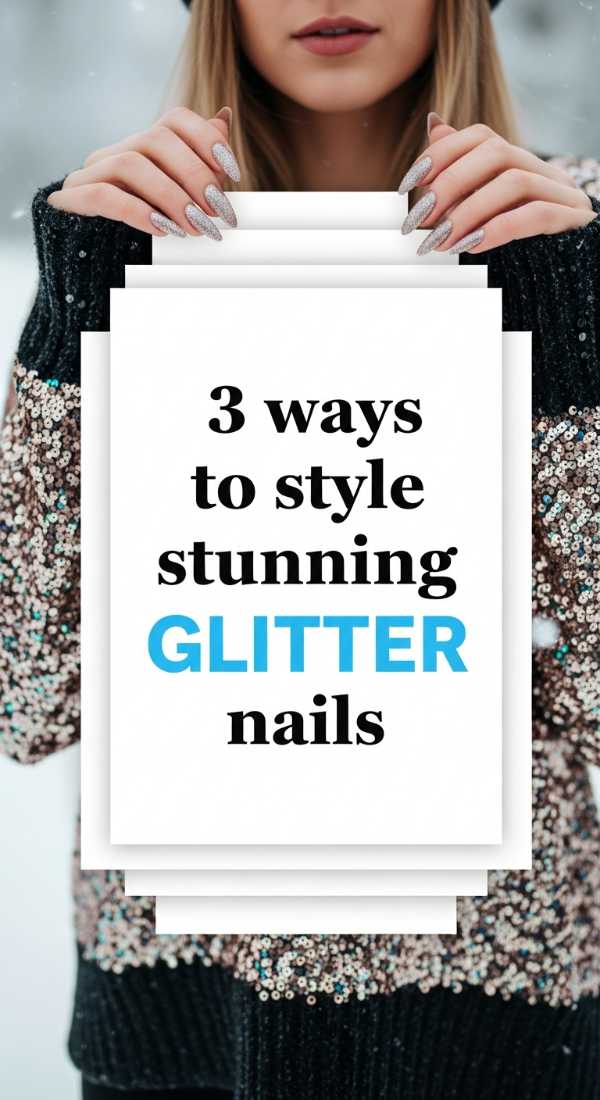
Why to love this Design:
Glitter doesn’t always have to be ‘all over.’ These styling variations allow you to play with sparkle in a way that feels sophisticated, chic, and uniquely you.
Essential Elements:
- Fine glitter polish
- Chunky glitter mix
- Nude base polish
How to Prepare:
- The Glitter Ombré: Apply glitter only to the tips of your nails, fading it down toward the middle for a soft, ethereal look.
- The Accent Nail: Keep four nails a solid cream color and make your ring finger a ‘party nail’ with full-coverage glitter.
- The Glitter French: Use a thin brush to paint a crisp line of glitter along the smile line of your nail for a modern twist on a classic.
Budget Range
- Zoya PixieDust Polish: $12.00
- Orly ‘Gilded Glow’: $10.50
- Revlon ColorStay Gel Envy: $9.00
Wishing You a Year of Brightness
As you sit back and admire your beautiful, sparkling hands, I hope you feel a sense of peace and excitement for the year ahead. Remember, my loves, beauty isn’t just about how we look; it’s about the joy we feel when we take a moment to care for ourselves. May your New Year be as bright and resilient as your new manicure. I am sending you so much love, warmth, and a tiny bit of glitter to carry in your pockets as you step into this beautiful new chapter. Happy New Year!