
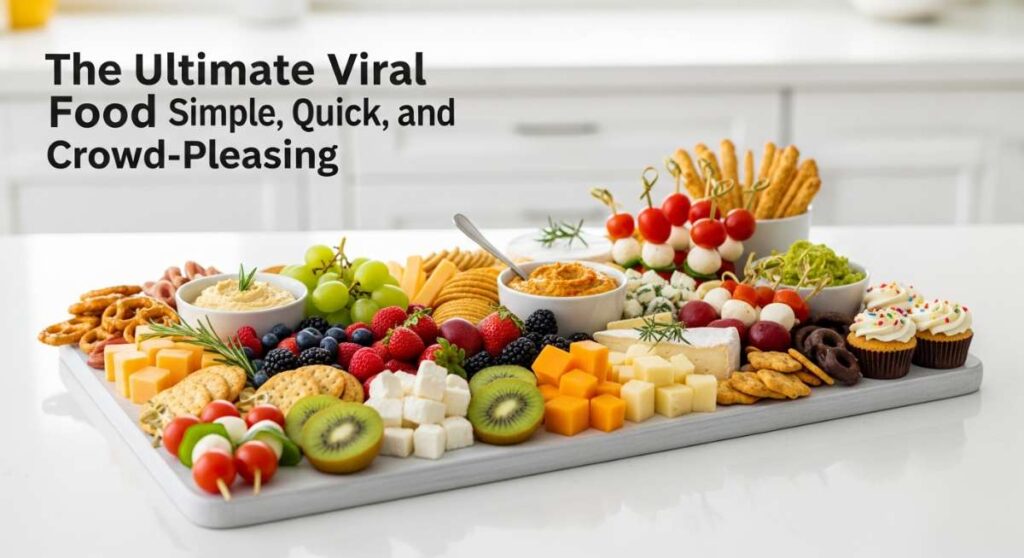
The Ultimate Viral Food Board: Simple, Quick, and Crowd-Pleasing
There is something truly magical about gathering around a table filled with an abundance of textures, colors, and aromas. In our fast-paced lives, the ‘food board’ has become more than just a trend; it is a way to slow down and celebrate the little wins with the people we love most. Whether you are hosting a high-stakes graduation party or just trying to get through a busy Tuesday, the beauty of a curated spread lies in its versatility and the shared joy it sparks.
I remember the first time I put together a massive board for my friends; the room went silent for a moment as everyone took in the vibrant hues of fresh fruit and the comforting scent of baked goods. That silence quickly turned into laughter and conversation as hands reached for different treats. This guide is my love letter to those moments—a collection of simple, viral-worthy recipes and tips that transform any gathering into an unforgettable experience.
How to decorate graduation cakes?

Why we love this
Decorating a graduation cake is like capturing a milestone in sugar and flour; it is the sweet culmination of years of hard work and late-night studying. There is a profound satisfaction in smoothing a velvety buttercream layer and watching the glossy finish catch the light, promising a celebratory bite. The aroma of vanilla bean and toasted sugar fills the kitchen, while the tactile joy of piping delicate pearls or sharp borders makes the process feel like a true artistic endeavor. It’s the centerpiece that demands attention and rewards every guest with a moist, decadent crumb that tastes like success.
Ingredients
- A double-layer chilled cake
- 4 cups Swiss Meringue Buttercream
- Gel food coloring (school colors)
- Fondant for the mortarboard cap
- Edible gold luster dust
- Piping bags and assorted tips (Star and Round)
How to make it
- Begin by applying a ‘crumb coat’—a thin layer of frosting that seals in any loose cake particles. Use an offset spatula to smooth it perfectly and chill the cake for 30 minutes until firm.
- Apply the final thick layer of buttercream. For a professional finish, use a bench scraper held at a 45-degree angle against the rotating cake stand, applying even pressure to create a glass-like surface.
- Mix your gel colors into small batches of frosting. Professional tip: Add color gradually with a toothpick, as gel is highly concentrated and the color deepens as it sits.
- Pipe a ‘shell’ border around the base using a star tip. Apply consistent pressure, then pull away quickly to create the tapered tail of each shell.
- Craft a miniature graduation cap from black fondant. Cut a square for the top and a circle for the base, joining them with a drop of water. Place this as the focal point on top.
- Finish with a dusting of gold luster dust mixed with a drop of lemon extract to create a ‘paint’ for the year digits, giving the cake a high-end, shimmering glow.
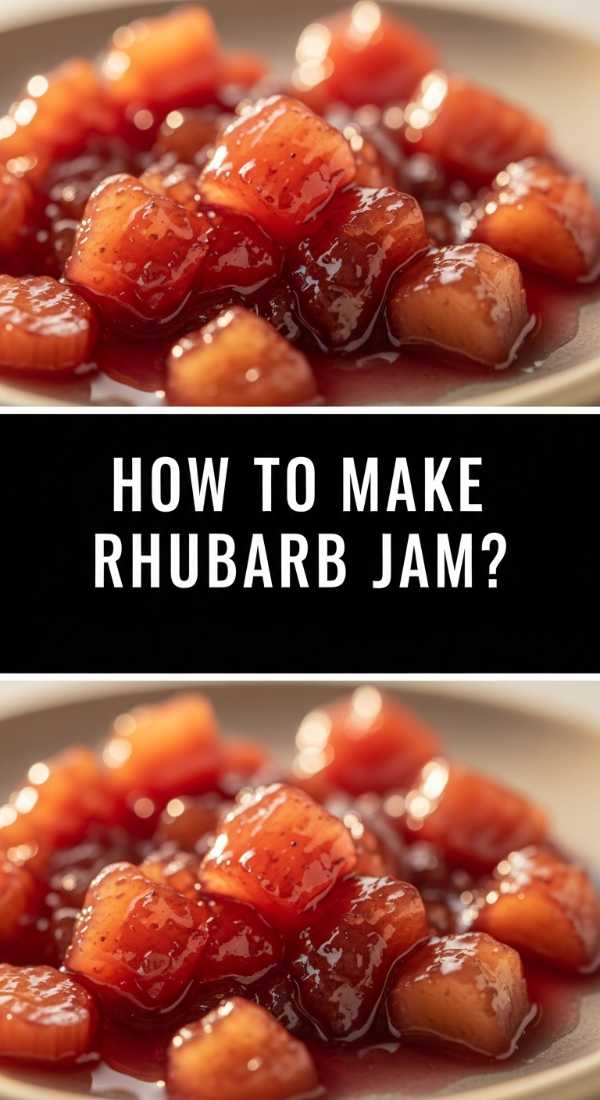
How to make rhubarb jam?
Why we love this
Rhubarb jam is a vibrant, jewel-toned treasure that captures the very essence of spring in a glass jar. As the stalks break down, they release a tangy, almost floral scent that balances perfectly with the sweetness of the sugar, creating a complex flavor profile that dances on the tongue. The texture is thick and luscious, with soft ribbons of fruit that spread effortlessly over warm, buttery toast. It is a nostalgic sensory experience—the sharp tartness making your mouth water before the sugary finish provides a comforting, silky embrace.
Ingredients
- 2 lbs fresh rhubarb, chopped into 1/2 inch pieces
- 3 cups granulated sugar
- 1 tablespoon lemon juice
- 1 teaspoon lemon zest
- Optional: 1 vanilla bean, split
How to make it
- In a large, non-reactive heavy-bottomed pot, toss the rhubarb with the sugar and lemon juice. Let it sit for at least 2 hours (or overnight) to allow the fruit to macerate and release its natural juices.
- Place the pot over medium-low heat and stir until the sugar is completely dissolved. Do not let it boil until the grains are gone to avoid a gritty texture.
- Increase the heat to medium-high and bring the mixture to a rolling boil. Stir frequently with a heat-resistant spatula to prevent the bottom from scorching.
- Maintain the boil for about 15-20 minutes. You are looking for the ‘jam point’—usually 220°F (104°C). If you don’t have a thermometer, place a small spoon of jam on a chilled plate; if it wrinkles when pushed with a finger, it’s ready.
- Skim off any foam that rises to the top with a metal spoon for a clear, jewel-like appearance.
- Ladle the hot jam into sterilized jars, leaving a 1/4 inch headspace. Process in a water bath for 10 minutes for long-term storage or keep in the fridge for immediate enjoyment.
How to bake graduation cupcakes?

Why we love this
Graduation cupcakes are the ultimate crowd-pleaser, offering individual bites of joy that are as beautiful as they are delicious. There is something so charming about a perfectly domed cupcake, its golden edges peeking out from a colorful liner, topped with a swirl of frosting that looks like a fluffy cloud. The scent of browning butter and warm sugar wafting from the oven creates an atmosphere of celebration before the party even begins. Biting into one reveals a light, airy crumb that melts away, making them the perfect handheld treat for a busy graduation reception.
Ingredients
- 2 1/2 cups all-purpose flour
- 1 1/2 cups granulated sugar
- 1 cup unsalted butter, softened
- 3 large eggs, room temperature
- 1 cup whole milk
- 2 teaspoons baking powder
- 1 tablespoon vanilla extract
How to make it
- Preheat your oven to 350°F (175°C) and line two muffin tins with high-quality paper liners. This ensures the cupcakes don’t stick and rise evenly.
- Cream the butter and sugar together in a stand mixer for at least 5 minutes. You want the mixture to be pale and significantly increased in volume—this ‘creaming method’ is key for a light texture.
- Add the eggs one at a time, beating well after each addition. If the mixture looks curdled, add a tablespoon of your measured flour to bind it back together.
- Whisk your dry ingredients together. Alternately add the dry ingredients and the milk to the butter mixture, starting and ending with the flour. Mix only until just combined to avoid developing gluten, which makes cupcakes tough.
- Fill liners about 2/3 full using an ice cream scoop for perfect portioning. Bake for 18-22 minutes. Visual cue: The tops should spring back when lightly touched and a toothpick should come out clean.
- Transfer to a wire rack immediately. Cupcakes must be completely cold to the touch before frosting, otherwise, the buttercream will melt and slide off.
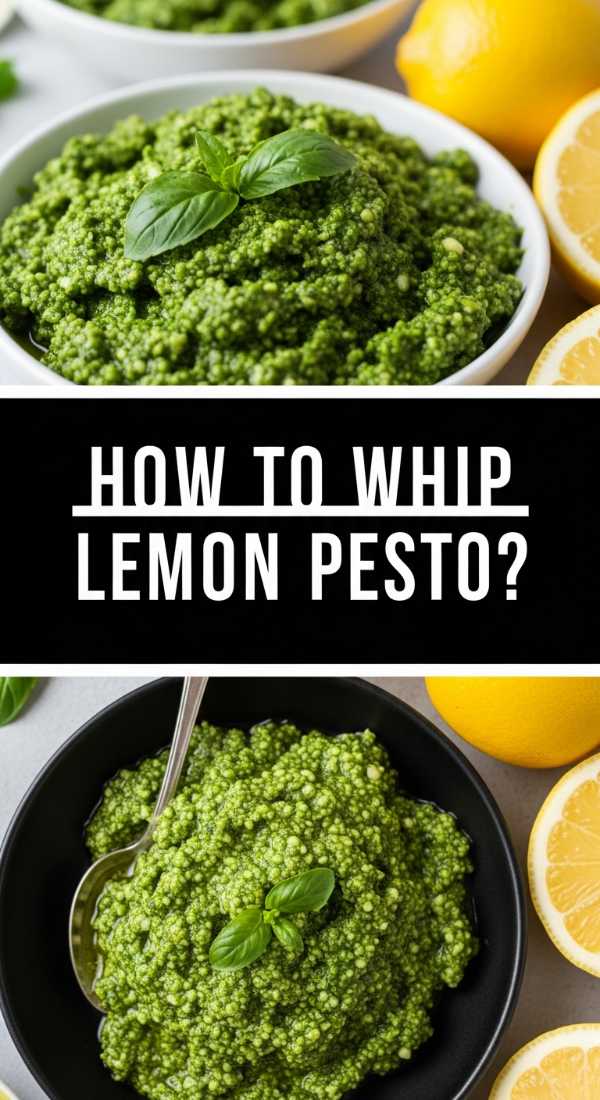
How to whip lemon pesto?
Why we love this
Lemon pesto is a bright, zingy revelation that breathes new life into the traditional basil spread with a burst of citrus sunshine. The aroma is intoxicating—freshly torn basil leaves mingling with the sharp, clean scent of lemon zest and the savory depth of toasted pine nuts. Its texture is a delightful contrast of smooth, emulsified olive oil and the slight crunch of parmesan and nuts, creating a vibrant green sauce that feels sophisticated yet incredibly fresh. It turns a simple bowl of pasta into a gourmet meal that tastes like a summer afternoon in an Italian garden.
Ingredients
- 2 cups packed fresh basil leaves
- 1/2 cup extra virgin olive oil
- 1/2 cup freshly grated Parmesan cheese
- 1/3 cup toasted pine nuts or walnuts
- Zest and juice of 1 large organic lemon
- 2 cloves garlic, smashed
- Sea salt and cracked black pepper
How to make it
- Toast your nuts in a dry skillet over medium heat for 3-5 minutes. Watch them closely; they turn from golden to burnt in seconds. Let them cool before adding to the sauce to prevent wilting the basil.
- In a food processor, pulse the garlic, lemon zest, and nuts until coarsely chopped. This ensures no large chunks of garlic remain in the final pesto.
- Add the fresh basil leaves and the lemon juice. Pulse several times. The lemon juice helps maintain the bright green color of the basil by preventing oxidation.
- With the processor running on low, slowly stream in the olive oil. This emulsification process creates a smooth, creamy consistency rather than an oily one.
- Add the Parmesan cheese and pulse just a couple of times to incorporate. You want to keep some of the cheese’s texture.
- Season with salt and pepper to taste. If the pesto is too thick, add a tablespoon of warm water or more oil until it reaches your desired ‘whipped’ consistency.
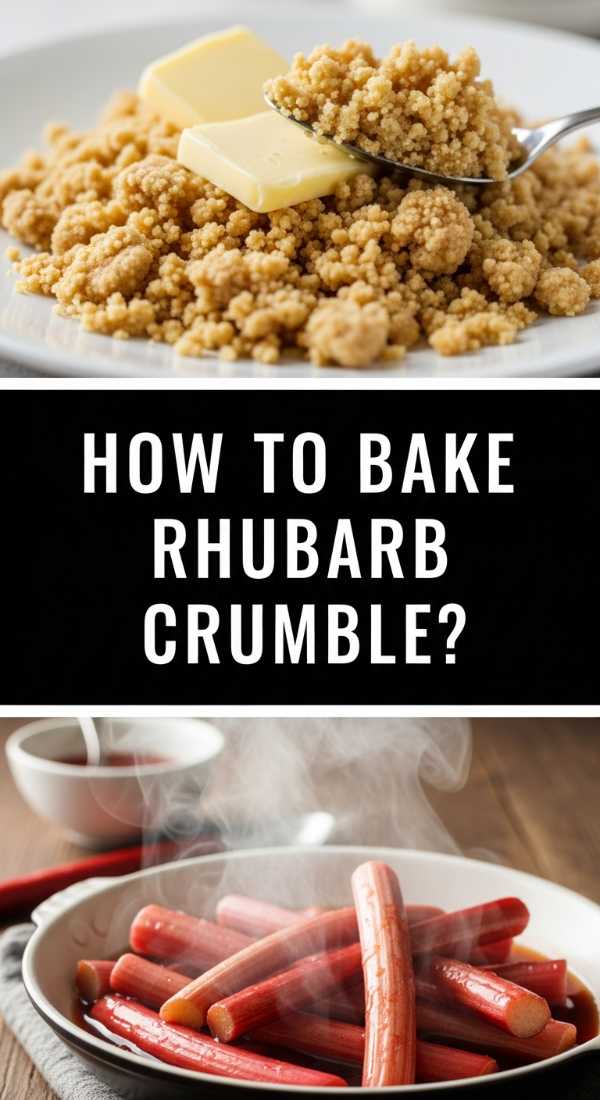
How to bake rhubarb crumble?
Why we love this
Rhubarb crumble is the definition of rustic comfort, offering a sensory journey through contrasting textures and bold flavors. The base consists of tender, jammy rhubarb that has softened into a tart, ruby-red pool, while the topping provides a satisfying, buttery crunch that shatters with every bite. The smell of cinnamon and oats toasting in the oven creates an irresistible hominess that draws everyone to the kitchen. It is best enjoyed warm, perhaps with a melting scoop of vanilla bean ice cream that creates a creamy sauce as it mingles with the acidic fruit juices.
Ingredients
- Filling: 4 cups chopped rhubarb, 1/2 cup sugar, 1 tbsp cornstarch
- Topping: 1 cup rolled oats, 1 cup brown sugar, 3/4 cup all-purpose flour
- 1/2 cup cold unsalted butter, cubed
- 1 tsp ground cinnamon
- 1/4 tsp salt
How to make it
- Preheat your oven to 375°F (190°C). Grease a 9×9 inch baking dish with butter to ensure the fruit juices don’t stick and caramelize too harshly on the sides.
- In a bowl, toss the rhubarb with the sugar and cornstarch. The cornstarch is vital—it thickens the juices as they release during baking, preventing a soggy bottom. Spread this into the dish.
- In a separate bowl, combine oats, flour, brown sugar, cinnamon, and salt. Add the cold, cubed butter.
- Use your fingertips or a pastry cutter to work the butter into the dry ingredients. Aim for ‘pea-sized’ crumbs. Professional tip: Do not over-mix into a paste; the distinct chunks of butter are what create the flaky, crisp ‘crumble’ texture.
- Sprinkle the topping evenly over the fruit. Do not press it down; you want it to remain loose so hot air can circulate through the crumbs.
- Bake for 35-40 minutes. Look for the fruit bubbling at the edges and a topping that is deep golden brown. Let it stand for 10 minutes before serving to allow the juices to set.
How to make coffee drinks?

Why we love this
Crafting the perfect coffee drink is a morning ritual that awakens the senses long before the first sip is even taken. The rich, earthy aroma of freshly ground beans fills the air, promising a bold and energizing experience that centers the mind. There is a tactile pleasure in the hiss of steaming milk and the sight of it swirling into deep mahogany espresso, creating beautiful, marbled patterns. Whether it’s a silky latte or a frothy cappuccino, the combination of heat, bitterness, and creamy sweetness provides a comforting start to any celebration or quiet morning.
Ingredients
- Freshly roasted coffee beans (medium or dark roast)
- Filtered water
- Whole milk or oat milk for frothing
- Optional: Simple syrup or vanilla extract
- Cocoa powder or cinnamon for dusting
How to make it
- Start with high-quality beans and grind them just before brewing. For espresso-based drinks, use a fine grind; for pour-overs, a medium-coarse grind is ideal to ensure proper extraction without bitterness.
- Heat your water to approximately 200°F (93°C). Water that is boiling can scorch the grounds, while water that is too cool won’t extract the full range of flavors.
- If making a latte, steam your milk. Use a frothing wand just below the surface to create ‘microfoam’—you want tiny bubbles that look like wet paint rather than large, soapy suds.
- Pull your espresso shot or brew your strong coffee base. A standard double shot of espresso should take about 25-30 seconds to extract and feature a golden ‘crema’ on top.
- Pour the milk slowly into the center of the coffee, holding the pitcher close to the surface toward the end to allow the white foam to create a design on top.
- Finish with a light dusting of cinnamon. For a viral ‘iced’ version, fill a tall glass with ice, add your syrup and milk first, then pour the hot espresso over the top for a beautiful layered effect.
How to decorate graduation cookies?

Why we love this
Decorating graduation cookies is an exercise in precision and creativity that results in edible works of art. The snap of a perfectly baked shortbread cookie provides a sturdy canvas for the smooth, glossy finish of royal icing that hardens into a porcelain-like surface. There is something deeply satisfying about ‘flooding’ a cookie, watching the icing flow perfectly into the edges to create a seamless field of color. These treats are more than just food; they are personalized keepsakes that celebrate a unique journey, often featuring diplomas, caps, and the graduate’s proud new year.
Ingredients
- Chilled sugar cookies cut into graduation shapes
- Royal Icing (confectioners’ sugar, meringue powder, and water)
- Gel food colors
- Scribe tool or toothpick
- Piping bags and small round tips (#1 or #2)
How to make it
- Prepare your royal icing in two consistencies: ‘piping’ (stiff like toothpaste) and ‘flood’ (runny like honey). This is the secret to clean edges and smooth centers.
- Using the stiff piping icing, outline the perimeter of the cookie. This acts as a dam to hold in the thinner icing. Let it dry for 5-10 minutes.
- Fill the center with the flood icing. Use a scribe tool or toothpick to move the icing into the corners and pop any small air bubbles that rise to the surface.
- For a ‘wet-on-wet’ design (like polka dots), immediately drop dots of a different color into the wet flood icing. They will sink in and stay flat.
- Allow the base layer to dry completely—usually 6 to 12 hours depending on humidity—before adding details like the year or ‘diploma strings’ on top with the stiff icing.
- For a professional touch, use a metallic edible marker to write names or add fine details once the icing is rock-hard to the touch.
How to prep toddler lunch?

Why we love this
Prepping a toddler’s lunch is a playful challenge that focuses on color, variety, and the perfect ‘bite-sized’ experience. It’s about creating a miniature world of discovery where every compartment of a bento box offers a different texture—from the crunch of a cucumber to the soft sweetness of a berry. The goal is to make healthy eating feel like a game, using bright hues and fun shapes to entice even the pickiest eaters. There is a quiet joy in knowing you are nourishing a growing body while also sparking a little bit of lunchbox excitement in their day.
Ingredients
- Small whole-wheat wraps or bread
- Lean protein (turkey slices, chickpeas, or hard-boiled eggs)
- Colorful vegetables (bell peppers, cucumbers, cherry tomatoes)
- Seasonal fruit (grapes, berries, or melon)
- A healthy fat (avocado or hummus)
How to make it
- Focus on safety first: Quarter cherry tomatoes and grapes lengthwise. Never serve them whole, as they are significant choking hazards for toddlers.
- Use small cookie cutters to turn sandwiches or slices of cheese into stars, hearts, or animals. This simple visual change often makes ‘scary’ foods more approachable.
- Incorporate at least three different colors to ensure a variety of vitamins. A ‘rainbow’ box is statistically more likely to be eaten by a child than a monochromatic one.
- Keep portions small. A toddler’s stomach is roughly the size of their fist, so aim for variety over volume to prevent them from feeling overwhelmed by the plate.
- Include a ‘dip’ like hummus or yogurt. Toddlers are tactile learners and love the sensory experience of dipping their food, which also adds healthy fats and proteins.
- Use a leak-proof bento box to keep textures separate. No one likes a soggy cracker, and keeping the ‘crunchy’ and ‘wet’ foods in their own zones ensures the lunch stays appetizing until noon.
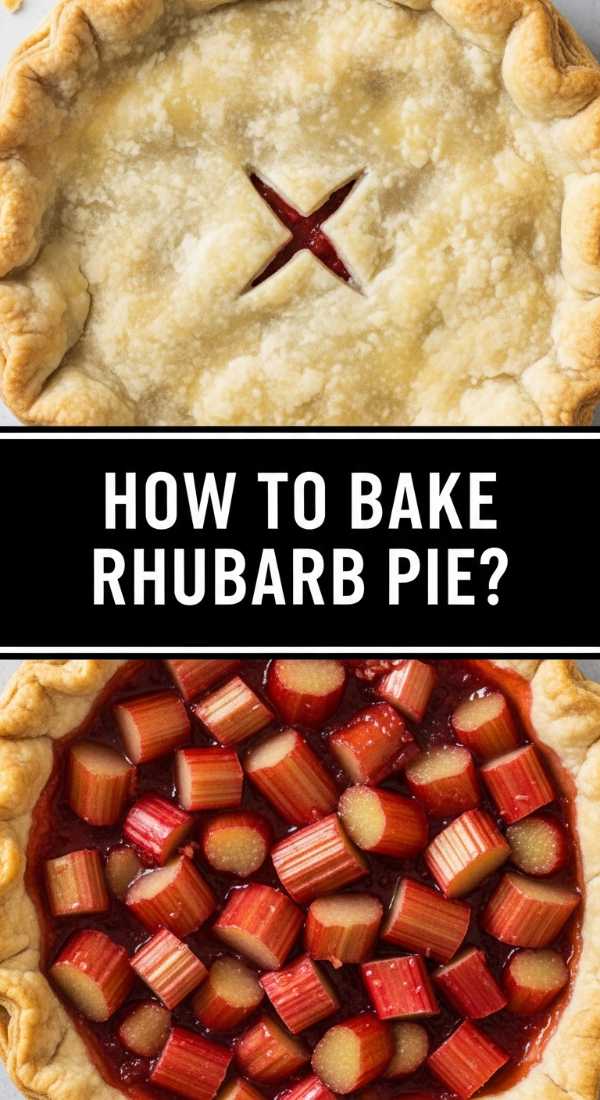
How to bake rhubarb pie?
Why we love this
A rhubarb pie is the ultimate test of a baker’s skill and the ultimate reward for the palate, offering a sophisticated balance of tart fruit and buttery, flaky crust. The sight of a perfectly woven lattice crust, with bubbling red juices peeking through the gaps, is a rustic masterpiece that screams farmhouse elegance. The aroma is a heavenly mix of caramelized sugar and the sharp, clean scent of cooked rhubarb. Each slice offers a textural symphony: the snap of the golden pastry, the softness of the fruit, and the slight crunch of sugar crystals sprinkled on top.
Ingredients
- Double pie crust (homemade or high-quality store-bought)
- 5 cups fresh rhubarb, sliced 1/2 inch thick
- 1 1/4 cups granulated sugar
- 1/4 cup tapioca starch or cornstarch
- 1 tbsp cold butter, cubed
- 1 egg wash (1 egg beaten with 1 tbsp water)
How to make it
- Keep your fats cold! Whether using butter or shortening, ensure it is chilled until the moment it hits the oven. This creates the steam pockets that make a crust flaky.
- Roll out your bottom crust and fit it into a 9-inch pie plate. Chill the plate while you prepare the filling to prevent the dough from shrinking.
- Toss the rhubarb with sugar and starch. Let it sit for 15 minutes. The starch is crucial because rhubarb is over 90% water; without it, you will have a ‘soup’ instead of a pie.
- Pour the filling into the crust and dot the top with the small cubes of butter. This adds a layer of richness that mellows the rhubarb’s sharp acidity.
- Create a lattice top by cutting the second crust into strips and weaving them over and under. This isn’t just for looks—the gaps allow steam to escape so the crust stays crisp.
- Brush with egg wash and bake at 425°F (220°C) for 15 minutes, then reduce to 375°F (190°C) for another 40-45 minutes. Visual cue: The crust should be deep golden, and the juices must be bubbling thickly in the center.
How to host Italian dinner?

Why we love this
Hosting an Italian dinner is about more than just the food; it is about embracing the philosophy of ‘la dolce vita’—the sweet life. It is an evening defined by the warm glow of candlelight, the clinking of wine glasses, and the lingering scents of garlic, basil, and slow-simmered marinara. The atmosphere is relaxed and convivial, encouraging guests to linger over multiple courses and engage in deep conversation. It feels like an escape to a sun-drenched terrace in Tuscany, where the focus is on quality ingredients, simple preparations, and the pure joy of communal dining.
Ingredients
- Antipasti: Cured meats, olives, and marinated artichokes
- Primi: High-quality pasta and lemon pesto or red sauce
- Secondi: Roast chicken or branzino
- Contorni: Seasonal roasted vegetables
- Dolce: Rhubarb crumble or tiramisu
- Italian wines (Chianti or Pinot Grigio)
How to make it
- Set the mood with a long table, simple linen napkins, and plenty of candles. Italian dining is sensory, so the environment is just as important as the menu.
- Serve in courses rather than all at once. Start with the antipasti to whet the appetite, followed by a small portion of pasta (Primi). This pacing encourages slower eating and better conversation.
- Focus on ‘Sprezzatura’—the art of making something difficult look effortless. Choose recipes that can be prepped in advance, like the lemon pesto, so you aren’t stuck in the kitchen while guests are at the table.
- Always serve bread with high-quality olive oil and balsamic vinegar. It’s the universal sign of a welcoming Italian table.
- Keep the wine flowing. Match the weight of the wine to the food: lighter whites for the pesto and pasta, and bolder reds for any meat courses.
- Finish with a strong espresso and a simple dessert. The goal is to leave the table feeling satisfied and happy, not overly stuffed, having nourished both the body and the soul.
Conclusion
Creating a viral-worthy food board is about more than just following a recipe; it’s about the heart and soul you pour into the presentation. From the tart snap of rhubarb to the zesty finish of a fresh pesto, these dishes are designed to bring people together. I hope this guide inspires you to clear off your table, invite your favorite people over, and start building your own delicious memories. After all, the best ingredient in any meal is the company you keep!
Frequently Asked Questions
Q: Can I make the rhubarb jam ahead of time?
A: Absolutely! Rhubarb jam keeps beautifully in the refrigerator for up to three weeks, or you can use a water bath canning method to store it in your pantry for up to a year.
Q: What is the secret to a smooth cake finish?
A: The secret is two-fold: a chilled crumb coat and a high-quality metal bench scraper. Heating the scraper slightly under hot water before the final pass can also help create a glass-like finish on buttercream.
Q: How do I keep my pesto from turning brown?
A: The acid in the lemon juice helps, but you can also blanch your basil leaves in boiling water for 5 seconds and then plunge them into ice water before blending to lock in that vibrant green color.