

There is a specific kind of magic that happens when you’re scrolling through TikTok at 11 PM and stumble upon a food trend so aesthetically pleasing that it makes your stomach growl instantly. We’ve all been there—mesmerized by the rhythmic chopping, the drizzle of golden honey, and the vibrant colors that seem too perfect to be real. But the true beauty of these viral sensations isn’t just in the watching; it’s in the realization that you can create that same sense of wonder right in your own kitchen with just a few simple ingredients and a little bit of inspiration.
Food is the ultimate love language, a way to gather friends and family around a table to celebrate life’s big milestones and quiet Sunday mornings. Whether you’re preparing for a graduation celebration or just trying to elevate your morning caffeine routine, these viral-inspired ideas are designed to bring a touch of luxury and a lot of flavor to your home. So, grab your favorite platter and let’s dive into these ten mouth-watering creations that are taking over our feeds and our hearts.
How to style graduation cakes
Why we love this
There is something incredibly sentimental about a graduation cake; it represents years of hard work, late-night study sessions, and the bittersweet transition into a new chapter. We love styling these because it’s an opportunity to blend sophisticated elegance with personal touches, using textures like smooth Swiss meringue buttercream and shimmering edible gold leaf. The visual impact of a well-styled cake creates an instant focal point for a party, inviting guests to marvel at the intricate details before they even take that first moist, flavorful bite.
Ingredients
- Pre-baked tiered cake (chilled)
- Extra-smooth Swiss meringue buttercream
- Edible gold leaf or gold luster dust
- Fresh, organic edible flowers (like pansies or roses)
- Miniature graduation cap topper or custom acrylic name sign
- Acrylic cake scraper for sharp edges
How to make it
- Begin by applying a generous “crumb coat” of buttercream to your chilled cake. Use an offset spatula to smooth it out, then chill for 20 minutes until the frosting is firm to the touch. This prevents crumbs from ruining your final look.
- Apply the final layer of frosting. For a viral, professional look, use an acrylic scraper held at a 45-degree angle against the turntable. Spin the cake steadily while keeping the scraper still to achieve perfectly sharp, “industrial” edges.
- Using sterilized tweezers, gently apply flakes of edible gold leaf to the bottom third of the cake. Do not touch the leaf with your fingers, as the oils will cause it to dissolve; let it float onto the buttercream for a natural, distressed effect.
- Arrange your edible flowers in a “cascade” pattern, starting from the top edge and winding down one side. Press the stems gently into the frosting to secure them, ensuring the colors complement the graduate’s school palette.
- Place your topper slightly off-center for a modern look. If using a custom sign, ensure it is inserted straight and deep enough to remain stable during transport and display.
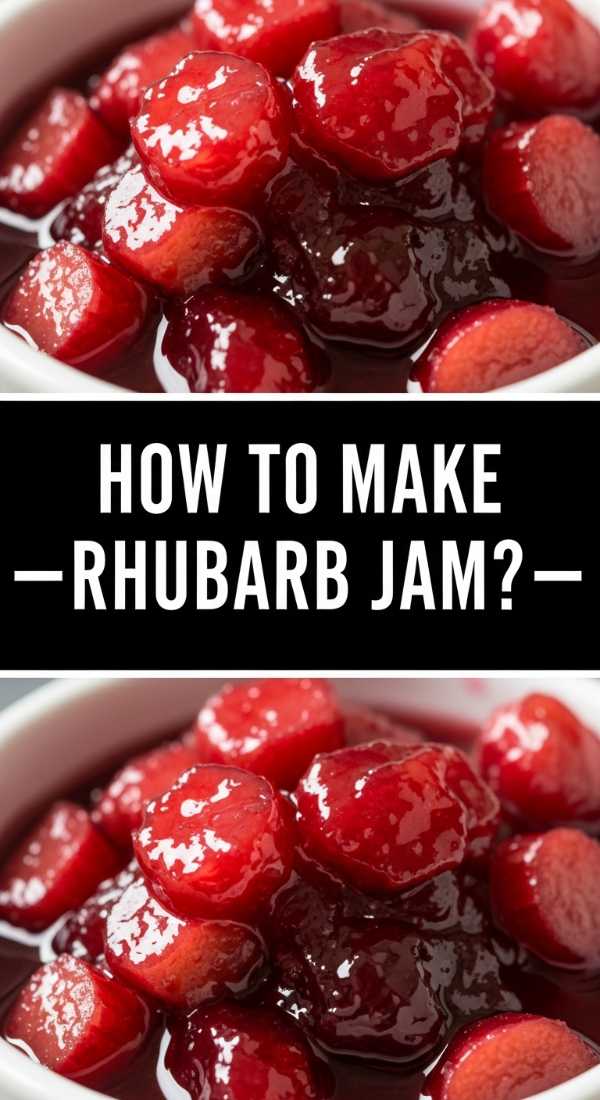
How to make rhubarb jam

Why we love this
Making rhubarb jam is like capturing the very essence of spring in a jar, with its striking ruby-pink hue and that unmistakable tartness that dances on the tongue. The aroma that fills the kitchen as the rhubarb breaks down with sugar is deeply nostalgic, smelling of sunshine and earthiness all at once. This jam isn’t just a condiment; it’s a versatile masterpiece that transforms a simple piece of sourdough toast into a gourmet experience, offering a thick, luscious texture that feels incredibly indulgent.
Ingredients
- 4 cups fresh rhubarb, chopped into 1/2-inch pieces
- 2 cups granulated sugar
- 1 tablespoon fresh lemon juice
- 1 teaspoon lemon zest
- 1/2 teaspoon vanilla bean paste (optional)
How to make it
- In a large, heavy-bottomed pot, combine the chopped rhubarb and sugar. Let the mixture sit for at least 30 minutes; this process, called macerating, draws out the natural juices of the fruit and creates a better syrup.
- Place the pot over medium heat and stir constantly until the sugar has completely dissolved. You’ll see the mixture turn from grainy to a clear, bubbling liquid as the heat rises.
- Increase the heat to medium-high to bring the jam to a rolling boil. Stir frequently to prevent the bottom from scorching. Use a candy thermometer to monitor the temperature; you are looking for the “setting point” of 220°F (104°C).
- Once the jam is thick and the rhubarb has broken down into soft ribbons, stir in the lemon juice, zest, and vanilla. The lemon provides the pectin necessary for a firm set and balances the sweetness with much-needed acidity.
- Perform the “plate test” by placing a small spoonful of jam on a chilled saucer. Let it sit for a minute, then push it with your finger. If it wrinkles, it’s done. Ladle into sterilized jars, leaving 1/4 inch of headspace, and seal tightly.
How to decorate graduation cupcakes
Why we love this
Graduation cupcakes are the ultimate grab-and-go celebration treat, offering a canvas for endless creativity and school spirit. We love the way a tray of coordinated cupcakes looks—a sea of perfectly piped frosting topped with symbolic miniature tassels and tiny diplomas. The combination of a soft, buttery cake base with a rich, silky frosting creates a sensory delight that is both visually stunning and incredibly satisfying to eat, making every graduate feel like the star of the show.
Ingredients
- Freshly baked cupcakes (vanilla or chocolate)
- Batch of stiff buttercream frosting
- Square chocolate squares (like Ghirardelli)
- Sour belt candy or fruit leather (for tassels)
- Miniature white fondant rolls (for diplomas)
- Gel food coloring in school colors
How to make it
- Divide your buttercream into bowls and tint them using gel food coloring. Gel is preferred over liquid because it provides vibrant color without thinning out the frosting’s consistency.
- Fit a piping bag with a large open star tip (like a 1M). Pipe a tall, stable swirl onto each cupcake, starting from the outside edge and spiraling inward and upward to create height.
- To create the graduation caps, place a small dollop of frosting on top of the swirl. Gently press a chocolate square onto the dollop so it sits flat.
- Cut thin strips of sour belt candy. Use a tiny dot of frosting to attach the “tassel” to the center of the chocolate square, letting it hang over the edge. Finish the center with a single chocolate chip or a round sprinkle.
- For the diplomas, roll out a small piece of white fondant into a thin rectangle, roll it up tightly, and tie a tiny piece of colored twine or ribbon around it before resting it against the cupcake base.
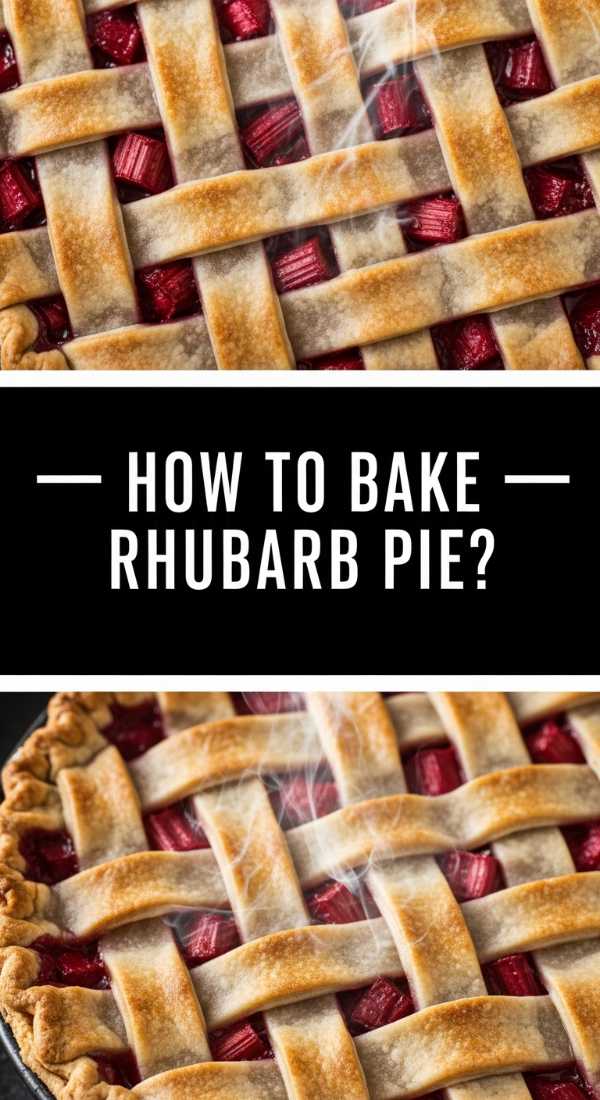
How to bake rhubarb pie
Why we love this
There is nothing quite like the sight of a golden-brown lattice crust bubbling with a vibrant, magenta rhubarb filling. Rhubarb pie is the perfect balance of buttery, flaky pastry and a filling that is unapologetically bold and tangy. The texture contrast—from the crisp, sugared edges of the crust to the soft, jammy interior—creates a rustic dessert that feels like a warm hug. It’s the kind of dish that begs for a melting scoop of vanilla bean ice cream to cut through the sharpness of the fruit.
Ingredients
- Double pie crust (chilled)
- 5 cups rhubarb, cut into 1/2 inch pieces
- 1 1/4 cups granulated sugar
- 1/4 cup cornstarch
- 1/2 teaspoon cinnamon
- 1 tablespoon cold butter, cubed
- 1 egg (for egg wash) and coarse sanding sugar
How to make it
- Preheat your oven to 400°F (200°C) and place a baking sheet on the bottom rack to catch any drips. Roll out your bottom crust and fit it into a 9-inch pie plate, leaving an inch of overhang.
- In a large bowl, toss the rhubarb with the sugar, cornstarch, and cinnamon. Ensure the cornstarch is evenly distributed; this is the thickening agent that prevents a soggy bottom. Let it sit for 10 minutes until the fruit looks glossy.
- Pour the filling into the crust and dot the top with the cubes of cold butter. Roll out the second crust and cut into 1-inch strips to create a lattice top. Weave the strips over and under each other for that classic viral aesthetic.
- Crimp the edges of the pie tightly to seal the juices inside. Brush the entire top with a beaten egg wash and sprinkle generously with coarse sanding sugar for a professional, sparkling finish.
- Bake for 20 minutes at 400°F, then reduce the heat to 375°F (190°C) and bake for another 35-45 minutes. The pie is done when the crust is deep golden and the filling is bubbling thickly through the lattice gaps. Cool for at least 3 hours before slicing to allow the filling to set.
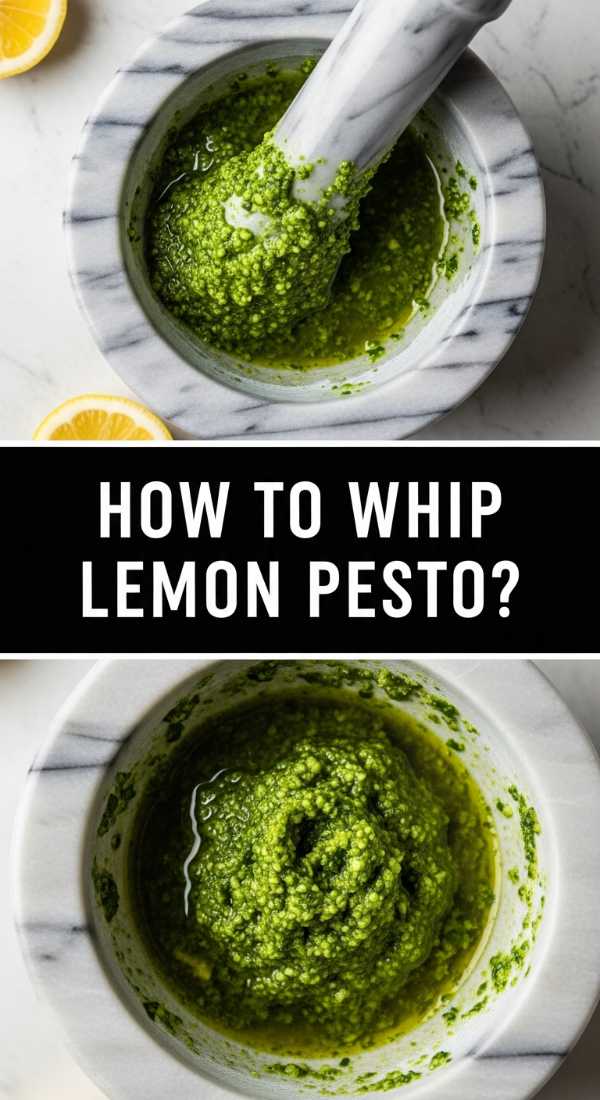
How to whip lemon pesto

Why we love this
Lemon pesto is a refreshing, citrusy twist on the classic Genovese sauce that awakens the palate with its bright acidity and herbal depth. We love the way the zingy lemon zest cuts through the richness of the pine nuts and parmesan, creating a sauce that feels light yet incredibly flavorful. It’s a versatile powerhouse that can transform a simple bowl of pasta, a piece of grilled chicken, or even a piece of toast into something that tastes like a summer afternoon in the Italian countryside.
Ingredients
- 2 cups fresh basil leaves, packed
- 1/2 cup extra virgin olive oil
- 1/3 cup pine nuts (toasted)
- 2 cloves garlic, peeled
- 1/2 cup grated Parmesan cheese
- Zest of 2 large lemons
- 2 tablespoons fresh lemon juice
- Pinch of sea salt
How to make it
- Start by toasting your pine nuts in a dry pan over medium-low heat for 3-5 minutes. Watch them carefully; they should be golden brown and fragrant but can burn in seconds. Let them cool completely.
- In a food processor, pulse the garlic and toasted pine nuts until they form a coarse paste. This ensures you don’t have large chunks of raw garlic in your final sauce.
- Add the basil leaves and lemon zest. Pulse again while slowly drizzling in the olive oil through the feed tube. By adding the oil gradually, you create a stable emulsion rather than a separated oily mess.
- Add the parmesan cheese and lemon juice. Pulse just a few times until combined—you want to maintain some texture, not turn it into a completely smooth liquid.
- Taste the pesto and add a pinch of sea salt if needed. Serve immediately over warm pasta, or store in a jar with a thin layer of olive oil on top to prevent oxidation (browning).
How to craft coffee drinks
Why we love this
There is a profound ritualistic beauty in crafting the perfect coffee drink at home; it’s a moment of calm before the day begins. We love the sensory experience of the rich, dark espresso marbling into cold, creamy milk and the sight of a perfectly frothed foam sitting atop a glass. Whether it’s a layered iced latte or a whipped coffee, the ability to customize the sweetness and strength to your exact preference makes the home-barista experience far more rewarding than any drive-thru run.
Ingredients
- 2 shots of high-quality espresso or 1/2 cup strong cold brew concentrate
- 1 cup milk of choice (oat, almond, or whole milk)
- 1 tablespoon flavored syrup (vanilla, lavender, or caramel)
- Ice cubes (extra points for coffee-flavored ice cubes)
- Cinnamon or cocoa powder for dusting
How to make it
- Prepare your coffee base. If using espresso, pull two shots and let them cool slightly. If using cold brew concentrate, ensure it is chilled.
- Fill a tall glass to the brim with ice. For a viral look, use large clear ice cubes or spheres which melt slower and look more sophisticated.
- Pour your choice of milk over the ice until the glass is three-quarters full. Stir in your flavored syrup at this stage so it integrates evenly with the milk.
- Slowly pour the espresso or cold brew over the back of a spoon held just above the milk. This technique breaks the fall of the liquid and creates the beautiful, distinct layers seen in aesthetic social media posts.
- Using a handheld milk frother, whip a small amount of cold milk in a separate pitcher for 30 seconds until thick and velvety. Spoon the cold foam onto the top of the drink and finish with a light dusting of cinnamon or cocoa.
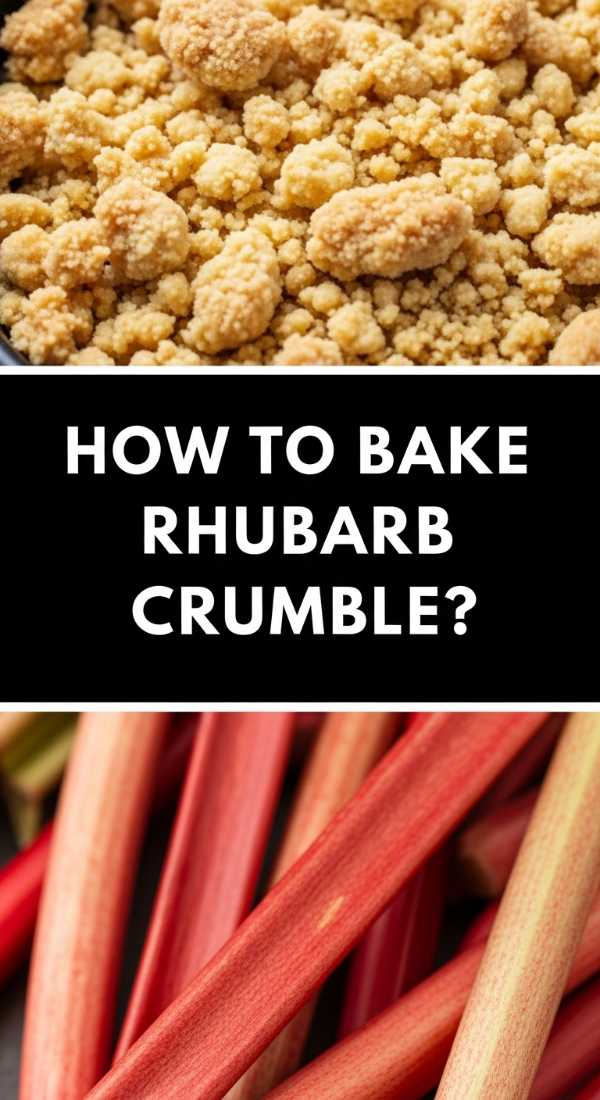
How to bake rhubarb crumble

Why we love this
Rhubarb crumble is the ultimate comfort dessert, celebrated for its simplicity and its incredible interplay of textures. We love the way the juices from the rhubarb and sugar thicken into a syrupy, molten pool beneath a heavy blanket of buttery, oat-filled crumble. As it bakes, the smell of toasted nuts and caramelized sugar wafts through the house, promising a dish that is crunchy, soft, tart, and sweet all in a single bite. It’s the perfect end to a family dinner, served warm straight from the oven.
Ingredients
- 6 cups rhubarb, sliced into 1-inch pieces
- 3/4 cup granulated sugar
- 1 cup all-purpose flour
- 1 cup rolled oats
- 1 cup brown sugar, packed
- 1/2 cup cold unsalted butter, cubed
- 1/2 teaspoon salt
How to make it
- Preheat your oven to 375°F (190°C) and grease a 9×9 inch baking dish or a cast-iron skillet for a more rustic, viral look.
- Toss the rhubarb with the granulated sugar in the prepared dish. Spread it out into an even layer so the fruit cooks at the same rate.
- In a separate bowl, combine the flour, oats, brown sugar, and salt. Use your fingers or a pastry cutter to work the cold butter into the dry ingredients. You are looking for a “clumpy” texture—the pieces of butter should be about the size of peas.
- Sprinkle the crumble mixture generously over the rhubarb. Do not pack it down; keeping it loose allows the heat to circulate and makes the topping extra crunchy.
- Bake for 35-40 minutes. You’ll know it’s ready when the rhubarb juices are bubbling up around the edges and the topping is a deep, golden brown. Let it stand for 10 minutes before serving to allow the juices to thicken.
How to frost graduation cookies

Why we love this
Frosting graduation cookies is an art form that allows for meticulous detail and personalized celebration. We love the smooth, satin finish of royal icing and the way it hardens into a perfect canvas for intricate designs like tiny tassels, year dates, and graduation caps. There’s a deep satisfaction in seeing a tray of identical, flawlessly frosted cookies that look almost too good to eat, providing a delicious and highly photogenic addition to any graduation dessert table.
Ingredients
- Sugar cookies (cut into rounds or mortarboard shapes)
- Royal icing (stiff and flood consistencies)
- Gel food colors
- Piping bags and small round tips (size 1 or 2)
- Scribe tool or toothpick
- Edible ink markers (optional)
How to make it
- Prepare your royal icing. You need two consistencies: “outline” icing (like toothpaste) and “flood” icing (like honey). Tint them using gel colors to match the graduation theme.
- Using the outline icing, pipe a border around the edge of the cookie. This acts as a dam to keep the thinner icing from running off the sides. Let it dry for 5 minutes.
- Fill the center of the cookie with the flood icing. Use a scribe tool or toothpick to pop any air bubbles and to gently push the icing into the corners and against the border for a seamless look.
- Let the base layer dry completely—usually 6 to 12 hours depending on humidity. This is the most critical step; if the base is wet, the next layer of details will sink in and bleed.
- Once dry, use the stiff outline icing to pipe details like the year, a tassel, or the graduate’s name. For a viral metallic look, wait for these details to dry and then paint them with a mixture of gold luster dust and a drop of vodka or lemon extract.
How to plan italian dinner

Why we love this
Planning an Italian dinner is about more than just the food; it’s about creating an atmosphere of warmth, connection, and “la dolce vita.” We love the slow pace of an Italian meal, starting with a vibrant antipasto board and ending with a lingering espresso. The focus on high-quality, simple ingredients—fresh basil, sun-ripened tomatoes, and aged cheeses—ensures that every dish is bursting with flavor without being overly complicated, making the host feel as relaxed as the guests.
Ingredients
- Selection of cured meats (Prosciutto, Salami)
- Artisanal cheeses (Burrata, Pecorino, Gorgonzola)
- Fresh pasta or high-quality dried bronze-cut pasta
- Fresh tomatoes, garlic, and high-quality olive oil
- Crusty ciabatta or focaccia bread
- Italian wine (Chianti or Pinot Grigio)
How to make it
- Start by creating an antipasto board. Arrange the cured meats in “ribbons” and place the burrata in the center, drizzled with olive oil and flaky salt. Surround with olives, roasted peppers, and slices of crusty bread.
- Focus on one main pasta dish rather than multiple complex courses. For a viral “slow-cooker” feel, simmer a simple tomato sauce with garlic and basil for at least 45 minutes to develop deep, sweet flavors.
- Boil your pasta in water that is “as salty as the sea.” This is the only chance you have to season the pasta itself. Reserve a cup of the starchy pasta water before draining.
- Finish the pasta in the saucepan. Add a splash of the reserved pasta water; the starch helps the sauce emulsify and cling to the noodles, creating a silky, restaurant-quality finish.
- Set the mood with a linen tablecloth, unscented candles (so you can smell the food!), and a curated playlist of Italian jazz. Serve the meal family-style to encourage sharing and conversation.
How to make rhubarb scones
[IMAGE_10]
Why we love this
Rhubarb scones are the crown jewel of any brunch spread, offering a sophisticated blend of buttery, flaky dough and sharp, vibrant fruit. We love the way the rhubarb pieces soften slightly in the oven, creating little pockets of tart jamminess that contrast perfectly with the sweet, crumbly exterior of the scone. Finished with a simple glaze and a sprinkling of coarse sugar, these scones look like they came straight out of a high-end bakery window, yet they feel wonderfully homemade and hearty.
Ingredients
- 2 cups all-purpose flour
- 1/2 cup granulated sugar
- 1 tablespoon baking powder
- 1/2 cup cold unsalted butter, grated
- 1 cup fresh rhubarb, finely diced
- 1/2 cup heavy cream (plus more for brushing)
- 1 egg
- 1 teaspoon vanilla extract
How to make it
- Whisk together the flour, sugar, and baking powder in a large bowl. Grate the cold butter directly into the flour mixture. Using a grater is a professional trick that ensures the butter stays cold and incorporates evenly for maximum flakiness.
- Gently fold in the finely diced rhubarb. Ensure the pieces are small so they don’t release too much moisture and make the dough soggy.
- In a small measuring cup, whisk the heavy cream, egg, and vanilla. Pour this into the dry ingredients and stir with a fork until just combined. Do not overmix; overworking the dough develops gluten and leads to tough scones.
- Turn the dough onto a floured surface and pat into a 1-inch thick circle. Cut into 8 wedges. For the best rise, place the wedges on a parchment-lined sheet and freeze for 15 minutes before baking.
- Brush the tops with a little extra cream and sprinkle with coarse sugar. Bake at 400°F (200°C) for 18-22 minutes until the tops are golden and the scones feel firm to the touch. Serve warm with clotted cream or the rhubarb jam you made earlier!
Wrapping It All Up
From the tart snap of fresh rhubarb to the intricate gold detailing on a graduation cake, these viral food trends are more than just pretty pictures—they are invitations to slow down and find joy in the kitchen. Whether you’re hosting a massive celebration or just treating yourself to a fancy coffee, the care and effort you put into these creations will shine through in every bite. Remember, the best part of any “food board” or viral recipe isn’t the likes you get online, but the memories you make while sharing them. Happy creating!