
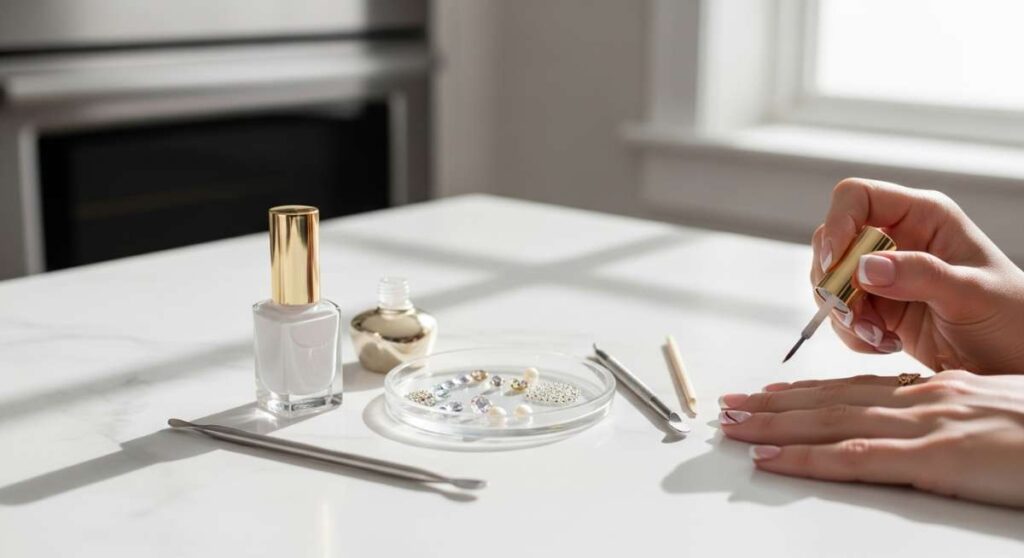
The Budget Billionaire’s Guide to Couture Manicures at Your Kitchen Table
Welcome home, my loves. Imagine for a moment that the sun is streaming through your kitchen window, casting a golden glow over your favorite mug of steaming tea. There is a quiet magic in taking a moment just for you, turning your humble kitchen table into a sanctuary of self-care. We often think that luxury is something found in a high-end salon with a hefty price tag, but I truly believe that the ‘billionaire’ lifestyle is a state of mind—it’s the intentionality we bring to our day and the soft, polished way we present ourselves to the world.
You don’t need a standing appointment on Madison Avenue to feel like the most elegant version of yourself. All you need is a little patience, a steady hand, and a heart ready to embrace the art of the DIY manicure. Today, I’m sharing my most cherished secrets for creating couture-level nail art right where you are. Let’s dive into a world of color, texture, and pure, unadulterated joy.
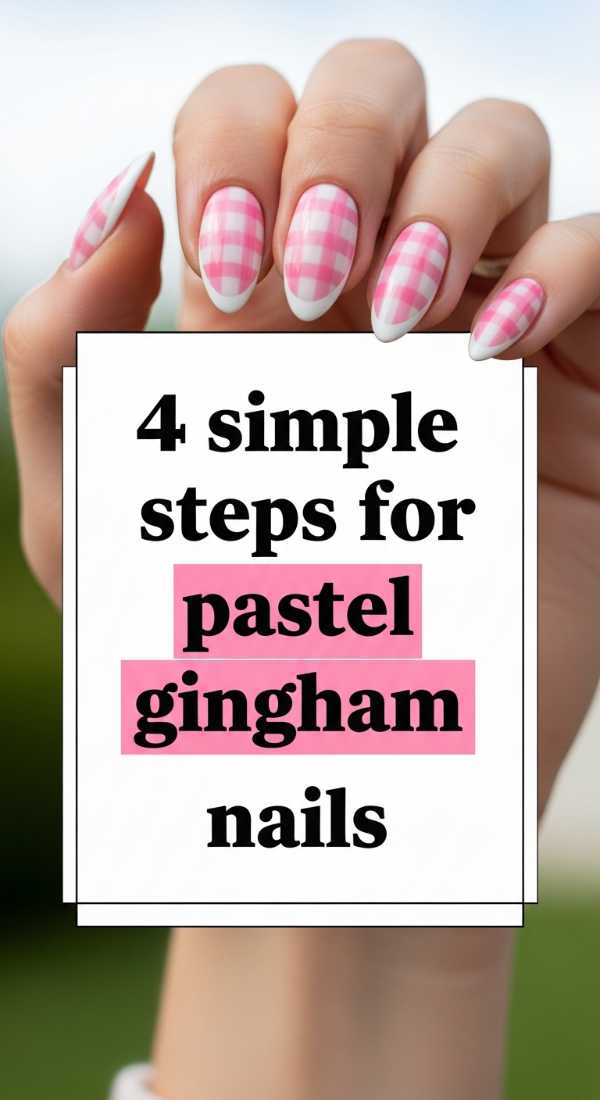
The Softest Gingham: 4 Steps for Pastel Gingham Nails
Why to love these Nails:
There is something so quintessentially ‘picnic in the French countryside’ about a gingham print, don’t you think? These nails are like a soft linen dress for your fingertips—sweet, nostalgic, and incredibly chic for the warmer months. They bring a touch of whimsical order to your look that feels both curated and effortless.
Essential Items:
- Opaque white base polish
- Sheer pastel polish (Lavender or Mint)
- Thin striping brush
- Glossy top coat
How to Prepare:
- Apply two coats of white polish as your base.
- Using the striping brush, draw vertical lines of the pastel color.
- Cross them with horizontal lines to create the grid.
- Add a second layer of color only where the lines intersect for that authentic fabric look.
Budget Range
- Essie ‘Blanc’ ($9.00)
- Zoya ‘Lillian’ ($12.00)
- Nail Art Brush Set from Amazon ($6.00)
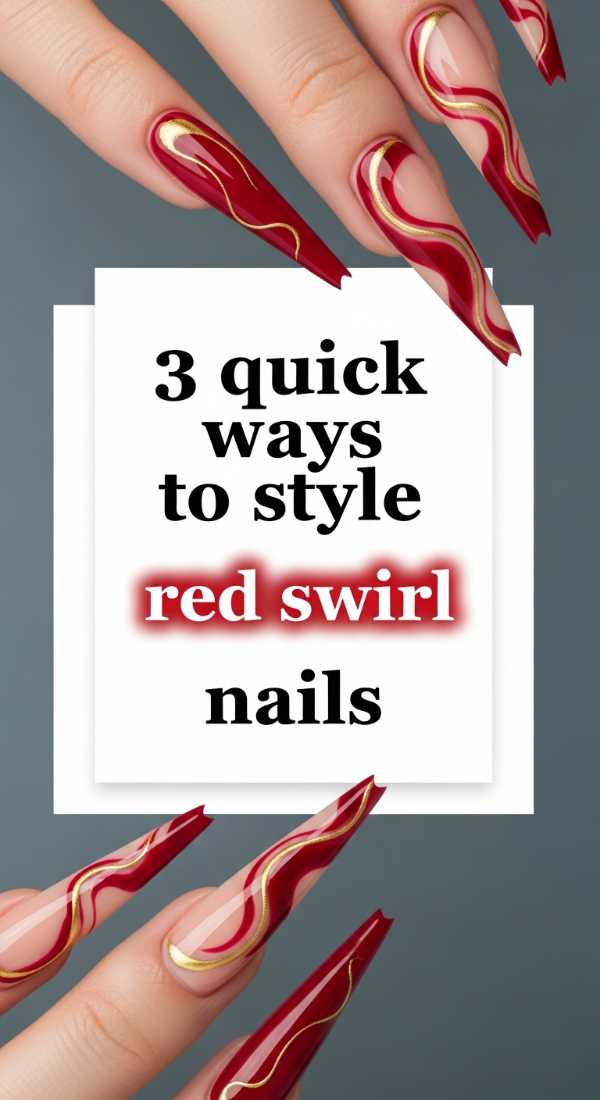
Retro Romance: 3 Quick Ways to Style Red Swirl Nails
Why to love these Nails:
Red swirls are the ultimate way to channel that inner 70s siren while keeping things modern and fresh. This style is incredibly forgiving because the beauty lies in the movement of the lines, meaning no two nails have to be identical. It’s vibrant, energetic, and adds an instant pop of confidence to any outfit.
Essential Items:
- Classic cherry red polish
- Nude or clear base
- Detailing tool
How to Prepare:
- Paint a clean nude base and let it dry completely.
- Pick a corner of the nail and sweep a curved line toward the opposite side.
- Vary the thickness of the swirls to create a sense of ‘flow’ across the hand.
Budget Range
- Revlon ‘Cherries in the Snow’ ($6.00)
- Sally Hansen ‘Tan-Lines’ ($7.50)
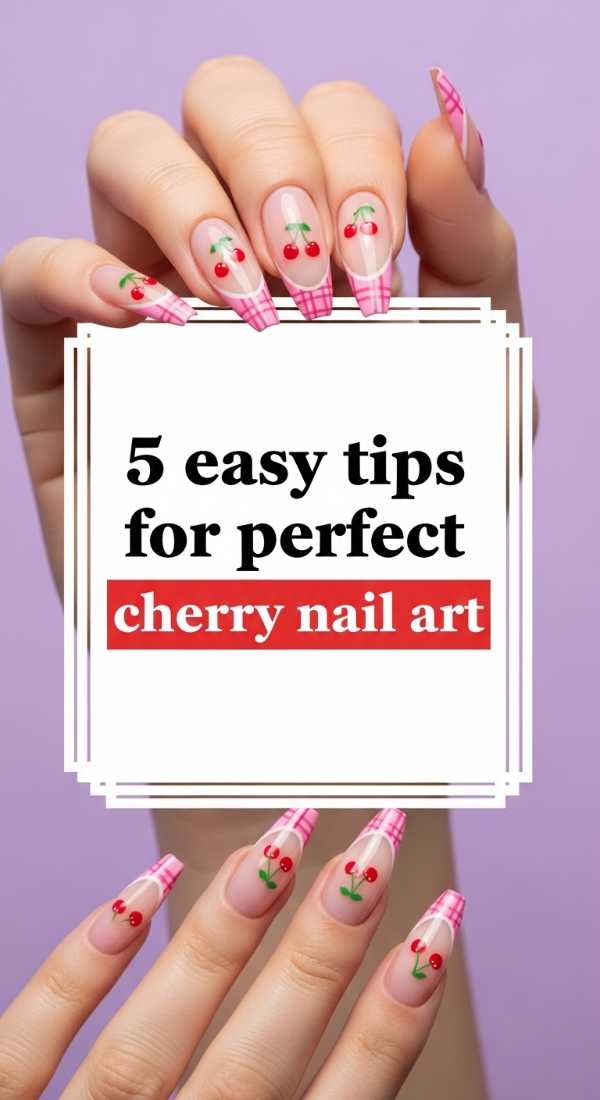
Sweet Harvest: 5 Easy Tips for Perfect Cherry Nail Art
Why to love these Nails:
Cherry nail art is the ‘it-girl’ aesthetic of the season, my loves. It’s playful, youthful, and surprisingly sophisticated when paired with a clean French tip or a sheer base. It’s like carrying a little bit of a summer orchard with you wherever you go, and I promise you’ll find yourself smiling every time you look down at your hands.
Essential Items:
- Dotting tool or a bobby pin
- Bright red polish
- Forest green polish
- Clear top coat
How to Prepare:
- Start with a clean, buffed nail.
- Place two red dots side-by-side using your dotting tool.
- Use a toothpick to draw a tiny ‘V’ shape in green above the dots.
- Add a tiny white ‘highlight’ dot on the red for a 3D effect.
- Seal with a thick top coat to prevent chipping.
Budget Range
- OPI ‘Big Apple Red’ ($11.50)
- Orly ‘Bonder’ Base Coat ($10.00)
Nature’s Whisper: 6 Steps to Create Ladybug Floral Nails
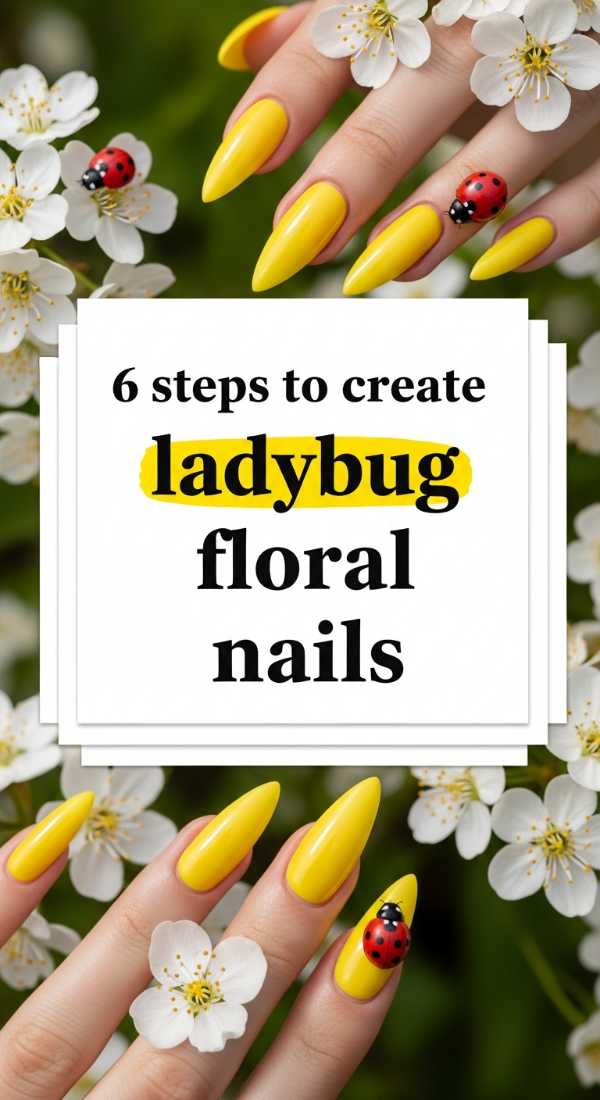
Why to love these Nails:
This is for the dreamers and the gardeners at heart. Combining delicate florals with tiny ladybugs creates a miniature masterpiece on your nails. It feels like a cottagecore dream come true—soft, feminine, and deeply rooted in the beauty of the natural world.
Essential Items:
- Pale pink or nude base
- White, yellow, red, and black polishes
- Fine-tipped nail pen
How to Prepare:
- Apply your soft base color.
- Dot five white petals in a circle for the flowers.
- Place a yellow dot in the center of the petals.
- Create a slightly larger red oval for the ladybug body.
- Add a black head and tiny dots on the ‘wings’.
- Add a matte top coat for a soft, velvety finish.
Budget Range
- Sally Hansen Insta-Dri colors ($5.99 each)
- Matte Top Coat by Wet n Wild ($3.00)
The Vow: 7 Secrets for Elegant Bridal Nails
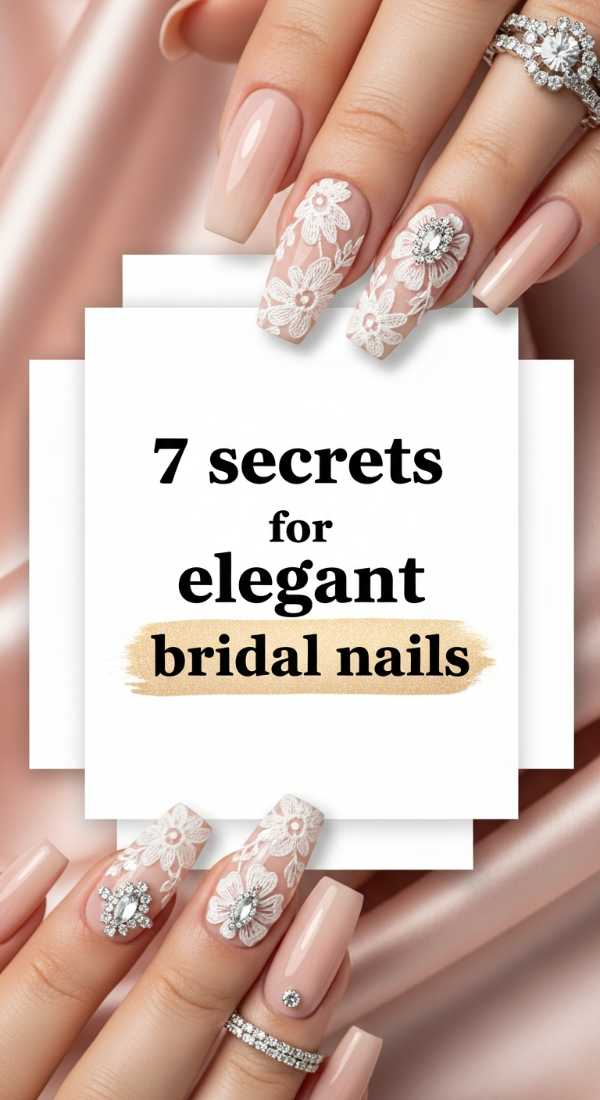
Why to love these Nails:
Even if you aren’t walking down the aisle, bridal-style nails are the pinnacle of the ‘Clean Girl’ aesthetic. They are ethereal, pearlescent, and make your hands look elongated and graceful. It’s about that quiet luxury—the kind that doesn’t scream for attention but commands it nonetheless.
Essential Items:
- Milky white polish
- Chrome powder or iridescent shimmer
- Glass nail file
- Cuticle oil
How to Prepare:
- Shape nails into a soft almond using a glass file.
- Push back cuticles gently for a larger canvas.
- Apply one thin coat of milky white.
- Buff in a tiny amount of pearl powder while the polish is slightly tacky.
- Apply a second thin coat of milky polish over the chrome for the ‘glazed’ look.
- Finish with a high-shine gel-effect top coat.
- Massage cuticle oil generously for that healthy glow.
Budget Range
- Essie ‘Marshmallow’ ($9.00)
- Chrome Powder from Amazon ($8.00)
- Holo Taco ‘Glossy Taco’ ($11.00)
The Pro Secret: 5 Hacks to Apply Press On Nails
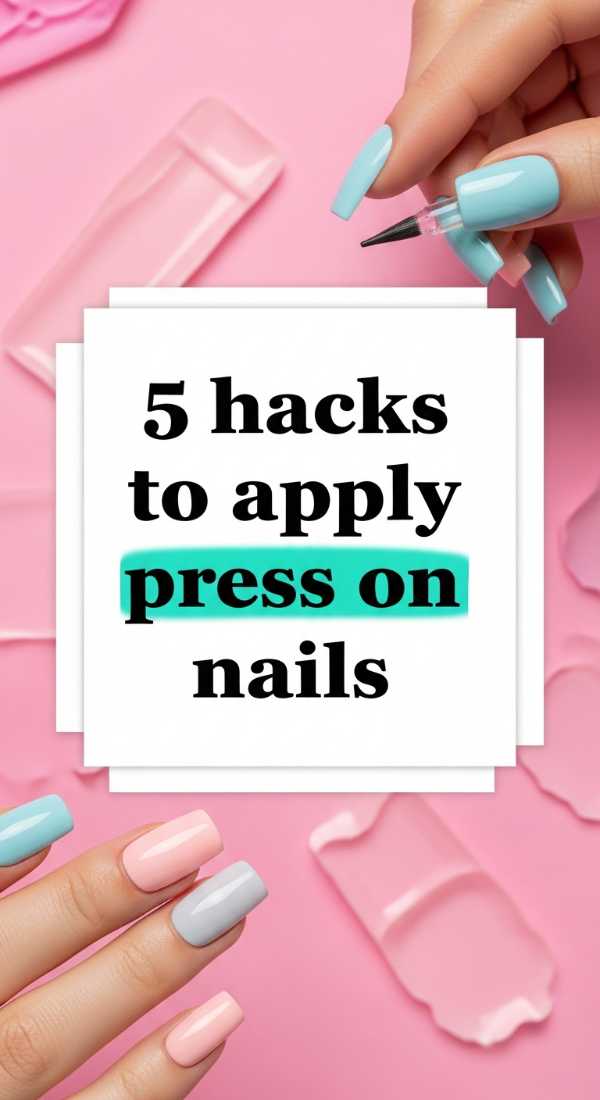
Why to love these Nails:
Sometimes, we want the length and the drama without the four-hour salon commitment. High-quality press-ons are the secret weapon of the budget billionaire. When applied correctly, they look indistinguishable from a $150 acrylic set, giving you instant glamour for a fraction of the cost.
Essential Items:
- Press-on nail kit
- Alcohol prep pads
- Nail glue and adhesive tabs
- Coarse nail buffer
How to Prepare:
- Dehydrate the nail plate thoroughly with alcohol.
- Lightly buff the surface of your natural nail to create ‘grip’.
- Apply glue to both the press-on and your natural nail.
- Press and hold for at least 30 seconds to eliminate air bubbles.
- Avoid water for at least 2 hours after application to let the bond set.
Budget Range
- Static Nails Reusable Pop-On Kit ($16.00)
- NYK1 Nail Bond Glue ($12.00)
Quiet Wealth: 3 Ways to Achieve Luxury Nude Nails
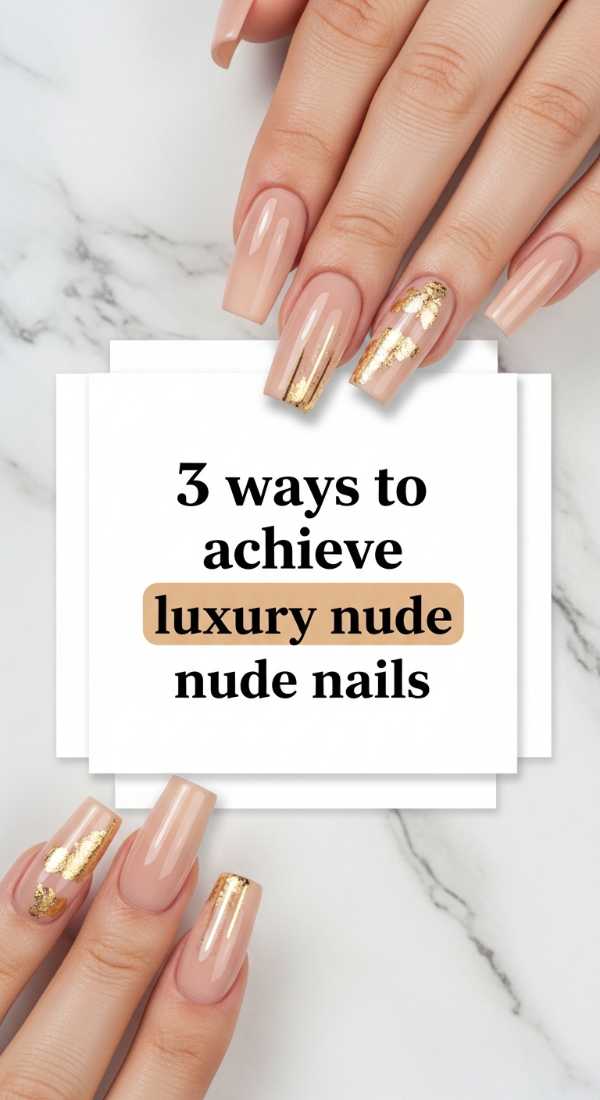
Why to love these Nails:
A perfect nude manicure is the ultimate palate cleanser. It’s sophisticated, professional, and works for every single occasion. The ‘luxury’ part comes from finding the exact undertone that complements your skin, making your hands look radiant rather than washed out.
Essential Items:
- A nude polish that matches your undertone (warm, cool, or neutral)
- Ridge-filling base coat
- High-gloss top coat
How to Prepare:
- Use a ridge filler to create a perfectly smooth surface.
- Apply two very thin, even coats of your chosen nude.
- Clean up the edges with a brush dipped in acetone for a sharp salon finish.
Budget Range
- Olive & June ‘Skin’ ($9.00)
- Pacifico Plant Magic Polish ($10.00)
Minimalist Magic: 4 Creative Ideas for Aesthetic Short Nails
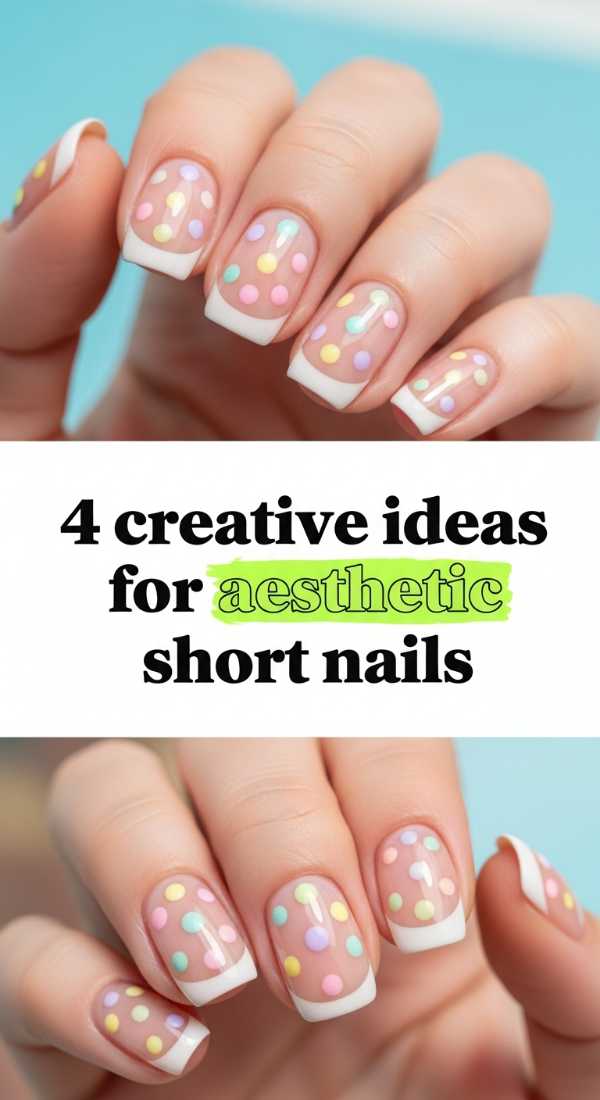
Why to love these Nails:
Short nails are so underrated! They are practical for our busy lives—typing, cooking, gardening—but they can still be incredibly chic. Aesthetic short nails focus on clean lines and unexpected details that prove you don’t need length to have style.
Essential Items:
- Bold accent color (like navy or emerald)
- Metallic tape or foil
- Strengthening base coat
How to Prepare:
- Keep the shape square with rounded edges (squoval).
- Try a single ‘micro-dot’ at the base of each nail.
- Experiment with a ‘half-moon’ design at the cuticle.
- Use a single metallic stripe down the center of the ring finger.
Budget Range
- Essie ‘Off Tropic’ ($9.00)
- Nail Art Striping Tape ($5.00)
The Statement: 8 Polish Ideas for Long Nail Trends
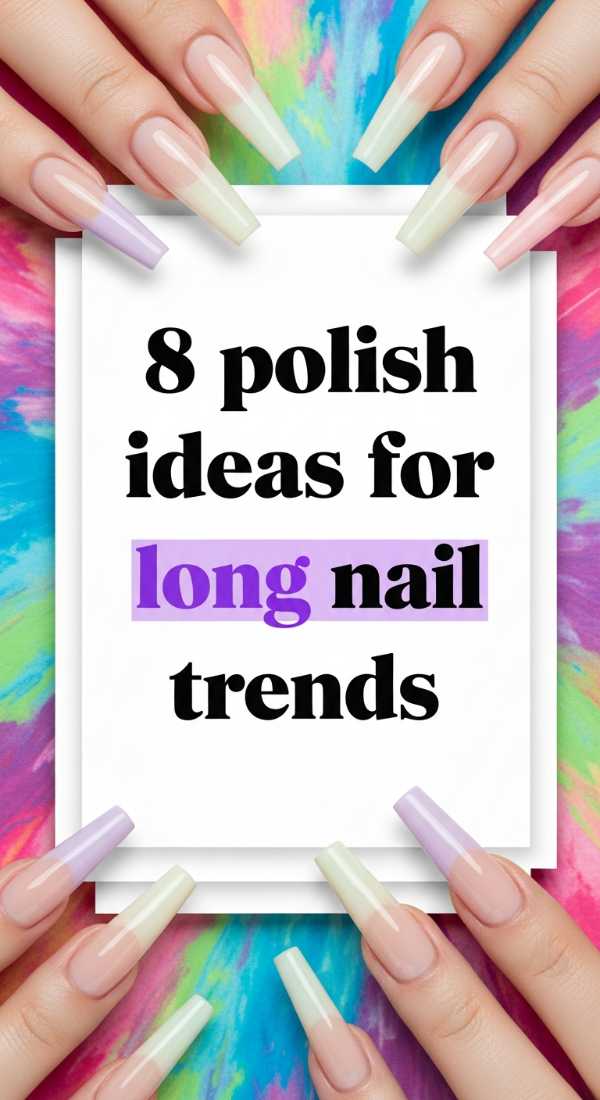
Why to love these Nails:
Long nails are a canvas for self-expression. They give you the space to play with gradients, intricate details, and bold textures. Whether they are natural or extensions, long nails are a statement of femininity and power.
Essential Items:
- Vibrant color palette
- Makeup sponge (for gradients)
- Nail stickers or decals
How to Prepare:
- Try an ombre effect using a sponge.
- Apply a different shade of the same color family to each finger (Skittle nails).
- Use gold leaf flakes on the tips.
- Experiment with ‘Velvet’ magnetic polishes.
- Add a single rhinestone to the base of the thumb.
- Try a vertical split-color design.
- Go for a classic French with a neon tip.
- Finish with a thick, protective top coat to prevent breakage.
Budget Range
- ILNP Boutique Nail Lacquer ($10.00 – $12.50)
- Sally Hansen Miracle Gel ($10.00)
Playful Perfection: 5 Steps to Master Pastel Polka Dots
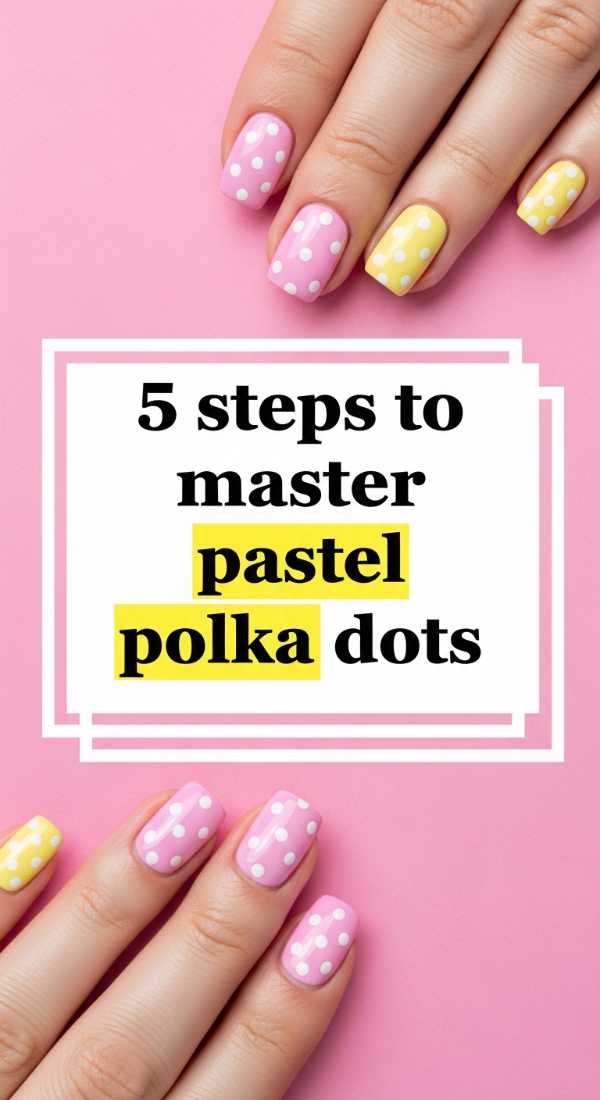
Why to love these Nails:
Polka dots are the ultimate beginner-friendly nail art that never goes out of style. They are cheerful, energetic, and look wonderful in pastel shades. It’s a design that feels like confetti on your fingers—a celebration of the little things.
Essential Items:
- Varying sizes of dotting tools
- 3-4 pastel polishes
- Neutral base coat
How to Prepare:
- Apply your base coat and let dry.
- Dip the largest tool in your first color and space out dots randomly.
- Fill the gaps with the medium-sized tool and a second color.
- Use the smallest tool for a ‘filler’ color to create depth.
- Wait 5 minutes before applying top coat to avoid smearing the dots.
Budget Range
- Barry M Gelly Hi Shine ($5.00)
- Dotting Tool Set ($4.00)
Embrace Your Inner Artist
My loves, I hope this guide reminds you that beauty isn’t about how much you spend, but the love and care you pour into yourself. Your kitchen table is more than just a place to eat; it’s a space where you can create, reflect, and pamper the woman you are becoming. Whether you choose a simple nude or a whimsical ladybug, remember that your hands do so much for the world—they deserve to be adorned with joy. Until next time, stay soft, stay inspired, and keep shining.