
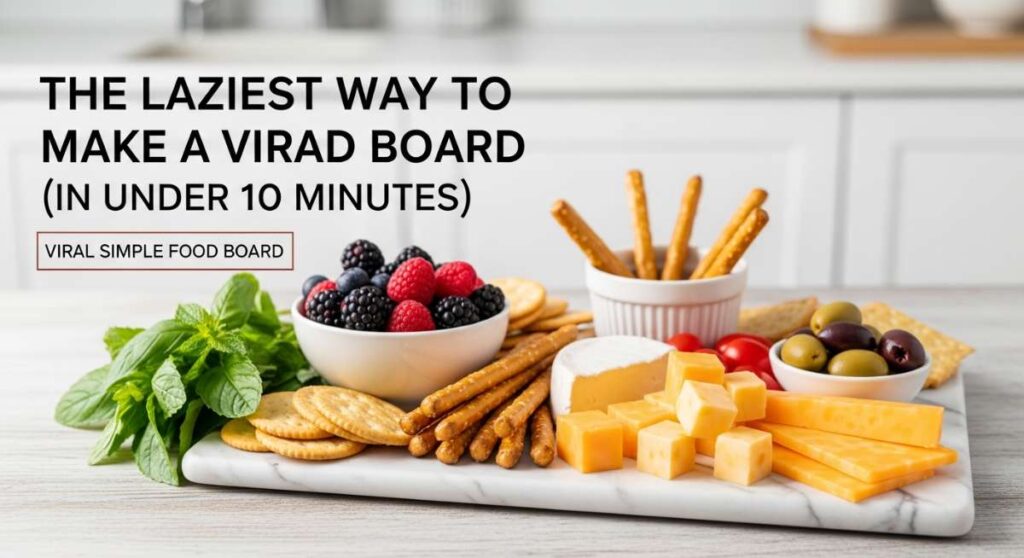
The Laziest Way to Make a Viral Food Board (In Under 10 Minutes)
We’ve all been there: the sun is setting, the doorbell is about to ring, and you realize you haven’t even started the spread you promised would be ‘Pinterest-perfect.’ There’s a specific kind of panic that sets in when you want to be the effortless host who serves up viral-worthy treats but also really wants to spend more time sipping prosecco than scrubbing flour off the counters. My secret? It’s not about doing more; it’s about doing the right things with style.
Creating a viral food board isn’t about cooking a five-course meal from scratch; it’s about the art of assembly and a few key homemade elements that make everyone think you spent all day in the kitchen. In this guide, I’m sharing my favorite shortcuts and show-stopping additions—from tangy jams to perfectly frosted treats—that will turn a simple wooden board into the centerpiece of the season. Let’s dive into the lazy-girl secrets of hosting like a pro.
How to style graduation cakes?
Why we love this
There is something so incredibly nostalgic and triumphant about a graduation cake sitting at the center of a celebration board. The visual of a sharp, clean mortarboard silhouette or a delicate tassel draped over smooth buttercream immediately evokes a sense of pride and accomplishment. Imagine the scent of sweet vanilla bean wafting through the air, paired with the sight of shimmering gold leaf catching the light as you slice through layers of moist, fluffy sponge. It’s the ultimate centerpiece that transitions perfectly from a photo-op to a delicious dessert.
Ingredients
- Pre-baked tiered cake or round sponge
- Black fondant for the cap
- Edible gold leaf or gold luster dust
- Silk-effect piping icing (royal icing)
- Thin licorice ropes (for tassels)
- Small graduation cap toppers
How to make it
- Begin by chilling your pre-baked cake for at least 2 hours to ensure the surface is firm and crumb-free for styling.
- Apply a smooth ‘crumb coat’ of buttercream, then a final thick layer, using a bench scraper to achieve razor-sharp edges which provide a modern, professional look.
- Roll out your black fondant to a 1/4 inch thickness and cut a perfect square to represent the mortarboard; let this air-dry on a flat surface so it doesn’t sag when placed.
- For the tassel, take thin licorice or rolled fondant and fringe the ends with a sharp knife, then drape it from the center of the fondant square to the side of the cake.
- Using a fine-tip brush, apply edible gold leaf to the edges of the ‘cap’ or the base of the cake for a touch of luxury that pops in photos.
- Place a small, plastic or sugar-work diploma at the base of the cake to finish the narrative of the styling.
How to make rhubarb jam?

Why we love this
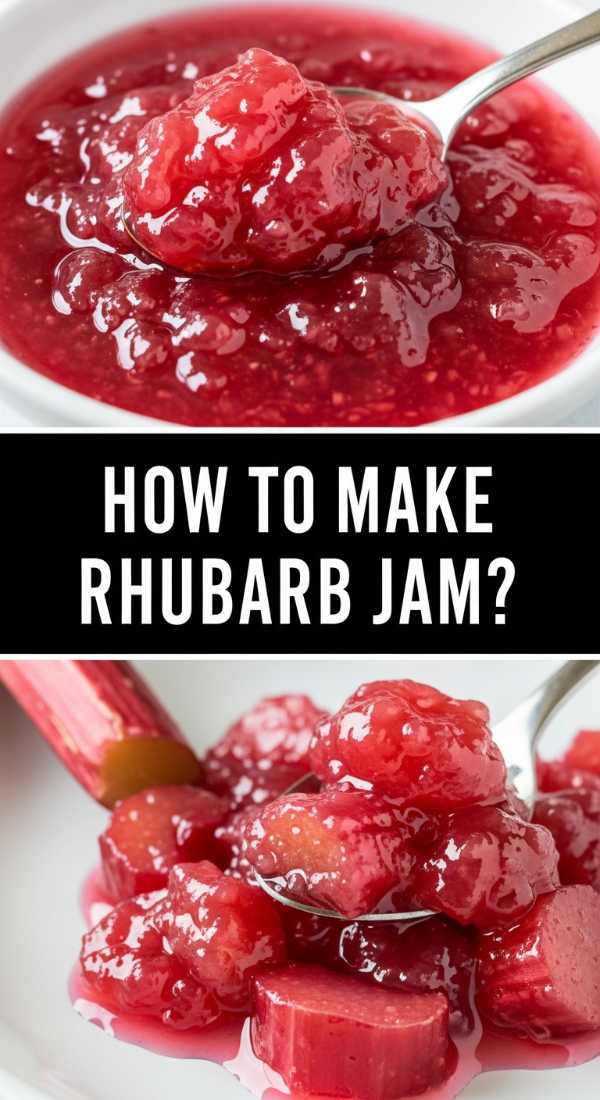
Rhubarb jam is the unsung hero of the brunch board, offering a sophisticated tartness that cuts through rich cheeses and buttery crackers like nothing else. When you simmer those ruby-red stalks, the kitchen transforms into a sanctuary of sweet and tangy aromas, reminiscent of early summer mornings in a country garden. The texture is thick and luscious, with tiny fibers of rhubarb that melt on the tongue, leaving a bright, zesty finish that feels both refreshing and deeply comforting. Its vibrant pink hue is a natural filter for your food board, making everything look instantly more expensive.
Ingredients
- 4 cups fresh rhubarb stalks, chopped into 1/2 inch pieces
- 1.5 cups granulated sugar
- 1 tablespoon fresh lemon juice
- 1 teaspoon lemon zest
- 1/2 teaspoon pure vanilla bean paste
- A pinch of sea salt
How to make it
- In a heavy-bottomed stainless steel saucepan, combine the chopped rhubarb, sugar, and lemon juice; let it macerate for 30 minutes until the juices begin to release.
- Place the pan over medium heat and stir constantly until the sugar has completely dissolved to prevent scorching the bottom.
- Increase the heat to medium-high and bring the mixture to a rolling boil, stirring frequently as it thickens and the rhubarb breaks down into a pulpy consistency.
- Use a candy thermometer to monitor the temperature, aiming for 220°F (104°C), which is the ‘gel point’ where the jam will set properly upon cooling.
- Stir in the lemon zest, vanilla bean paste, and salt during the last two minutes of boiling to preserve their bright, aromatic profiles.
- Perform the ‘plate test’ by placing a small spoonful of jam on a frozen plate; if it wrinkles when pushed with a finger, it is ready to be jarred.
How to decorate graduation cupcakes?
Why we love this
Cupcakes are the ultimate ‘lazy’ party food because they are pre-portioned, but when decorated for a graduation, they become miniature works of art. There is a playful joy in seeing a tray of little ‘graduates’ lined up, each topped with a tiny edible cap or a sprinkle of school colors. The contrast between the soft, airy cake and the firm, snappy chocolate toppers provides a delightful mouthfeel that keeps guests coming back for ‘just one more.’ They add vertical interest to your board and are the easiest way to incorporate a specific color theme without much effort.
Ingredients
- Batch of cooled cupcakes
- Stiff buttercream frosting (in school colors)
- Ghirardelli chocolate squares (for the cap)
- Mini peanut butter cups (inverted for the base)
- M&Ms or small candies (for the button)
- Sour belt candy strips (for tassels)
How to make it
- Pipe a generous swirl of stiff buttercream onto each cupcake using a large open-star tip, creating a stable base for your decorations.
- To create the ‘cap,’ place an inverted mini peanut butter cup in the center of the frosting swirl, pressing down slightly so it sticks.
- Apply a tiny dot of melted chocolate or frosting to the flat top of the peanut butter cup and press a chocolate square onto it, ensuring it sits level.
- Cut a thin strip of sour belt candy or a licorice string and adhere it from the center of the chocolate square hanging over the side to mimic a tassel.
- Add a single M&M to the center of the square with a dab of icing to cover the ‘tassel’ attachment point.
- Chill the cupcakes for 15 minutes before serving to ensure the chocolate structures don’t slide off in a warm room.
How to bake rhubarb pie?
Why we love this
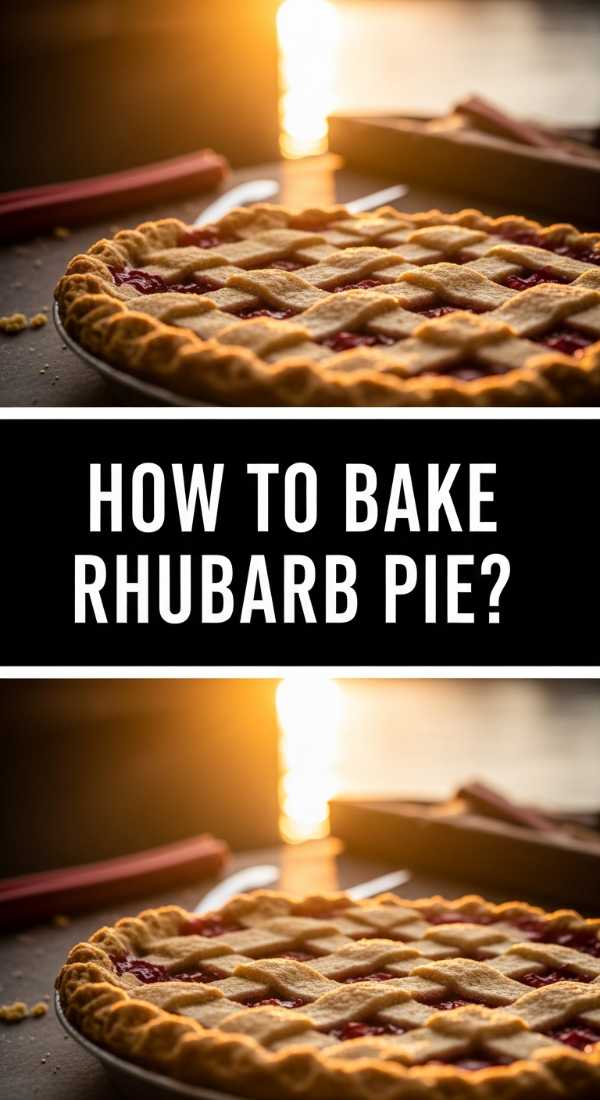
Rhubarb pie is the quintessential rustic dessert that brings a touch of farmhouse chic to any viral food spread. The smell of a buttery, flaky crust browning in the oven combined with the sharp, acidic scent of bubbling rhubarb is enough to make anyone’s mouth water. As you cut into it, the filling should be thick and jam-like, with a beautiful balance of sugar and tartness that dances on the palate. It’s a sensory experience that feels grounded, wholesome, and incredibly impressive when presented with a lattice top that shows off the crimson filling beneath.
Ingredients
- Double pie crust (homemade or high-quality store-bought)
- 5 cups rhubarb, cut into 1/2 inch pieces
- 1 1/4 cups granulated sugar
- 1/4 cup cornstarch (to thicken the juices)
- 1 teaspoon cinnamon
- 1 tablespoon cold butter (cubed)
- 1 egg (for egg wash)
How to make it
- Preheat your oven to 400°F (200°C) and place a baking sheet on the lower rack to catch any potential fruit drips.
- Toss the rhubarb with sugar, cornstarch, and cinnamon in a large bowl, ensuring every piece is evenly coated to prevent large pockets of unthickened juice.
- Roll out the bottom crust and fit it into a 9-inch pie plate, then pour in the rhubarb mixture and dot the top with the small cubes of cold butter.
- Create a lattice top by weaving strips of the second crust over the filling, which allows steam to escape and creates that iconic ‘viral’ look.
- Crimp the edges tightly together and brush the entire top of the pastry with a whisked egg wash and a sprinkle of coarse sugar for a golden, crunchy finish.
- Bake for 45-50 minutes, or until the crust is a deep golden brown and the filling is bubbling thick and slow through the lattice gaps.
How to create funny cakes?
Why we love this
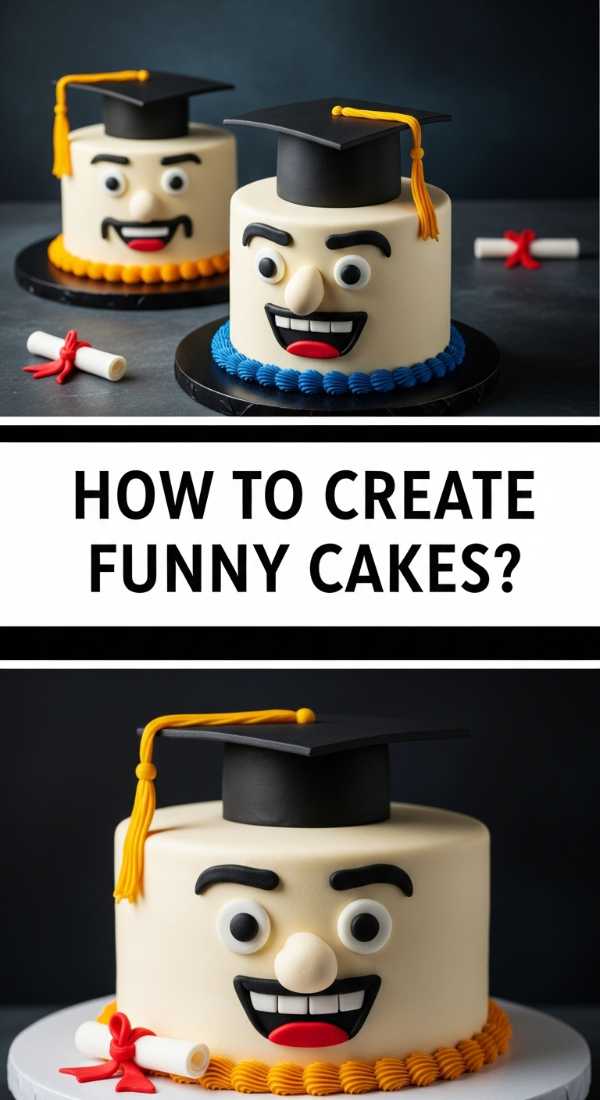
In a world of perfectionism, ‘funny cakes’ are the ultimate viral trend because they embrace the chaotic and the relatable. These are the cakes that make people stop scrolling and laugh—whether it’s a cake that looks like a giant bowl of spaghetti or one with a hilariously ‘ugly’ piped face. The joy is in the subversion of expectations; the cake might look like a disaster or a meme, but inside it’s still that delicious, indulgent treat everyone loves. They break the ice at any party and serve as the perfect conversation starter for your board.
Ingredients
- Simple round or sheet cake
- Multi-colored buttercream in piping bags
- Googly eye sprinkles or fondant eyes
- Edible markers
- Assorted candies for ‘features’
- A sense of humor
How to make it
- Start with a roughly frosted cake—don’t worry about smooth edges here, as ‘imperfection’ is part of the charm and the aesthetic.
- Choose a ‘character’ or a meme to replicate; for a ‘clown’ cake, use a grass tip to pipe messy, colorful ‘hair’ around the top perimeter.
- Place oversized fondant eyes at slightly uneven levels to give the cake a ‘confused’ or ‘surprised’ expression that immediately draws a laugh.
- Use an edible marker to draw a tiny, simplistic mouth or a single ‘sweat drop’ on the side of the cake to lean into the ‘stressed cake’ vibe.
- If making a ‘food-impersonator’ cake (like spaghetti), pipe tan frosting through a small round tip in chaotic piles and top with strawberry jam ‘sauce’ and Ferrero Rocher ‘meatballs.’
- Present the cake with a funny handwritten sign on the board to complete the joke and encourage guests to take photos.
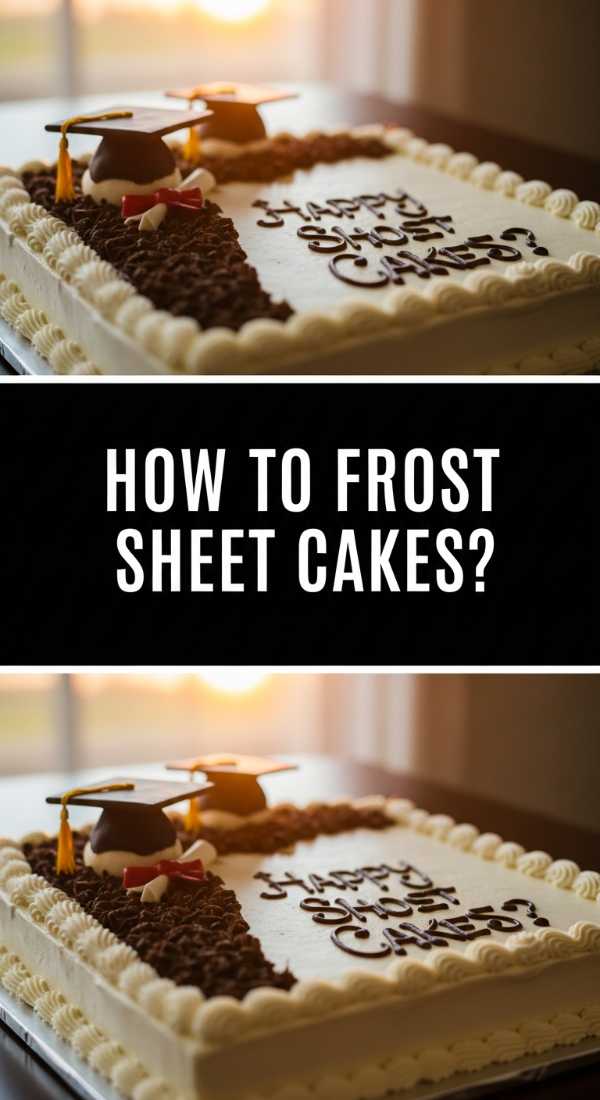
How to frost sheet cakes?
Why we love this
Sheet cakes are the secret weapon of the lazy host—they serve a crowd with zero effort, but when frosted correctly, they look like high-end boutique bakes. There is something deeply satisfying about the uniform, pillowy clouds of frosting stretching from edge to edge. The ratio of frosting to cake is usually higher here, meaning every bite is a decadent mix of soft crumb and creamy topping. It’s the ultimate canvas for sprinkles, edible flowers, or minimalist swooshes that make your food board look abundant and professionally curated.
Ingredients
- One 9×13 inch baked cake, completely cooled
- 3 cups of whipped Swiss Meringue or American buttercream
- Offset spatula
- Decorating sprinkles or freeze-dried fruit
- Fresh berries (optional)
How to make it
- Ensure your cake is entirely cool to the touch; frosting a warm sheet cake will result in the base melting and creating a greasy mess.
- Dollop the entire 3 cups of frosting into the center of the cake and use a large offset spatula to push the frosting toward the edges.
- Use a ‘swooshing’ motion with the tip of the spatula to create decorative peaks and valleys in the frosting, which catches the light and adds dimension.
- For a ‘professional’ finish, keep the edges slightly thicker than the center to create a framed look for your cake.
- Add your toppings (sprinkles or berries) immediately while the frosting is still ‘wet’ so they adhere properly and don’t roll off.
- Use a hot, clean knife to cut the cake into even squares, wiping the knife between every single cut to ensure the frosting layers stay clean and distinct.
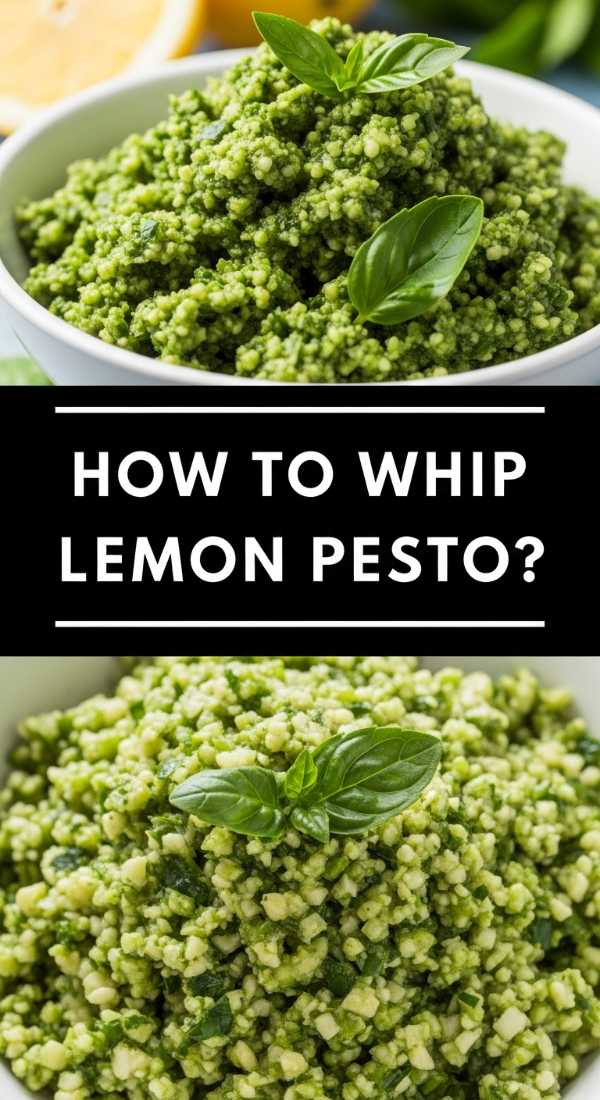
How to whip lemon pesto?
Why we love this
Lemon pesto is the bright, zesty cousin of the traditional basil version, and it is a total game-changer for a savory food board. The aroma is an intoxicating blend of fresh, peppery basil and the sharp, clean scent of lemon zest, instantly making you feel like you’re dining on the Amalfi Coast. Its texture is slightly grainy from the parmesan and pine nuts but lightened by the citrus juices, making it the perfect dip for crusty bread or a glaze for roasted veggies. It’s the pop of green your board needs to look fresh and vibrant.
Ingredients
- 2 cups fresh basil leaves, packed
- 1/2 cup extra virgin olive oil
- 1/3 cup pine nuts (toasted)
- 2 large cloves of garlic
- Juice and zest of 2 organic lemons
- 1/2 cup grated Parmesan cheese
- Salt and cracked black pepper to taste
How to make it
- In a food processor, pulse the garlic and toasted pine nuts until they are broken down into a coarse, sandy consistency.
- Add the fresh basil leaves in two batches, pulsing briefly between each to ensure the leaves are chopped but not completely liquefied into a paste.
- With the processor running on low, slowly drizzle in the olive oil in a steady stream to emulsify the mixture into a thick, creamy sauce.
- Add the lemon juice, lemon zest, and Parmesan cheese, then pulse only 2-3 more times to combine; you want to maintain some texture from the cheese and zest.
- Taste the pesto and season with salt and pepper, adding more lemon juice if you want a sharper, more acidic ‘whip.’
- Transfer to a small bowl and top with a thin layer of olive oil to prevent oxidation (browning) before placing it on your board.
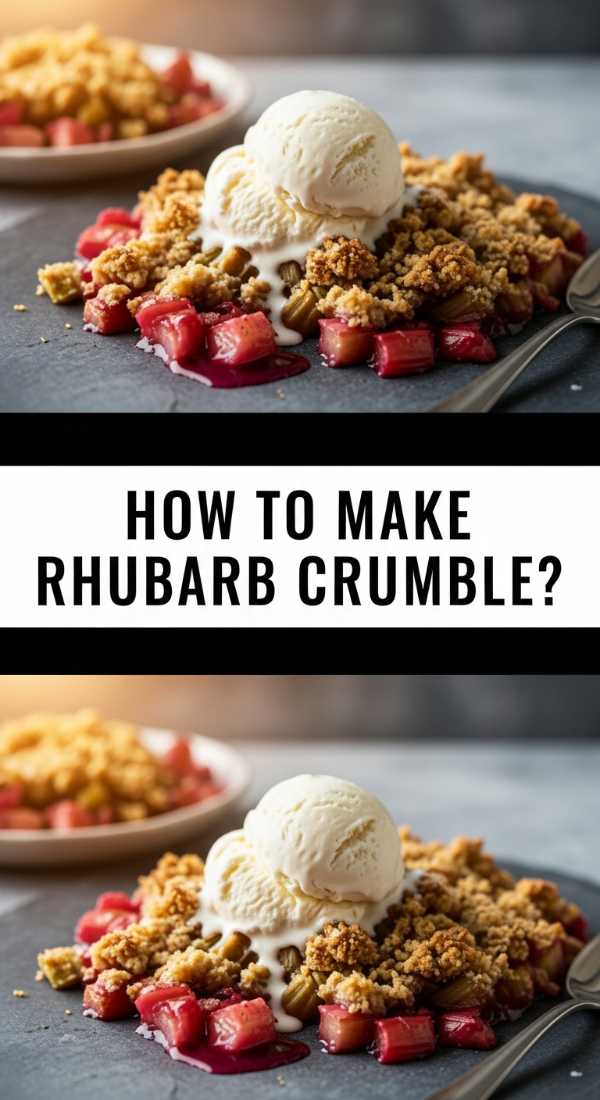
How to make rhubarb crumble?

Why we love this
The rhubarb crumble is the ultimate comfort dish for a dessert board, offering a spectacular contrast between the molten, jammy fruit and the crunchy, buttery oat topping. The sound of a spoon cracking through that golden crust is pure ASMR for food lovers. As the heat hits the rhubarb, it softens into a velvety texture that is perfectly balanced by the earthy, toasted flavor of the oats and brown sugar. It’s a dish that invites people to dig in and share, creating a warm, communal vibe that is the heart of any good gathering.
Ingredients
- 6 cups rhubarb, sliced into 1-inch pieces
- 3/4 cup sugar (for the fruit)
- 1 cup all-purpose flour
- 1 cup rolled oats
- 1 cup brown sugar, packed
- 1/2 cup cold salted butter, cubed
- 1 teaspoon vanilla extract
How to make it
- Preheat your oven to 375°F (190°C) and lightly grease a shallow baking dish that fits comfortably on your serving board.
- Toss the rhubarb with the white sugar and vanilla directly in the baking dish until the fruit is evenly coated.
- In a separate bowl, combine flour, oats, and brown sugar; use your fingers or a pastry cutter to work the cold butter into the dry ingredients until it looks like wet sand with pea-sized clumps.
- Spread the crumble mixture evenly over the rhubarb, pressing down very gently to ensure the topping bonds with the fruit juices as they bubble up.
- Bake for 35-40 minutes; the key visual cue is the fruit juice bubbling vigorously around the edges and the topping reaching a deep, golden brown.
- Let the crumble rest for at least 15 minutes before serving to allow the juices to thicken, ensuring it doesn’t run all over your board.
How to ice sugar cookies?

Why we love this
Iced sugar cookies are the ‘jewelry’ of a food board. They add specific shapes, colors, and a refined finish that ties the whole theme together. The snap of the royal icing as you bite into the soft, buttery cookie is incredibly satisfying, and the smooth, matte finish of the icing looks almost too perfect to eat. Whether you go for a simple ‘flood’ technique or intricate marbling, these cookies act as the decorative accents that make your board look intentional and high-effort, even if the cookies themselves were made days in advance.
Ingredients
- Batch of baked, flat sugar cookies
- 4 cups powdered sugar
- 3 tablespoons meringue powder
- 5-7 tablespoons warm water
- Gel food coloring
- Piping bags and small round tips
How to make it
- Whisk the powdered sugar, meringue powder, and water in a stand mixer for about 7-10 minutes until the icing forms stiff peaks; this is your ‘outline’ icing.
- Separate the icing into bowls and tint with gel coloring, then transfer a small amount to piping bags to outline the perimeter of each cookie.
- Thin out the remaining icing with a few extra drops of water until it reaches ’10-second consistency’ (where a drizzled line disappears into the bowl in 10 seconds).
- ‘Flood’ the center of the outlined cookies with the thinner icing, using a toothpick to pop any air bubbles and push the icing into the corners.
- For a viral ‘marbled’ effect, drop dots of a contrasting color into the wet flood icing and drag a toothpick through them in a swirling motion.
- Allow the cookies to dry completely on a flat surface for at least 8-12 hours before stacking or placing them on your board to avoid smudging the finish.
How to mix coffee drinks?
[IMAGE_10]
Why we love this
No board is complete without a beverage component, and a beautifully mixed coffee drink adds a touch of ‘cafe culture’ to your home setup. The visual of dark, rich espresso swirling into creamy, cold milk is pure aesthetic magic. The clinking of ice cubes against glass and the aromatic steam of freshly brewed beans create an atmosphere of sophisticated relaxation. It’s the perfect pick-me-up that balances out the sweet treats on the board, offering a bitter, complex counterpoint to the sugary jams and cakes.
Ingredients
- 2 shots of high-quality espresso (or 1/2 cup cold brew concentrate)
- 1 cup milk of choice (oat milk works best for froth)
- 1 tablespoon flavored syrup (vanilla, lavender, or mocha)
- Ice cubes
- Optional: Cold foam or a dusting of cinnamon
How to make it
- Fill a tall, clear glass to the brim with large ice cubes; using plenty of ice ensures the drink stays cold without diluting too quickly.
- Pour your milk of choice over the ice until the glass is about three-quarters full.
- In a separate small pitcher, mix your hot espresso shots with the flavored syrup to ensure the sugar dissolves completely into the coffee.
- Slowly pour the espresso mixture over the milk; for a ‘layered’ look, pour the coffee over the back of a spoon to break the fall and keep the liquids separate.
- If adding cold foam, whisk 1/4 cup of milk with a handheld frother until thick and pour it gently over the top of the drink.
- Finish with a light dusting of cinnamon or cocoa powder and place the glass on a coaster directly on your board for an instant ‘lifestyle’ vibe.
Conclusion: The Art of the Lazy Spread
At the end of the day, the best food boards are the ones that actually get eaten and enjoyed. By mixing a few high-impact homemade items like that tart rhubarb jam or those hilarious ‘funny cakes’ with easy, styled elements, you create a spread that feels abundant and personal without the burnout. Remember, hosting is about the memories made around the table, not the hours spent stressing over it. So grab your board, pick two or three of these recipes to try, and enjoy the party!