
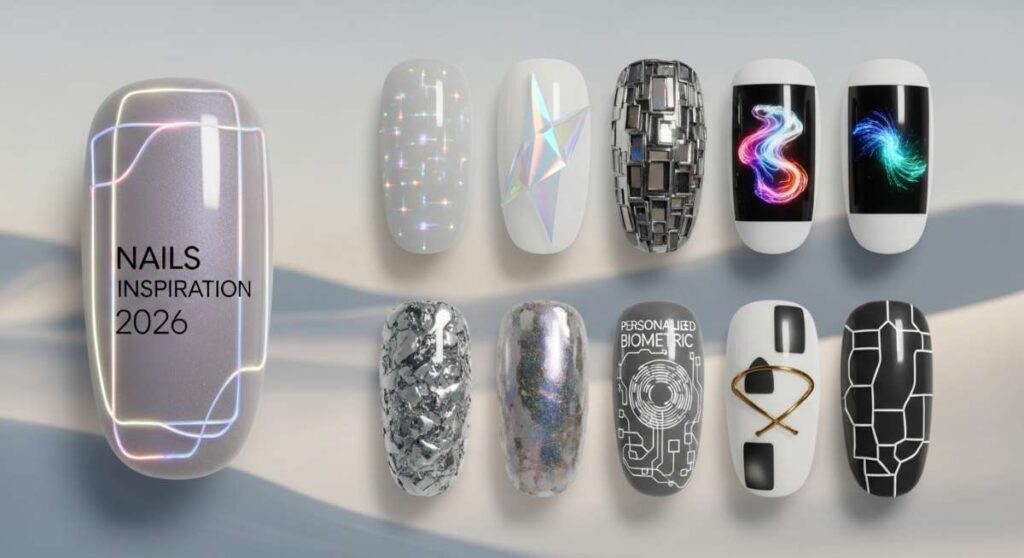
Future Fingertips: 10 Revolutionary Nail Trends Defining 2026
Hello, my beautiful loves! There is something so incredibly soothing about taking a moment for ourselves, isn’t there? As we drift closer to 2026, I’ve been daydreaming about how our self-expression is shifting. Our hands do so much for us—they hold our coffee, hug our friends, and create our worlds—so it only feels right that we dress them in the magic of the future. I want to invite you into this cloud-soft space where we explore the textures and colors that will define our look in the coming years.
The trends for 2026 are all about a beautiful collision between nostalgic Y2K energy and high-tech elegance. It’s a whisper of the past meeting the roar of the future. Whether you’re looking for a quiet moment of sparkle or a bold statement of art, these trends are designed to make you feel empowered and uniquely you. Grab a warm cup of tea, settle into your favorite chair, and let’s look at the art that will be gracing your fingertips very soon.
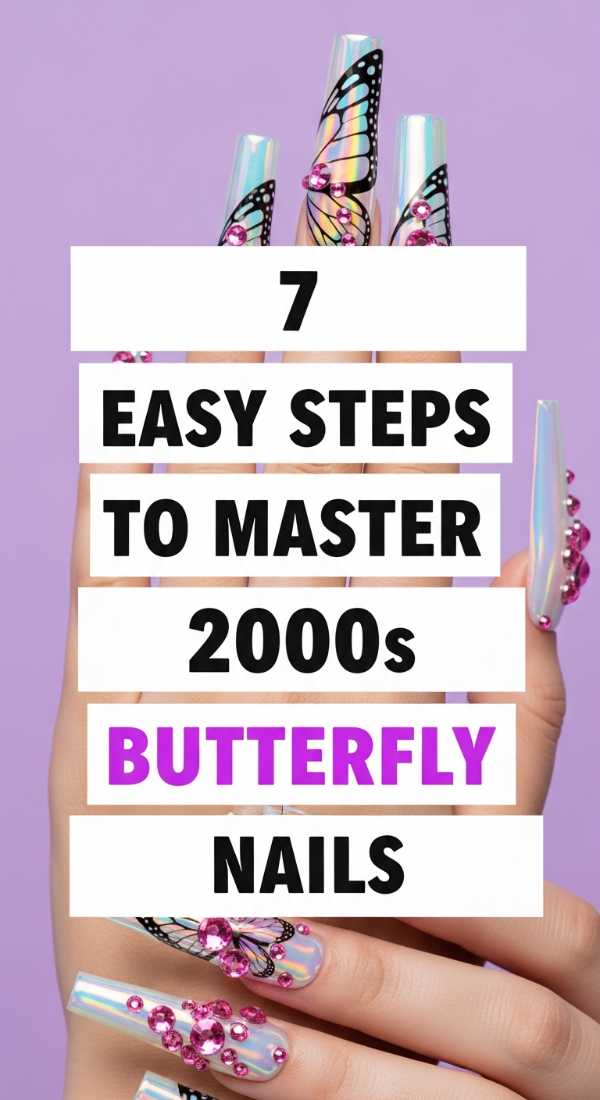
7 easy steps to master 2000s butterfly nails
Why to love these Nails:
Oh, my loves, there is a reason the butterfly is the ultimate symbol of transformation. These 2000s-inspired nails take that soft, fluttering nostalgia and give it a modern, holographic twist. They feel like a gentle reminder that we are always growing and changing, and that our beauty is constantly taking flight in the most wonderful ways.
Essential Items:
- Iridescent butterfly decals
- Pale lavender base polish
- Fine-line detailing brush
- Holographic top coat
- Pointed tweezers
How to Prepare:
- Gently push back cuticles and shape nails into a soft almond.
- Apply two thin coats of lavender base and let dry completely.
- Use tweezers to carefully place one butterfly decal on the accent nail.
- Hand-paint tiny trails using a detailing brush and silver polish.
- Apply a thin layer of holographic top coat for a shimmering finish.
- Add a second butterfly to the opposite hand’s ring finger for symmetry.
- Seal everything with a high-shine gel-effect top coat.
Budget Range
- Drugstore Option: Sally Hansen Miracle Gel ($10)
- Mid-Range: Deco Miami Nail Art Stickers ($12)
- High-End: Holo Taco Linear Holo Polish ($14)
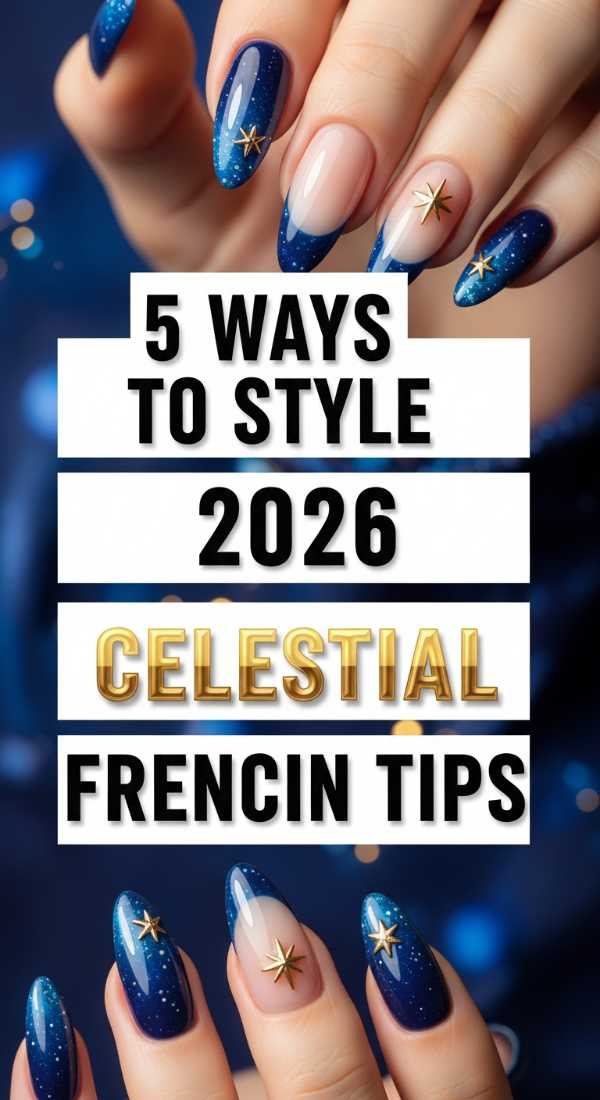
5 ways to style 2026 celestial French tips
Why to love these Nails:
Imagine the night sky kissing the tips of your fingers, my dear ones. These celestial French tips are a poetic upgrade to the classic look, replacing the standard white with deep stardust and tiny constellations. It’s a look that says you have your feet on the ground but your heart in the stars.
Essential Items:
- Midnight blue or black polish
- Silver star charms
- Ultra-fine glitter dust
- French tip guides
How to Prepare:
- Style with a matte base and metallic silver tips for a high-contrast look.
- Try a gradient ‘midnight’ tip that fades into a clear base.
- Add a single tiny rhinestone ‘star’ at the corner of each French line.
- Use a velvet-finish top coat on the base and high-gloss on the tips.
- Incorporate a delicate crescent moon charm on the thumb for a focal point.
Budget Range
- Essie Enamel in ‘After School Boy Blazer’ ($10)
- ManiMe Moon & Star Studs ($8)
- Olive & June Super Glossy Top Coat ($9)
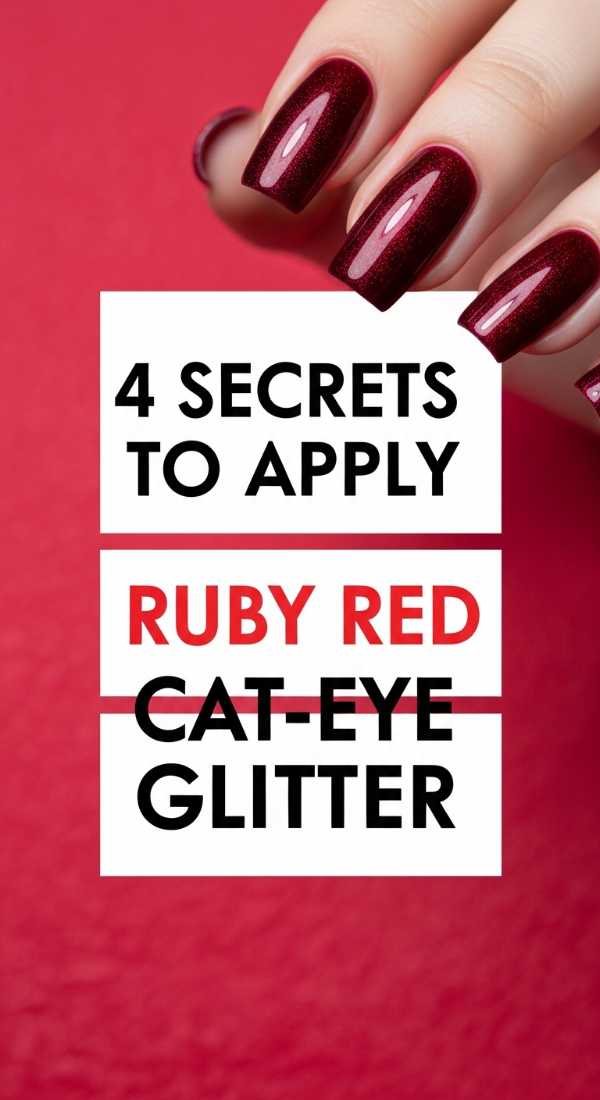
4 secrets to apply ruby red cat-eye glitter
Why to love these Nails:
There is something so deeply romantic and mysterious about ruby red. When you add the cat-eye magnetic effect, it creates a depth that looks like a velvet curtain or a precious gemstone. It’s a warm, soulful look that feels like a cozy hug for your soul during a crisp evening out.
Essential Items:
- Magnetic ‘Cat Eye’ Ruby Red Gel Polish
- Strong neodymium nail magnet
- Black gel base coat (for depth)
- UV/LED Lamp
How to Prepare:
- Apply a black base coat first; it makes the red ‘pop’ with an inner fire.
- Hold the magnet at a 45-degree angle for exactly 10 seconds without moving.
- Work one finger at a time to ensure the magnetic particles don’t settle before curing.
- Apply a second thin layer of the magnetic red to intensify the 3D effect.
Budget Range
- KBShimmer Magnetic Polish ($12)
- Born Pretty Magnetic Wand ($5)
- Modelones Gel Polish Set ($15)
8 simple steps for 3D gold floral acrylics
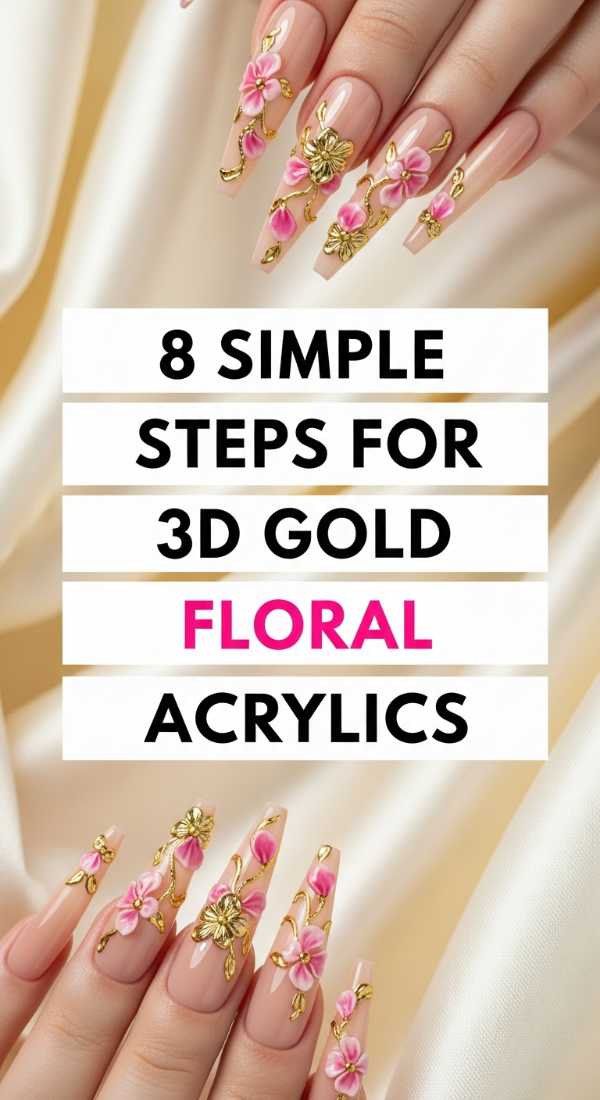
Why to love these Nails:
Flowers are nature’s poetry, and wearing them in 3D gold feels like carrying a tiny sculpture garden with you. These nails are tactile, luxurious, and so incredibly feminine. They celebrate the blooming beauty that exists within all of us, even in the most futuristic of times.
Essential Items:
- Gold chrome powder
- 3D sculpting gel or acrylic powder
- Small silicone tool
- Clear extension tips
- Gold leaf flakes
How to Prepare:
- Apply your base acrylic extension and buff to a smooth finish.
- Place a small bead of 3D gel where you want the flower center.
- Use the silicone tool to press and pull the gel into five petal shapes.
- Cure the gel petals under a lamp until firm.
- Rub gold chrome powder over the cured petals for a metallic finish.
- Apply tiny gold leaf flakes around the base of the flower.
- Add a small pearl or rhinestone to the center of the bloom.
- Seal the entire nail with a non-wipe top coat to protect the 3D art.
Budget Range
- Makartt 3D Nail Extension Gel ($13)
- Artdone Gold Leaf Flakes ($7)
- Beetles Gold Chrome Powder ($9)
6 hacks for the perfect navy glitter ombré
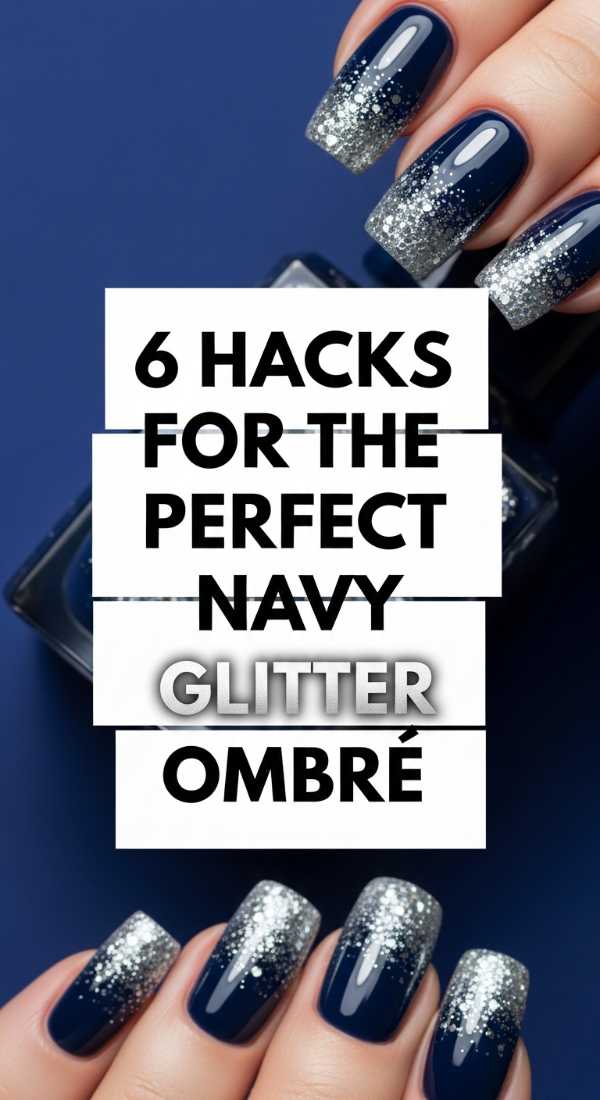
Why to love these Nails:
Navy blue is the color of wisdom and calm, and adding a glitter ombré is like watching the tide come in under a moonlit sky. It’s a sophisticated way to wear sparkle without it feeling overwhelming. This look is perfect for those of you who want to feel grounded yet radiant.
Essential Items:
- Deep navy cream polish
- Fine silver or blue glitter polish
- Makeup sponge
- Liquid latex or nail guard
- Angled clean-up brush
How to Prepare:
- Hack 1: Use a makeup sponge to dab glitter only on the top third for a seamless blend.
- Hack 2: Apply liquid latex around your skin first to save time on the messy clean-up.
- Hack 3: Layer two different sizes of glitter to create more visual ‘depth’.
- Hack 4: Use a fan brush to softly ‘pull’ the glitter down toward the cuticle.
- Hack 5: Mix a drop of navy with clear polish to create a ‘jelly’ transition layer.
- Hack 6: Finish with two coats of top coat to smooth out any glitter texture.
Budget Range
- OPI ‘Russian Navy’ ($11)
- ILNP ‘Cityscape’ Glitter ($10)
- Pueen Latex Tape ($9)
10 tools to create 2000 style chrome nails
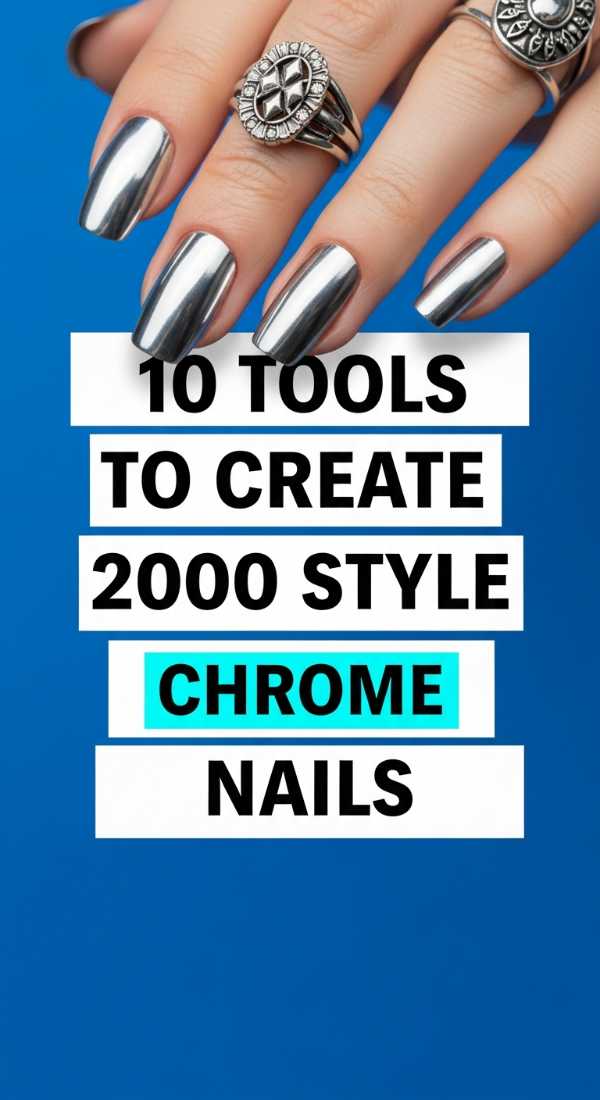
Why to love these Nails:
Chrome nails are the ultimate bridge to 2026. They feel like a mirror to the future while echoing the bold, metallic vibes we loved in the early 2000s. There’s something so empowering about seeing your own reflection in your manicure—it’s a reminder of your own light.
Essential Items:
- Mirror-finish chrome powder
- Sponge tipped applicators
- No-wipe gel top coat
- Soft dusting brush
- UV/LED curing lamp
- Silicone buffing tool
- Lint-free wipes
- Alcohol cleanser
- Peel-off base coat (for easy removal)
- High-pigment black gel polish
How to Prepare:
- Prep the nail and apply a black gel base (this gives the chrome its ‘mirror’ look).
- Apply a no-wipe top coat and cure for exactly 30 seconds (don’t over-cure!).
- Dip the sponge applicator into the chrome powder.
- Rub the powder onto the nail in circular motions until it shines.
- Use the silicone tool to burnish the edges for a seamless finish.
- Dust off excess powder with the soft brush.
- Apply another layer of top coat and cure fully.
- Clean the surrounding skin with alcohol.
- Repeat for a second layer if you want a deeper metallic effect.
- Finish with cuticle oil for a healthy glow.
Budget Range
- PrettyDiva Mermaid Chrome ($12)
- SunUV LED Lamp ($25)
- Gelish No-Wipe Top Coat ($15)
5 easy steps to achieve clover green acrylics
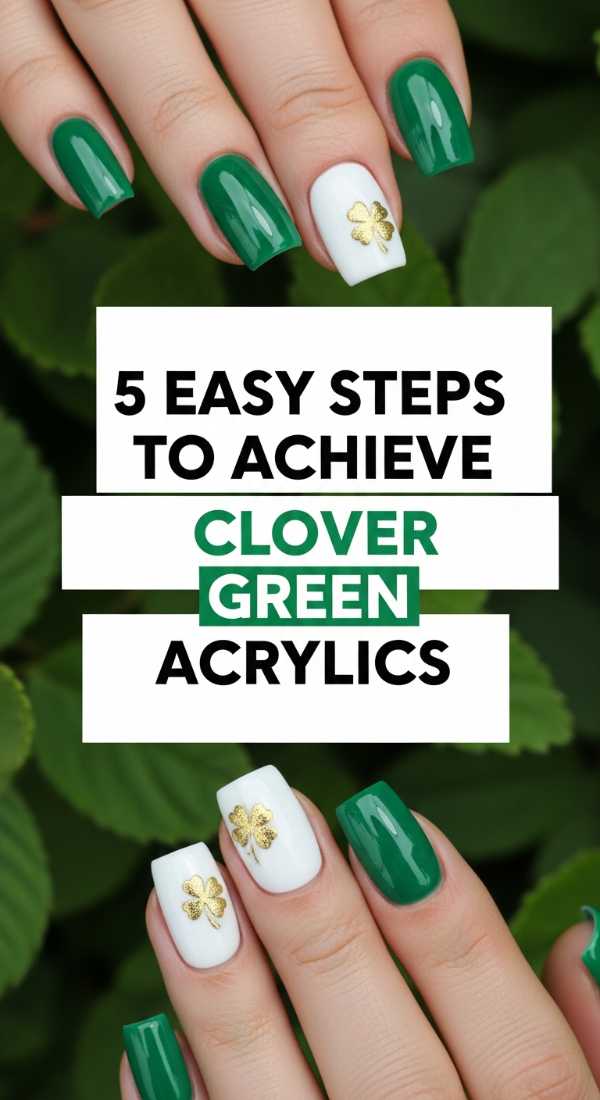
Why to love these Nails:
Clover green is the color of luck, growth, and fresh starts. In 2026, we are leaning into earthy tones that feel vibrant and alive. These nails are a breath of fresh air, a little piece of the meadow that you can carry with you through the bustling city streets.
Essential Items:
- Vivid clover green acrylic powder
- Monomer liquid
- Acrylic brush (Size 8 or 10)
- Nail files (100/180 grit)
- Matte top coat
How to Prepare:
- Dehydrate the nail bed and apply a primer for maximum adhesion.
- Pick up a medium bead of green acrylic and place it at the stress point.
- Gently pat the acrylic toward the tip, ensuring even thickness.
- File the sidewalls and tip into a crisp ‘coffin’ or ‘stiletto’ shape.
- Apply a matte top coat to give the green an earthy, velvet-like finish.
Budget Range
- Mia Secret Green Acrylic Powder ($8)
- Young Nails Monomer ($20)
- Zoya Matte Velvet Top Coat ($12)
7 ways to wear long 2026 jelly nails

Why to love these Nails:
Jelly nails are like stained glass for your fingertips. They are translucent, juicy, and have a playful lightness that feels so modern. For 2026, we are seeing them in longer lengths, creating a glass-slipper effect that is both whimsical and incredibly chic.
Essential Items:
- Sheer ‘jelly’ gel polish
- Clear nail tips or forms
- Builder gel
- Nail art wire
How to Prepare:
- Wear them ‘naked’ with just a sheer pink tint for a healthy glass look.
- Encapsulate dried flowers inside the clear jelly for a botanical vibe.
- Try a ‘mismatched’ rainbow where each finger is a different sheer fruit color.
- Embed thin gold wire in geometric shapes between jelly layers.
- Add a ‘cat-eye’ magnetic layer underneath the jelly for a glowing effect.
- Use a high-gloss finish to mimic the look of hard candy.
- Style with an extra-long stiletto shape to emphasize the transparency.
Budget Range
- Cirque Colors Jelly Polish ($12)
- Saviland Builder Gel Kit ($16)
- Aprés Gel-X Tips ($25)
- Nail Art Wire Spool ($5)
3 techniques for flawless 2000s airbrushed art

Why to love these Nails:
The airbrushed look is a total vibe, my loves! It brings back that soft, hazy aesthetic of the early 2000s but with a cleaner, more refined finish. It’s perfect for creating those dreamy gradients that look like a sunset or a soft cloud passing by.
Essential Items:
- Portable mini airbrush machine
- Airbrush-ready nail paints
- Star and heart stencils
- Acetone for cleaning
How to Prepare:
- The Aura Technique: Spray a circular burst of color in the center of a neutral base.
- The Stencil Technique: Lay a heart stencil down and spray a contrasting color over it.
- The Multi-Layer Fade: Spray three colors vertically to create a seamless side-to-side gradient.
Budget Range
- OPHIR Mini Airbrush Kit ($50)
- Createx Colors Airbrush Paint ($7)
- Whats Up Nails Stencils ($5)
9 pro tips for 2026 metallic aura nails
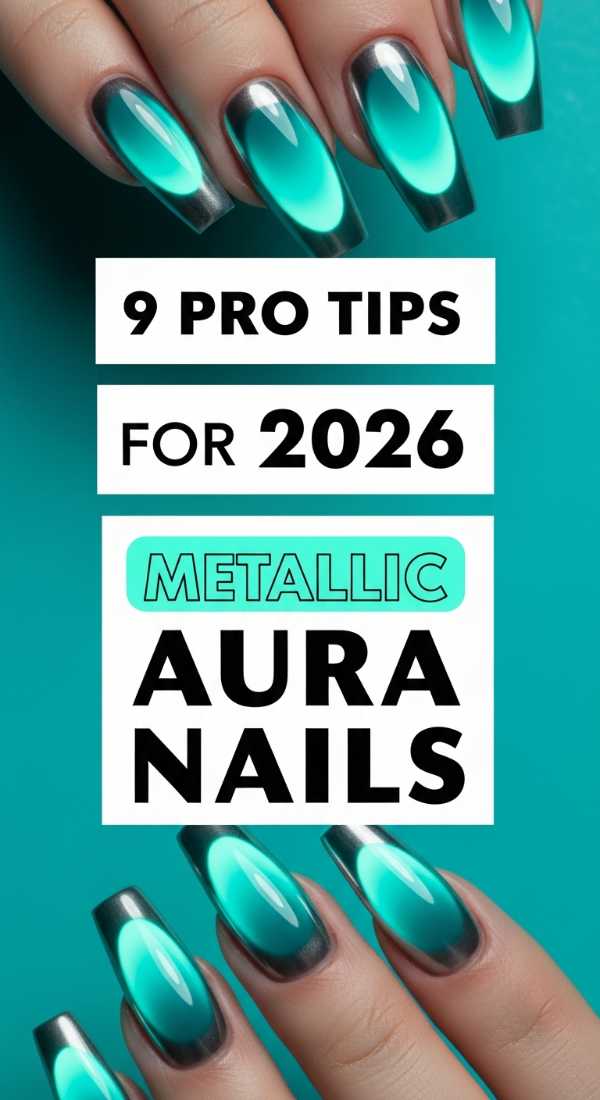
Why to love these Nails:
Aura nails are all about your energy, and the 2026 version uses metallic finishes to show that your light is strong and unbreakable. It looks like a glow coming from within the nail. It’s a beautiful way to wear your mood on your sleeve—or rather, your fingertips!
Essential Items:
- Chrome pigments
- Eyeshadow applicators
- Blooming gel
- Silver metallic liner gel
- Soft buffing block
How to Prepare:
- Tip 1: Start with a milky white base to help the metallic aura colors stand out.
- Tip 2: Use a blooming gel to help the center color spread softly.
- Tip 3: Apply chrome powder only to the center using a circular motion.
- Tip 4: Use a damp sponge to blur the edges of the metallic circle.
- Tip 5: Add a tiny silver ‘halo’ line around the aura for extra definition.
- Tip 6: Layer two different chrome colors for a ‘duochrome’ energy field.
- Tip 7: Flash cure for 10 seconds between layers to keep the colors from getting muddy.
- Tip 8: Use a high-quality non-wipe top coat to lock in the metallic pigment.
- Tip 9: Massage cuticle oil in after curing to make the metallic finish look even glossier.
Budget Range
- Daily Charme Magic White Chrome ($15)
- Kodi Professional Milk Base ($14)
- Born Pretty Liner Gel ($6)
Embracing Your Future Glow
As we look forward to the trends of 2026, remember that the most important part of any beauty ritual is how it makes you feel. Whether you choose the nostalgic flutter of butterflies or the high-tech gleam of metallic auras, let your nails be a reflection of your beautiful, evolving spirit. Take this time for yourself, my loves. You deserve to feel artful, inspired, and completely cherished. I can’t wait to see which of these future-forward looks you choose to make your own. Stay glowing!