
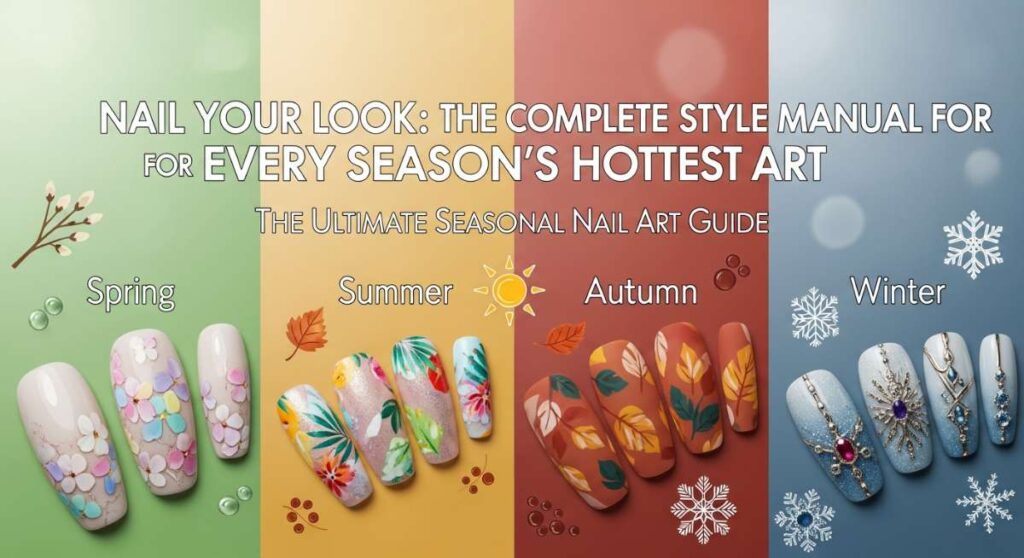
Nail Your Look: The Complete Style Manual for Every Season’s Hottest Art
Hello, my sweetest loves! There’s something so incredibly grounding about taking a moment for ourselves, isn’t there? In the rush of our beautiful, busy lives, our hands do so much—they hold coffee mugs on chilly mornings, they wave hello to friends across the street, and they carry the weight of our daily dreams. Giving them a little extra love through nail art isn’t just about fashion; it’s a tiny, sparkly ritual of self-care that reminds us we are worthy of beauty in every single detail.
I’ve gathered my absolute favorite inspirations for you today, wrapped in a cloud-soft embrace of color and creativity. Whether you’re feeling the gentle bloom of spring or the sun-drenched energy of a summer afternoon, this guide is designed to be your companion. So, grab a warm cup of tea, settle into your favorite cozy chair, and let’s explore how to make your fingertips tell your most beautiful story.
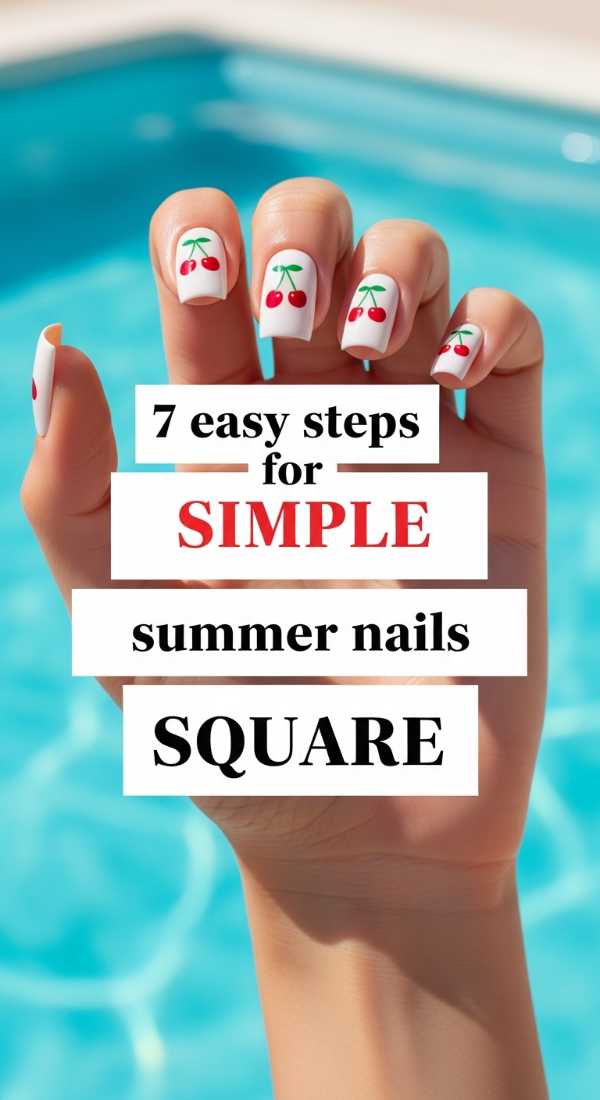
7 Easy Steps for Simple Summer Nails Square
Why to love these Nails:
These nails are the epitome of clean, modern elegance. The square shape provides a sturdy yet sophisticated canvas that feels fresh and purposeful. It’s for the soul who loves a minimalist aesthetic but wants a crisp edge that stands out against a sun-kissed tan.
Essential Items:
- Medium-grit nail file
- Base coat
- Sheer nude or white polish
- Top coat
- Cuticle oil
How to Prepare:
- Trim nails to your desired length.
- File straight across the top to create the square edge.
- Softly round only the very corners to prevent snagging.
- Apply a nourishing base coat.
- Paint two thin layers of your chosen summer shade.
- Seal with a high-shine top coat.
- Finish with a drop of lavender-scented cuticle oil.
Budget Range
- Essie Expressie (White) – $10
- Sally Hansen Hard as Nails Base Coat – $5
- Nail File Set – $3
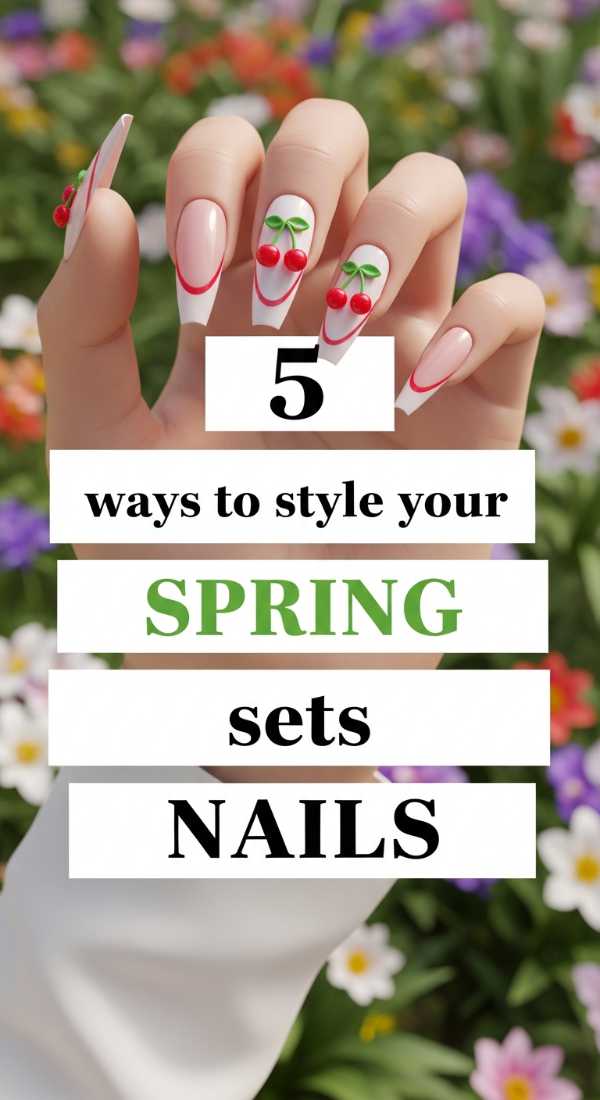
5 Ways to Style Your Spring Sets Nails
Why to love these Nails:
Spring is all about rebirth and delicate transitions. Styling your sets with a mix of textures and subtle patterns feels like a soft hug for your hands. These styles capture the essence of a garden waking up after a long sleep.
Essential Items:
- Pastel polish set (mint, lilac, butter yellow)
- Matte top coat
- Floral nail decals
- Gold striping tape
How to Prepare:
- The Matte & Glossy Mix: Alternate matte and glossy finishes on different fingers.
- The Accent Bloom: Use a floral decal on just the ring finger.
- The Pastel French: Swap white tips for a soft lilac.
- The Golden Thread: Apply a single horizontal line of gold tape across a mint base.
- The Negative Space: Leave the crescent of your nail bare for a modern touch.
Budget Range
- Modelones Pastel Gel Set – $15
- Matte Top Coat by OPI – $11
- Nail Art Decals – $6
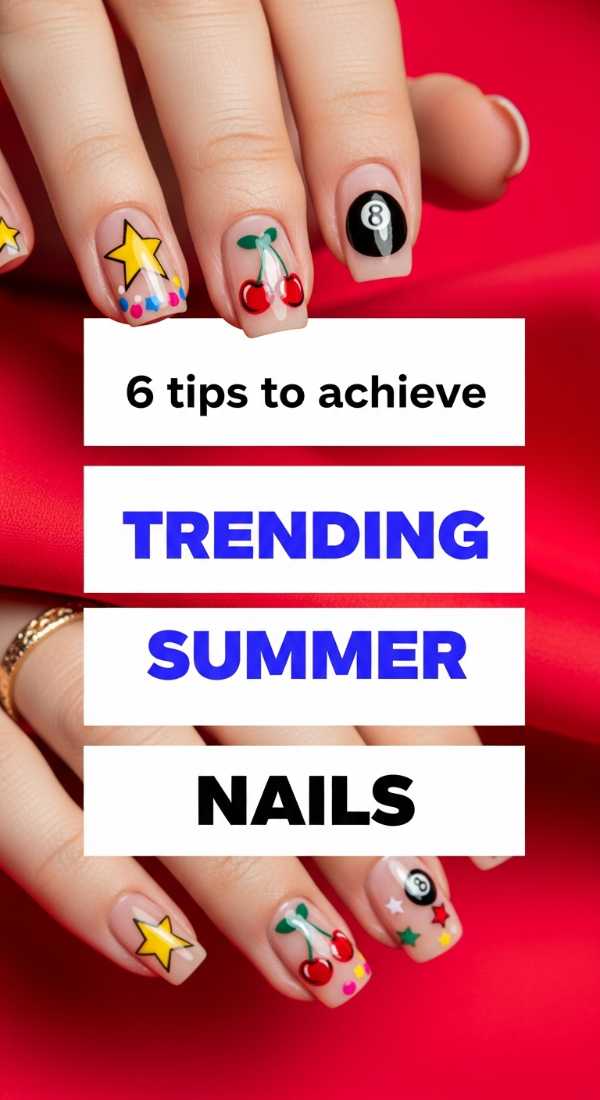
6 Tips to Achieve Trending Summer Nails
Why to love these Nails:
Staying on trend doesn’t have to be stressful, my loves! It’s all about embracing the vibrant, playful energy of the season. Trending summer nails are like a celebration you can carry with you wherever you go.
Essential Items:
- Neon pigments
- Chrome powder
- Mixing palette
- Detail brush
How to Prepare:
- Always start with a clean canvas by buffing away ridges.
- Incorporate ‘Jelly’ finishes for a translucent, candy-like look.
- Use chrome powder over a bright base for that ‘Glazed Donut’ summer glow.
- Experiment with aura nails using a sponge for a soft gradient.
- Try mismatched hands for a bold, artistic vibe.
- Keep a hydration mist in your bag to keep your hands looking dewy.
Budget Range
- Holo Taco Chrome Powder – $12
- Zoya Jelly Polish – $12
- Detail Brush Set – $8
4 Simple Steps for Cute Summer Nails
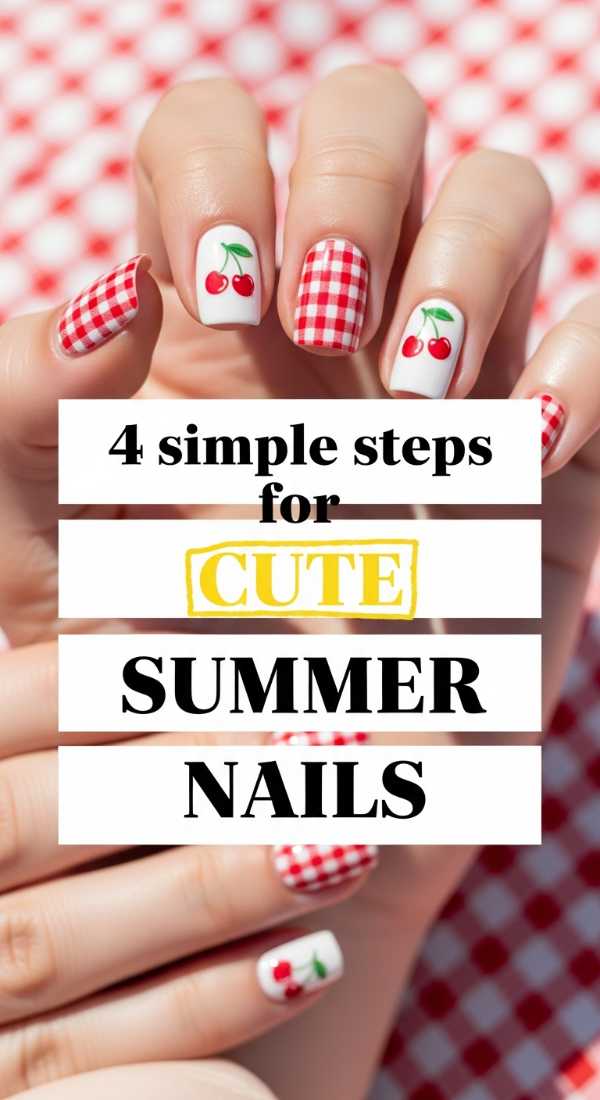
Why to love these Nails:
Sometimes, the simplest things bring the most joy. These cute summer nails are perfect for those low-maintenance days when you still want to feel put-together and whimsical. They are the ‘no-makeup-makeup’ of the nail world.
Essential Items:
- Clear gloss
- Peach or soft pink polish
- Toothpick or dotting tool
How to Prepare:
- Apply a clear or very sheer base color.
- Use a toothpick to place three tiny white dots in a cluster.
- Add a tiny yellow dot in the center to create a simple daisy.
- Lock it in with a thick layer of top coat for a gel-like finish.
Budget Range
- Revlon Enamel (Soft Pink) – $6
- Wet n Wild Clear Coat – $3
- Dotting Tool (or use a toothpick) – $0
8 Steps to Create Fish Bait Nails
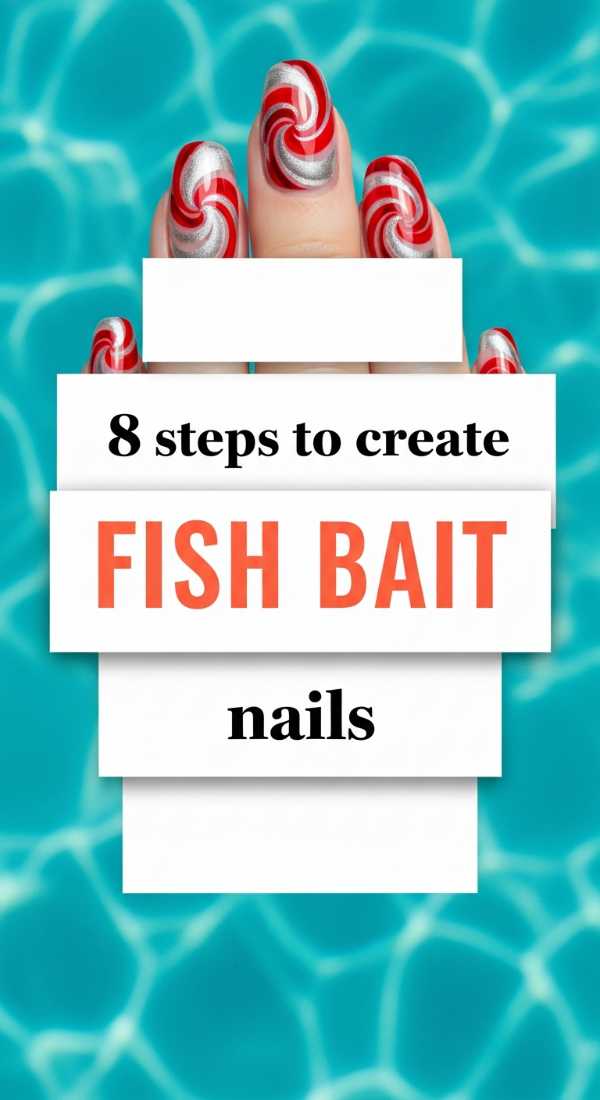
Why to love these Nails:
Don’t let the name surprise you—this trend is all about the mesmerizing, iridescent scales of the sea. It’s a bit edgy, a bit mermaid-core, and completely captivating. It’s for the adventurous spirit who loves the deep blue.
Essential Items:
- Teal or deep blue base polish
- Iridescent flakies or glitter
- Sponging tool
- Tweezer
How to Prepare:
- Apply two coats of deep sea teal.
- Wait until tacky, then sponge on iridescent flakies.
- Use a tweezer to place larger glitter pieces in a scale pattern.
- Seal with a thick builder gel or top coat.
- Add a second layer of top coat for depth.
- Clean the edges with a brush dipped in acetone.
- Cure or let dry completely.
- Apply a cooling hand cream.
Budget Range
- OPI (Teal the Cows Come Home) – $11
- Iridescent Nail Flakes – $7
- Cleanup Brush – $5
5 Minutes to Prepare Pink Lemonade Nails
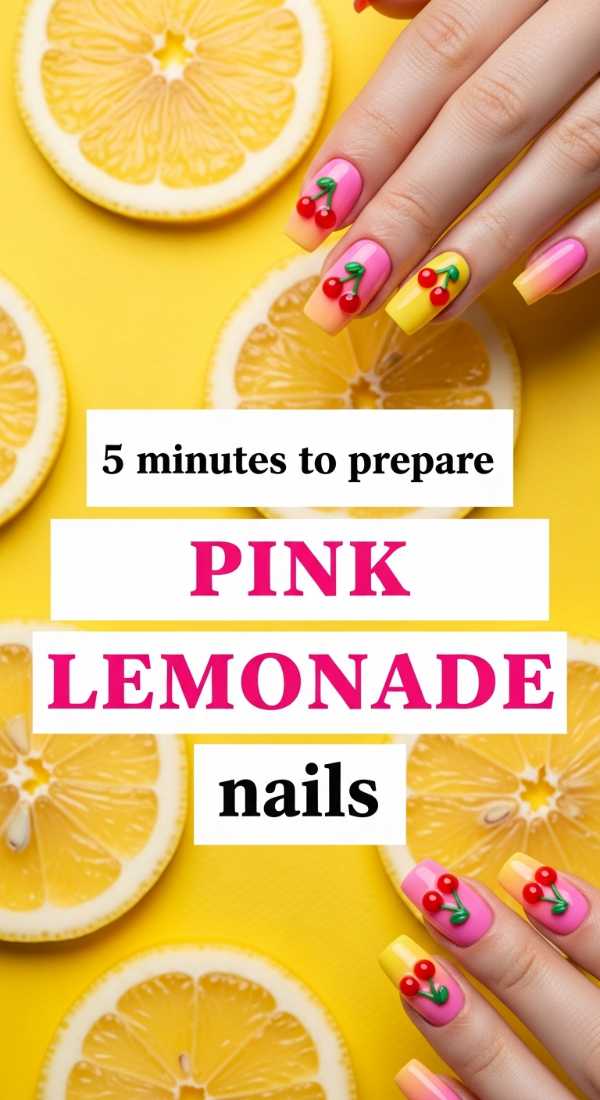
Why to love these Nails:
This is pure sunshine in a bottle! The gradient from soft pink to zesty lemon is refreshing and sweet. It’s the perfect look for a backyard BBQ or a day at the beach when you’re short on time but want maximum impact.
Essential Items:
- Bright pink polish
- Sunny yellow polish
- Makeup sponge
How to Prepare:
- Paint your nails white to make the colors pop.
- Strip pink and yellow polish side-by-side on a makeup sponge.
- Dab the sponge onto your nail repeatedly to blend.
- Peel off any excess from the skin.
- Apply a quick-dry top coat.
Budget Range
- Sinful Colors (Pink/Yellow) – $4 each
- Makeup Sponges (bulk) – $5
3 Easy Ways to Rock Black Summer Nails
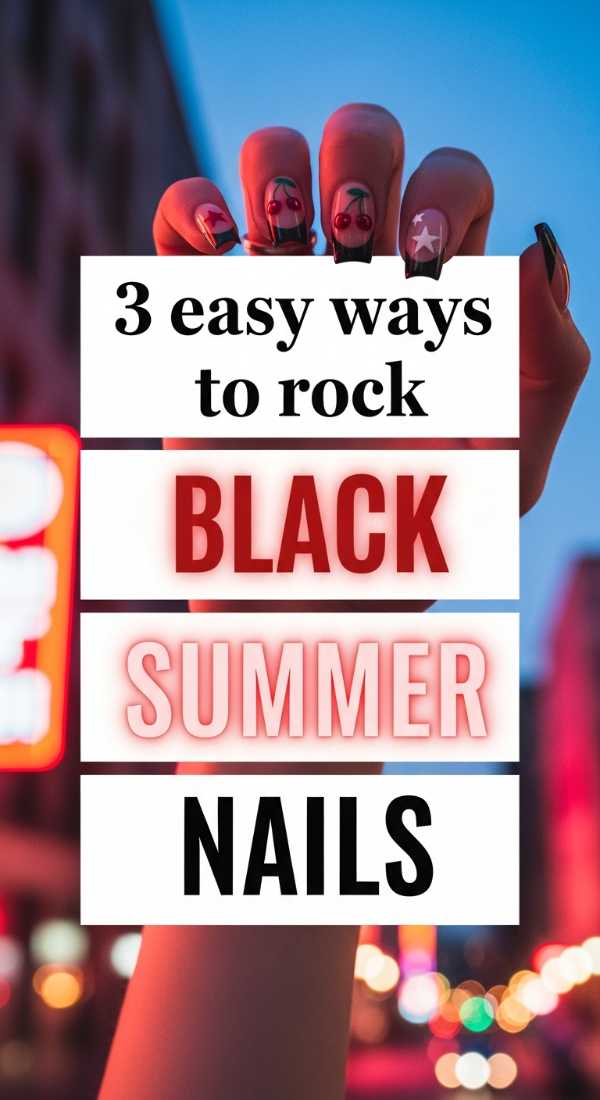
Why to love these Nails:
Who says black is only for winter? Black nails in summer are incredibly chic and provide a stunning contrast to white linen dresses and gold jewelry. It’s about that ‘cool girl’ effortless vibe.
Essential Items:
- High-pigment black polish
- Matte top coat
- Gold leaf
How to Prepare:
- The Matte Finish: Go fully matte for a velvety, high-fashion look.
- The Gold Leaf Accent: Apply small flecks of gold leaf over glossy black.
- The Micro-French: Paint a black tip over a bare, buffed nail.
Budget Range
- Orly Liquid Vinyl – $10
- Gold Leaf Flakes – $6
6 Steps for Perfect Coral Nails
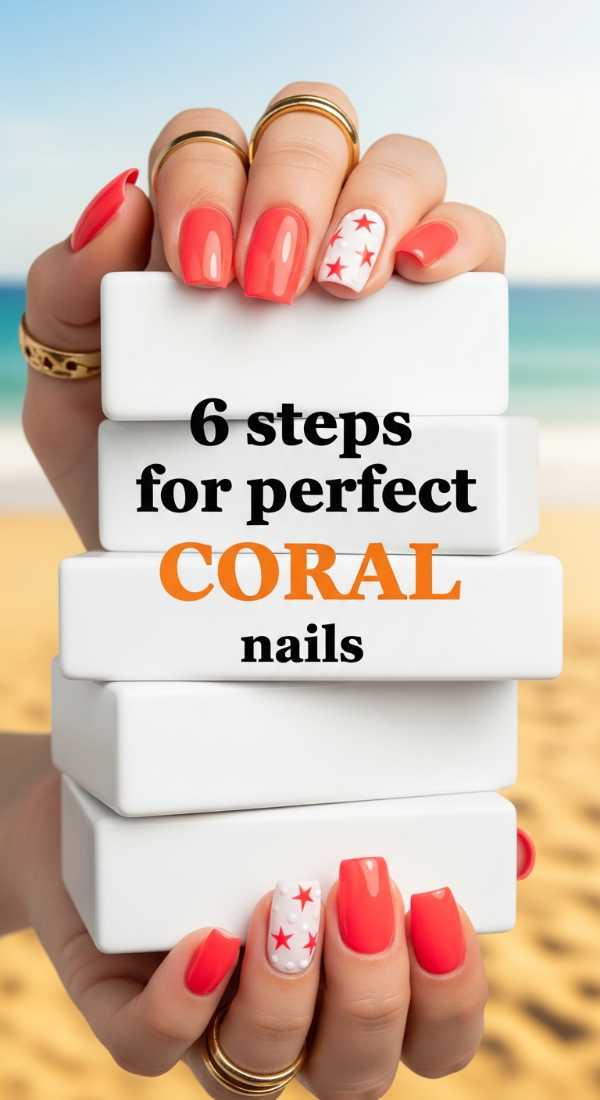
Why to love these Nails:
Coral is the universal flatterer! It brings out the warmth in every skin tone and feels like a tropical vacation. It’s cheerful, classic, and always in style when the sun is out.
Essential Items:
- Coral cream polish
- Ridge filler
- High-gloss top coat
How to Prepare:
- Start with a ridge filler for a smooth surface.
- Apply the first coat of coral very thinly.
- Let it dry for two minutes before the second coat.
- Ensure you ‘cap’ the free edge of the nail with polish.
- Apply a UV-protectant top coat to prevent fading.
- Massage in a citrus cuticle oil.
Budget Range
- Essie (Tart Deco) – $10
- Nailtek Ridge Filler – $9
10 Hacks for Custom Spring Sets Nails
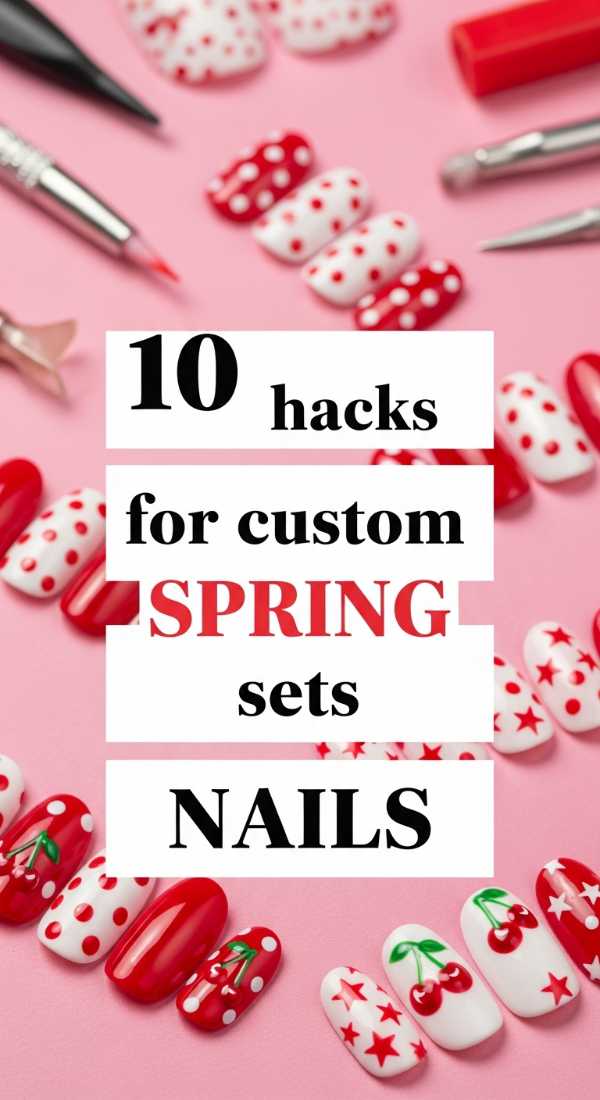
Why to love these Nails:
Customizing your sets allows your personality to shine through. These hacks are like little secrets between us to make your DIY manicure look like it cost a fortune at a boutique salon.
Essential Items:
- Bobby pins
- Masking tape
- Old eyeshadow
- Cornstarch (for matte finish)
How to Prepare:
- Use a bobby pin tip for perfect polka dots.
- Mix eyeshadow with clear polish for custom colors.
- Use masking tape for sharp geometric lines.
- Dip wet nails in cornstarch for an instant DIY matte look.
- Use a fan brush for a soft ‘grass’ texture effect.
- Apply white polish under neon to make it glow.
- Use a toothpick to marble two colors together.
- Place a piece of lace over the nail and sponge polish through it.
- Use a Sharpie for fine details, then seal with top coat.
- Soak nails in ice water to dry polish instantly.
Budget Range
- Drugstore Eyeshadow Palette – $5
- Bobby Pins/Tape – $2
4 Ways to Master Trending Summer Nails
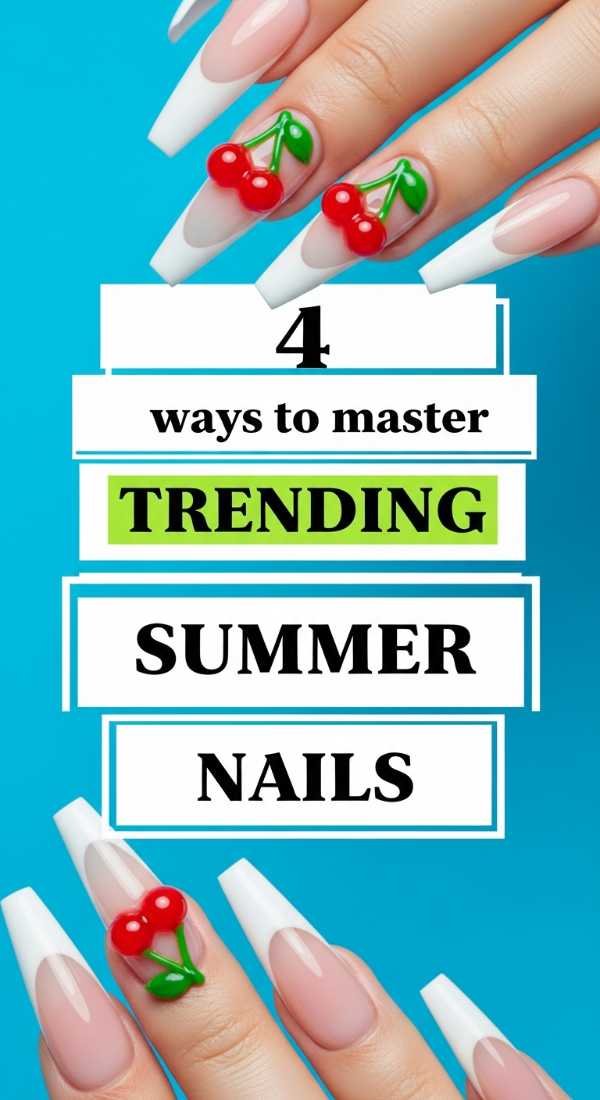
Why to love these Nails:
Mastery is all about confidence! These techniques will elevate your nail game from hobbyist to pro-level, giving you that ‘salon-fresh’ feeling every single day of the summer.
Essential Items:
- Cleanup brush
- High-quality LED lamp (if using gel)
- Glass nail file
How to Prepare:
- Master the ‘Clean Girl’ prep: meticulously push back cuticles.
- Learn the ‘floating’ technique with the top coat brush to avoid streaks.
- Use a glass file to prevent peeling and seal the nail edge.
- Invest in a high-quality cleanup brush for those perfect, crisp lines around the skin.
Budget Range
- Glass Nail File – $10
- Gelish LED Lamp – $45
- Professional Cleanup Brush – $12
Embrace Your Inner Artist
My loves, I hope this guide fills you with as much inspiration as it did for me while creating it. Remember, there are no mistakes in nail art—only unique expressions of who you are in this very moment. Whether you choose a bold black or a soft coral, let it be a reminder to take up space and celebrate your own light. You deserve to feel beautiful, from your heart all the way to your fingertips. Go forth and create something wonderful!