

From Chaos to Couture: Why 3D Junk Nails are the New Must-Have Skill
Hey there, loves. Welcome back to my cozy corner of the internet. Today, I want to talk about something that feels like a warm, colorful hug for your hands. Life can be a bit of a whirlwind sometimes, can’t it? Between the morning coffee rushes and the late-night deadlines, it’s easy to feel like everything is just a little bit… chaotic. But what if we took that chaos and turned it into something breathtakingly beautiful?
That’s exactly what 3D Junk Nails are all about. They are the ultimate expression of maximalist joy—a tiny, wearable gallery of your favorite things. It’s not just about the polish; it’s about the story you tell with every charm, glitter flake, and vibrant hue. I’ve fallen head over heels for this trend because it reminds me that even in the mess, there is couture. Grab a cup of tea, wrap yourself in your favorite throw, and let’s dive into our masterclass together.
The Ultimate 3D Junk Nail Masterclass
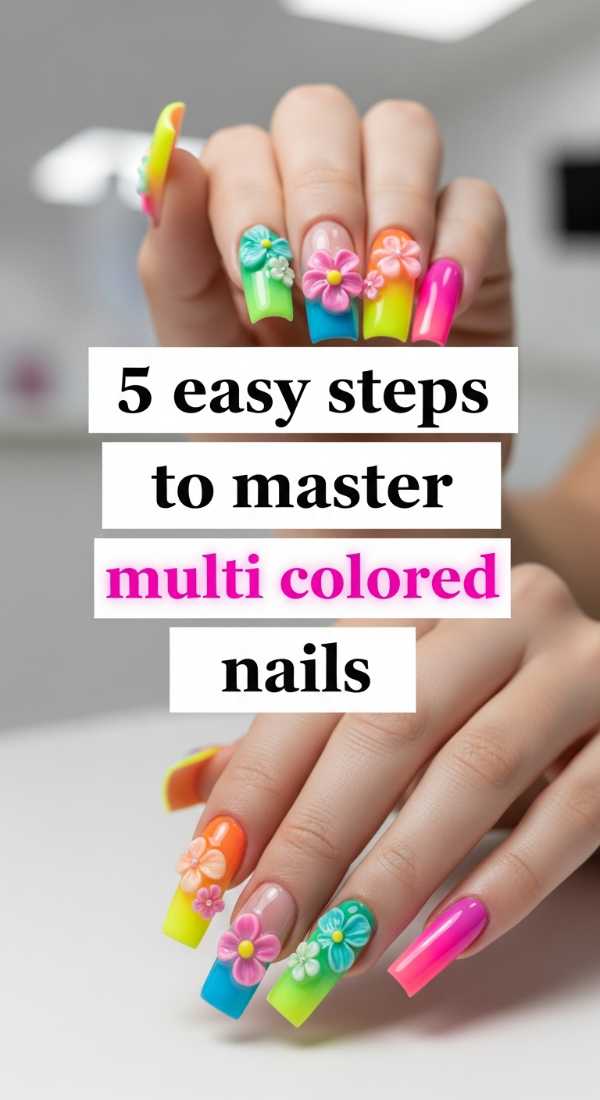
5 easy steps to master multi colored nails
Why to love this recipe:
It’s like a candy shop on your fingertips! Mastering multi-colored nails is the foundation of any ‘junk nail’ look. It allows you to play with your mood, assigning a different emotion or vibe to every single finger. It’s pure, unadulterated creative freedom that feels like a soft breeze on a summer day.
Essential Ingredients:
- A palette of 5-10 complementary gel polishes
- Fine detail liner brush
- UV/LED Lamp
- High-gloss top coat
How to Prepare:
- Prep each nail with a gentle buff and base coat to ensure a smooth canvas.
- Select a unique color for each finger, applying two thin, even coats.
- Cure each layer for 60 seconds under the LED lamp for that perfect finish.
- Use a liner brush to touch up the edges near the cuticle for a professional look.
- Seal the vibrant rainbow with a thick layer of glossy top coat and cure once more.
Budget Range
- Beetles Pastel Gel Polish Set ($15.99)
- Modelones Liner Brush Set ($8.99)
- SunUV LED Lamp ($24.00)
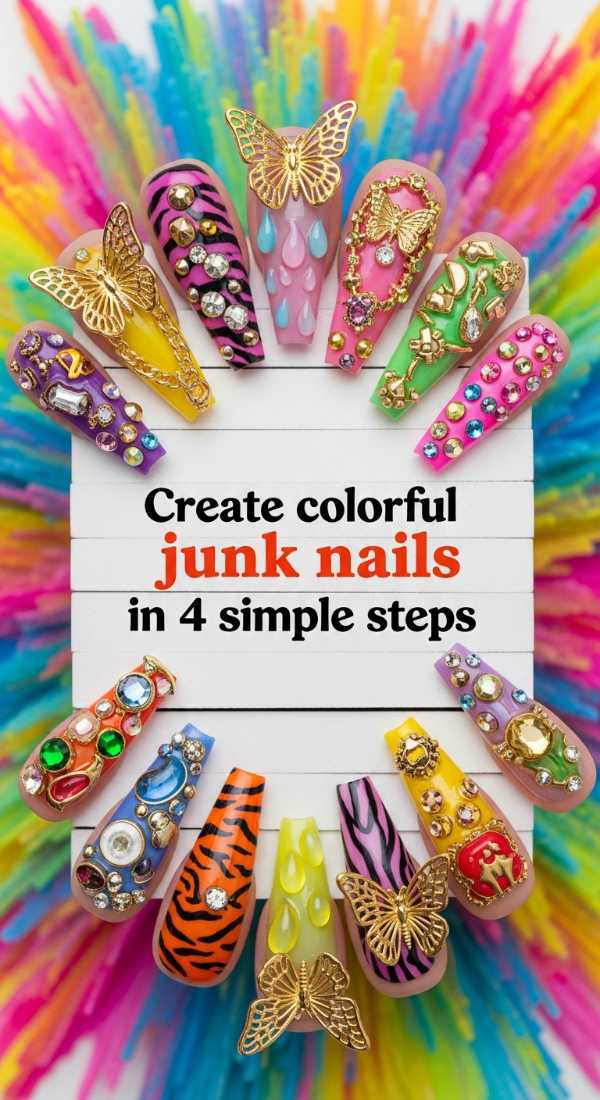
Create colorful junk nails in 4 simple steps
Why to love this recipe:
This is where the magic happens, turning ‘too much’ into ‘just right.’ Junk nails are a celebration of the eclectic—a mix of textures and treasures that shouldn’t work together, but somehow, they create a masterpiece. It’s about letting go of perfection and embracing the beautiful clutter of your imagination.
Essential Ingredients:
- Mixed nail charms (bears, hearts, bows)
- Oversized glitter flakes
- Strong nail adhesive or builder gel
- Tweezers
How to Prepare:
- Apply your base colors and leave the inhibition at the door.
- Apply a generous bead of builder gel where you want your largest ‘junk’ piece to sit.
- Place your charms using tweezers, nesting them closely together to create a 3D collage.
- Flash cure for 10 seconds to freeze the charms, then do a full 60-second cure to lock the chaos in place.
Budget Range
- KiraSky Gelly Tip Glue ($12.99)
- 100pcs Mixed Resin Charms from Amazon ($9.50)
- Holographic Chunky Glitter Pot ($6.00)
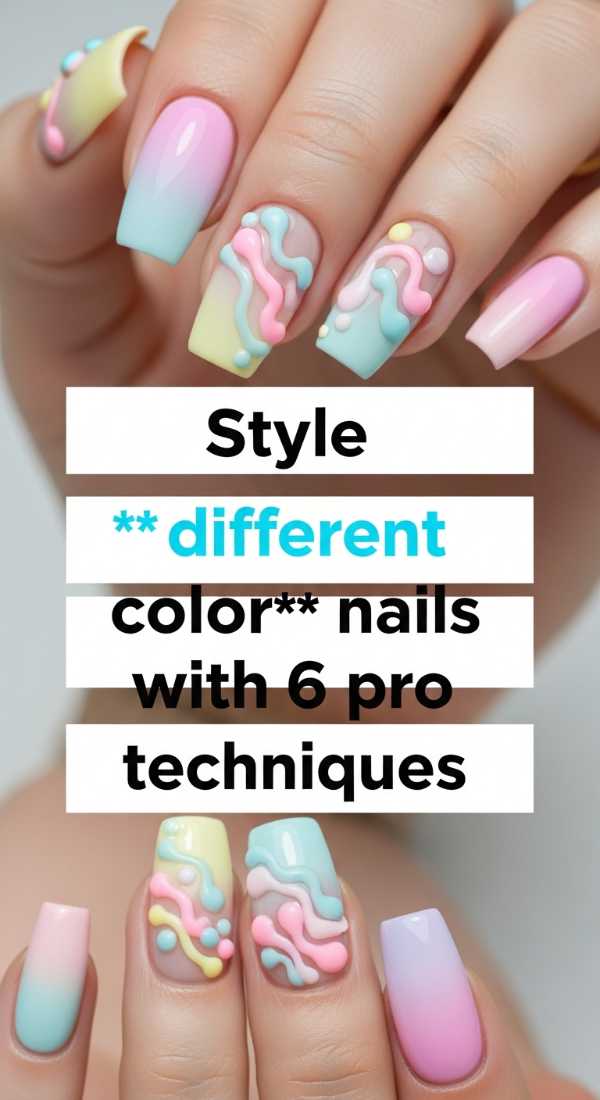
Style different color nails with 6 pro techniques
Why to love this recipe:
Styling different colors is an art form that brings a sense of harmony to the vibrant noise. It’s about finding the thread that connects a sunny yellow to a deep indigo. These techniques help your manicure look intentional and high-fashion rather than accidental.
Essential Ingredients:
- Color wheel guide
- Matte and Glossy top coats
- Gold leaf flakes
- Sponges for ombre
How to Prepare:
- Use the ‘Triadic’ technique: choose three colors equal distance on the color wheel.
- Incorporate texture contrast: make some nails matte and others high-gloss.
- Apply gold leaf to bridge the gap between two clashing colors.
- Use a vertical ombre to transition one color into another across the hand.
- Negative space: leave a small ‘window’ of natural nail to let the colors breathe.
- Consistency: keep the shape of the nails identical to unify the different colors.
Budget Range
- Makartt Matte Top Coat ($7.99)
- Nail Art Gold Leaf Sheets ($5.50)
- Mini Makeup Sponges ($3.00)
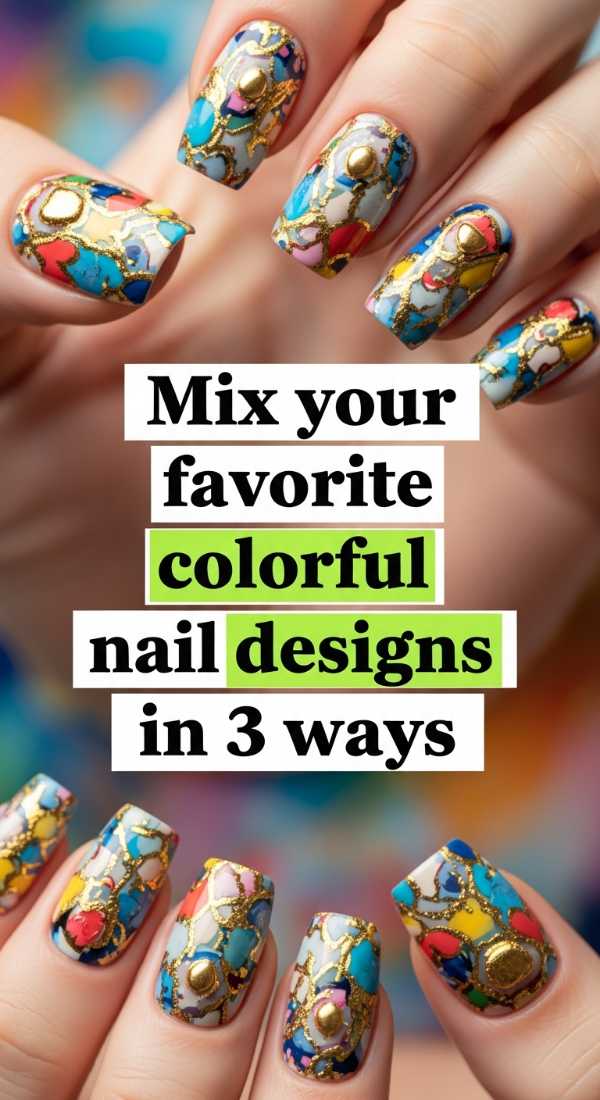
Mix your favorite colorful nail designs in 3 ways
Why to love this recipe:
We all have those ‘holy grail’ designs we love—the swirls, the dots, the French tips. Why choose just one? This approach is a gentle embrace of all your favorites at once, creating a curated look that feels uniquely ‘you’.
Essential Ingredients:
- Dotting tools
- Striper brushes
- Nail art stickers
How to Prepare:
- The ‘Accent Trio’: Choose three nails for complex designs and keep the other two solid colors.
- The ‘Theme Link’: Use one common color across all different designs (e.g., every design must have a hint of pink).
- The ‘Layered Look’: Apply a sticker design first, then hand-paint details over it for depth.
Budget Range
- Professional Dotting Tool Set ($6.50)
- Deco Miami Nail Art Stickers ($8.00)
- Saviland Nail Art Brushes ($10.99)
Apply 3D charms for color nails in 5 steps
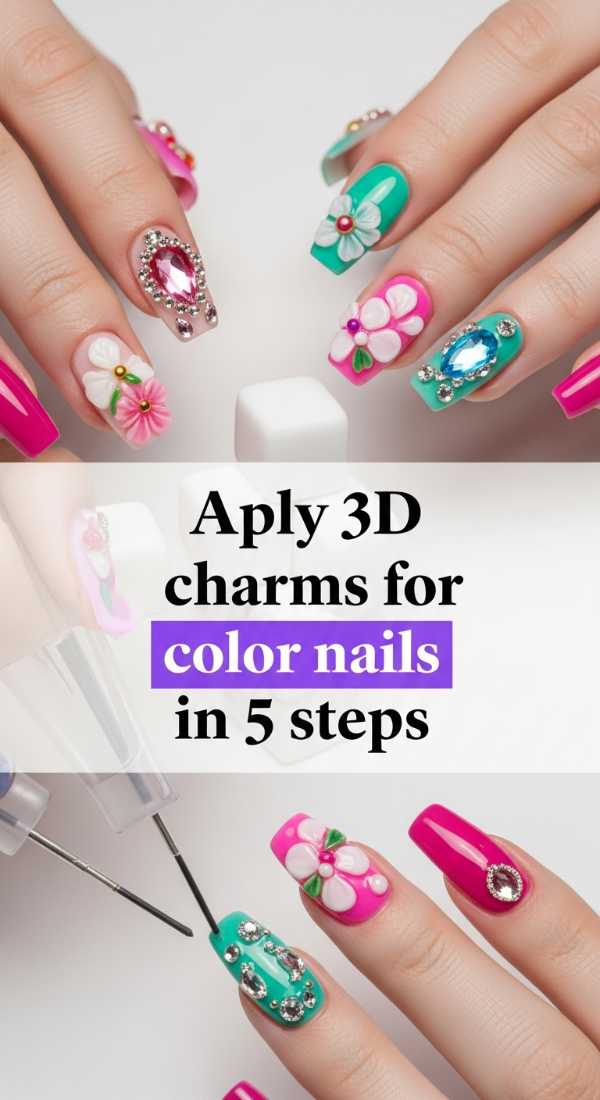
Why to love this recipe:
The dimension adds a soul to your manicure. When you catch a glimpse of a tiny 3D bow or a shimmering gemstone, it’s a little spark of joy in your day. It’s tactile, it’s fun, and it’s the heart of the couture junk nail movement.
Essential Ingredients:
- 3D Acrylic charms
- Rhinestones
- Hard Gel (non-wipe)
- Wax picker tool
How to Prepare:
- Finish your color application and top coat first; charms go on last for maximum shine.
- Place a small dollop of hard gel on the nail surface.
- Pick up the charm with your wax tool and press it firmly into the gel.
- Use a fine brush to ‘seal’ around the base of the charm with more gel to prevent snagging.
- Cure for a full 2 minutes to ensure those beauties don’t budge.
Budget Range
- Jewelry Picking Wax Pen ($4.99)
- IBD Hard Gel LED/UV ($14.50)
- Swarovski Crystal Mix ($18.00)
Master two color nails using 4 blending tips
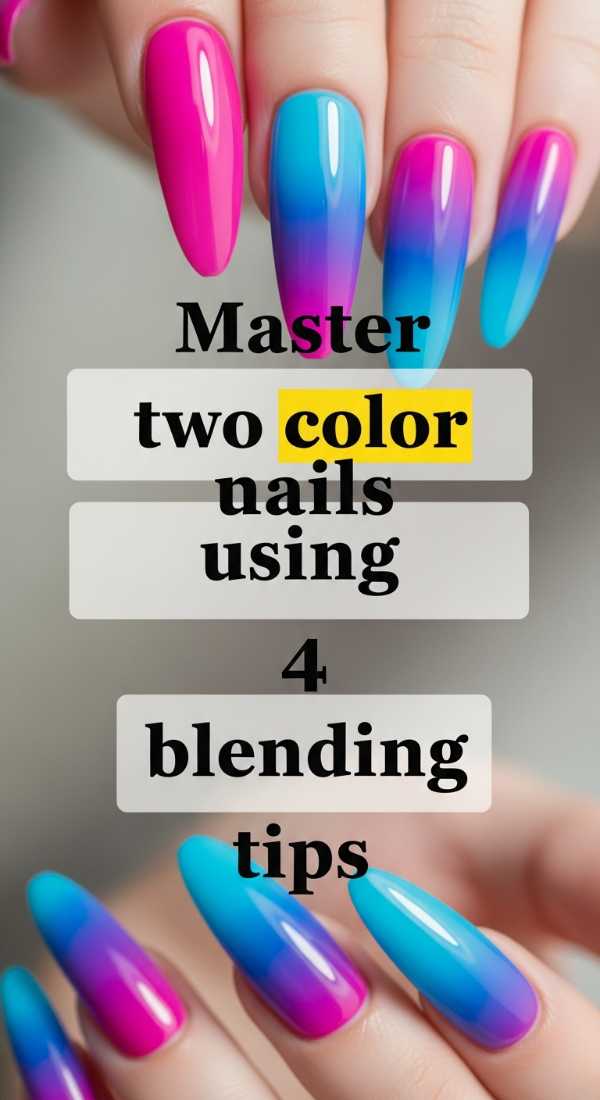
Why to love this recipe:
There is a quiet, soft elegance in a two-color blend. It’s like a sunset dipping into the horizon. If 3D junk nails are the party, a perfect two-color blend is the cozy after-party with your best friend.
Essential Ingredients:
- Two contrasting gel polishes
- Ombre brush
- Liquid latex (for clean cuticles)
How to Prepare:
- Apply liquid latex around the skin to catch any stray polish.
- Apply the two colors side-by-side on the nail, slightly touching in the middle.
- Use an ombre brush in a light ‘tapping’ motion to blur the line where they meet.
- Cure and repeat for a deeper, more seamless saturation.
Budget Range
- Pueen Liquid Latex ($9.00)
- MelodySusie Ombre Brush ($7.99)
- Gellen Gel Polish Duo ($10.00)
Apply color street nails flawlessly in 7 minutes
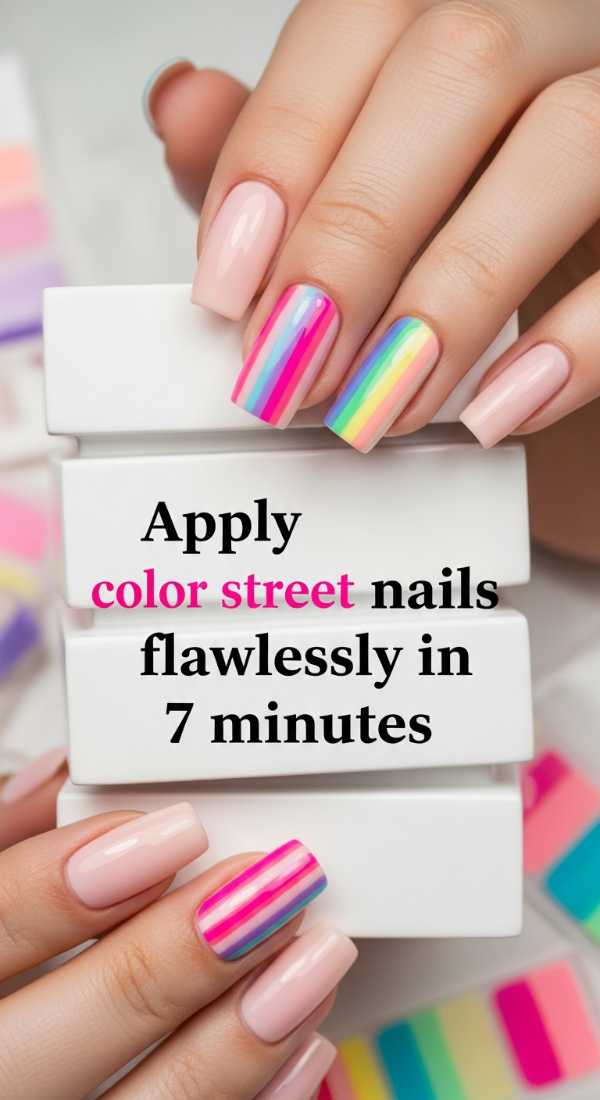
Why to love this recipe:
We are busy queens, and sometimes we need couture results on a ‘quick coffee break’ timeline. This is the ultimate hack for getting that vibrant, multi-colored look without the dry time. It’s effortless and oh-so-satisfying.
Essential Ingredients:
- Color Street nail strips
- Glass nail file
- Rubber cuticle pusher
How to Prepare:
- Clean nails with an alcohol prep pad to remove oils.
- Select the strip size that best fits your nail.
- Peel the clear cover and the backing, then center the strip at the cuticle.
- Smooth it down firmly with a rubber pusher to remove air bubbles.
- Fold the excess over the tip and file downward in one direction to ‘cut’ the strip.
- Repeat for all fingers, mixing patterns as you go for that ‘junk’ vibe.
- Avoid water for 30 minutes to let the adhesive set completely.
Budget Range
- Color Street Polish Strips ($12.00 – $14.00)
- Mont Bleu Glass Nail File ($10.00)
- Rubber Cuticle Pusher Set ($5.00)
Find your perfect colorful nail inspo in 10 styles
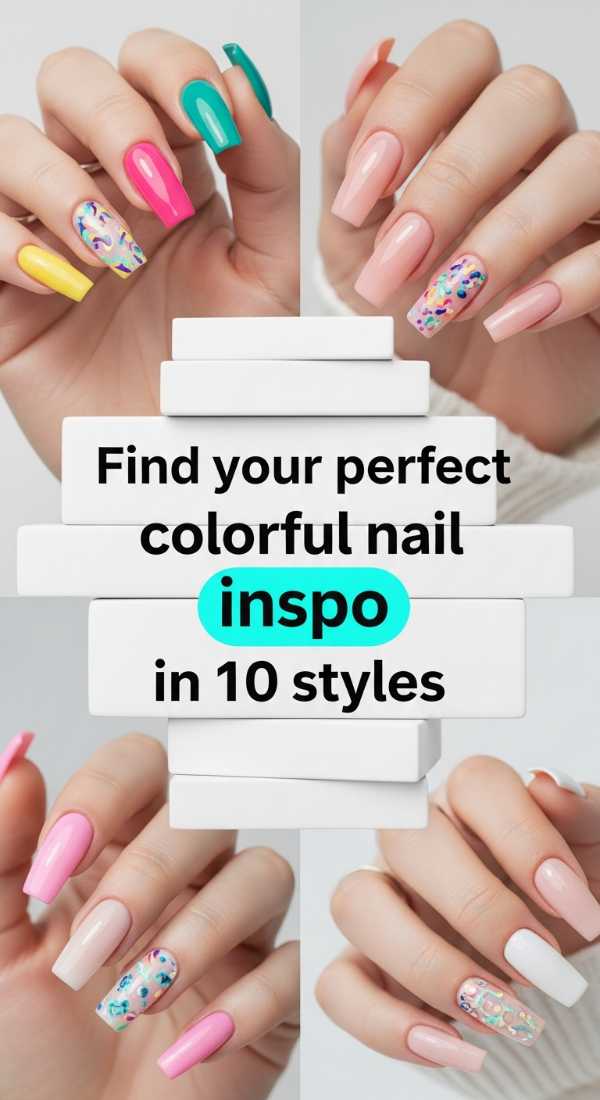
Why to love this recipe:
Sometimes the hardest part is just starting. Having a library of styles to pull from is like having a mood board for your soul. It’s about finding the aesthetic that speaks to your heart today.
Essential Ingredients:
- Pinterest app
- Nail magazines
- A dedicated ‘Inspo’ folder on your phone
How to Prepare:
- Style 1: The ‘Harajuku’ – Overload of cute charms.
- Style 2: The ‘Grunge’ – Dark colors with metal chains.
- Style 3: The ‘Y2K’ – Neon pinks and butterfly clips.
- Style 4: The ‘Garden’ – Dried flowers and soft greens.
- Style 5: The ‘Ocean’ – Pearls and blue gradients.
- Style 6: The ‘Galaxy’ – Glitter and deep purples.
- Style 7: The ‘Mod’ – Geometric shapes and primary colors.
- Style 8: The ‘Coquette’ – Bows and lace textures.
- Style 9: The ‘Candy’ – Pastel swirls and sugar glitter.
- Style 10: The ‘Abstract’ – Random splashes and gold wire.
Budget Range
- Free! (Pinterest/Instagram)
- Nail Art Inspiration Book ($20.00)
Shape colorful stiletto nails in 5 easy motions
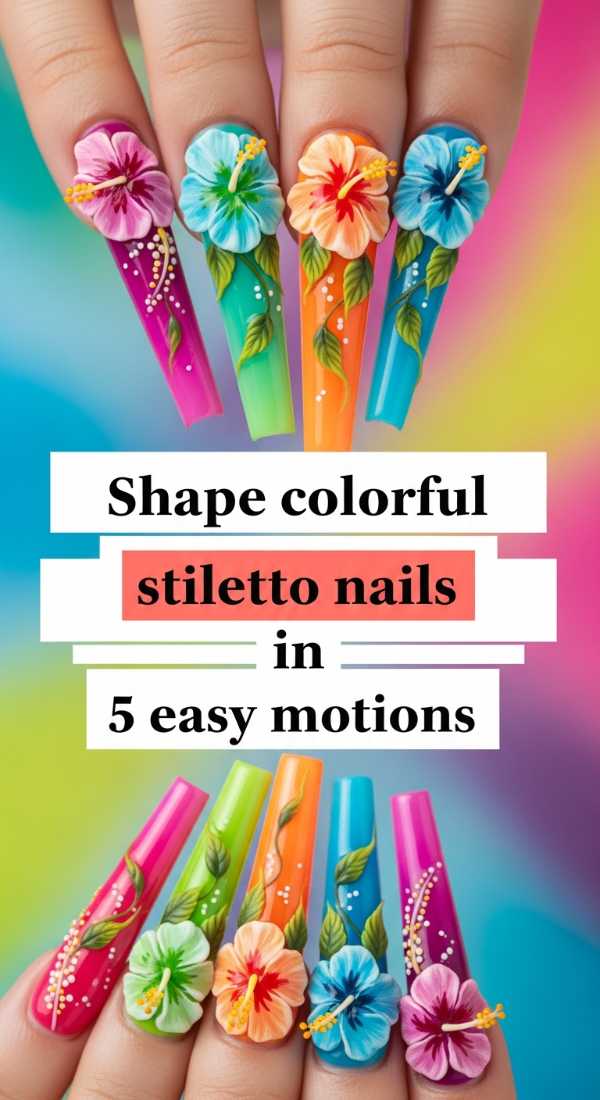
Why to love this recipe:
Stiletto nails are the ultimate ‘it-girl’ shape. They provide a long, elegant canvas that makes those 3D charms look even more dramatic. It’s a fierce shape wrapped in a soft, colorful aesthetic.
Essential Ingredients:
- 100/180 grit nail file
- Long coffin or stiletto tips
- Nail clippers
How to Prepare:
- Clip the sides of the nail tip at an angle towards the center.
- File the sidewalls straight to ensure the point starts from the right place.
- File the tip into a sharp point using a rhythmic back-and-forth motion.
- Round the very tip slightly if you want a ‘soft stiletto’ look.
- Buff the surface to remove any sharp edges from the filing process.
Budget Range
- Una Gella Extra Long Tips ($9.99)
- Mitty 100/180 Professional File ($4.00)
- Stainless Steel Nail Clippers ($7.00)
Sculpt colourful acrylic nails in 8 professional steps

Why to love this recipe:
For my loves who want longevity and strength, sculpting is the way to go. It’s like building a tiny sculpture on your hand. There is something so meditative about the bead of acrylic merging with the color.
Essential Ingredients:
- Colored acrylic powder
- Monomer (low odor)
- Kolinsky acrylic brush
- Nail forms
How to Prepare:
- Apply a nail form snugly under the free edge.
- Dip your brush into the monomer, then into the colored powder to create a medium bead.
- Place the bead at the junction of the nail and form to create the length.
- Pat and press the acrylic into the desired shape.
- Place a second bead near the cuticle and blend it down toward the tip.
- Wait for the ‘click’ sound when tapped to ensure it’s dry.
- File and shape the sidewalls and surface for a smooth finish.
- Apply top coat to reveal the true vibrancy of the colored acrylic.
Budget Range
- Mia Secret Colored Acrylic Set ($22.00)
- Pana Size 12 Kolinsky Brush ($25.00)
- Young Nails Monomer ($20.00)
Embrace Your Inner Artist
Sweet friends, I hope this masterclass has inspired you to look at your nails as more than just a grooming task. They are a canvas for your joy, your chaos, and your couture. Whether you start with a simple two-color blend or go full ‘junk’ with charms and glitter, remember that there are no rules in art—only feelings. Your hands do so much for you; give them the gift of a beautiful story. Until next time, stay colorful!