
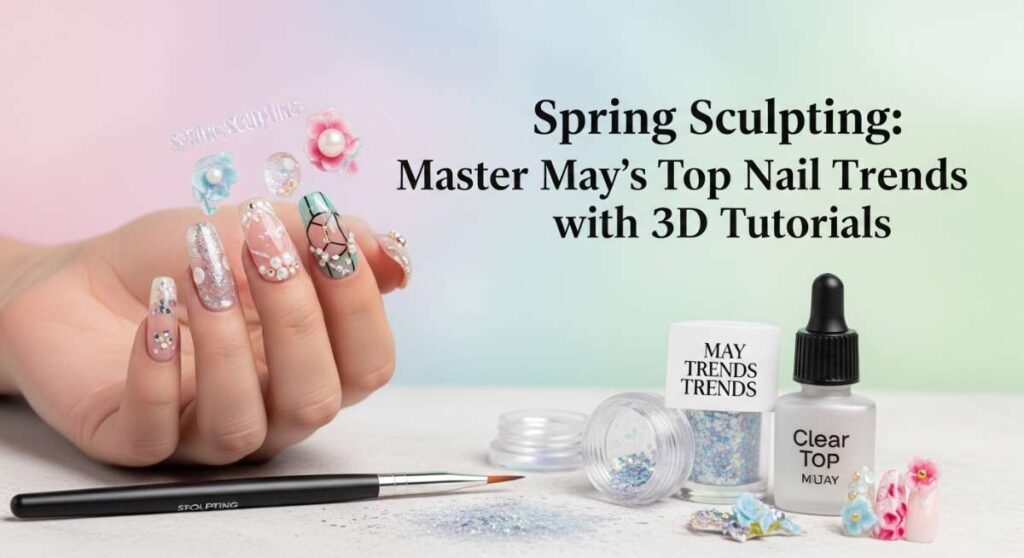
Spring Sculpting: Master May’s Top Nail Trends with 3D Tutorials
Hello, my beautiful loves. Can you feel that? The air is finally carrying the scent of blooming jasmine and the promise of longer, sun-drenched afternoons. As the world outside turns into a lush, green masterpiece, I’ve found myself wanting to bring that same sense of growth and artistry right to my fingertips. There is something so incredibly therapeutic about sitting down with a cup of lavender tea and transforming our hands into tiny canvases of self-expression.
This May, we aren’t just painting; we are sculpting. We are moving beyond the flat surfaces of winter and into a world of texture, dimension, and light. Whether you’re a seasoned pro or just picking up a liner brush for the first time, I want this to be a space where you feel held and inspired to try something new. Let’s dive into the soft, whimsical world of 3D manicures together, one petal and one droplet at a time.
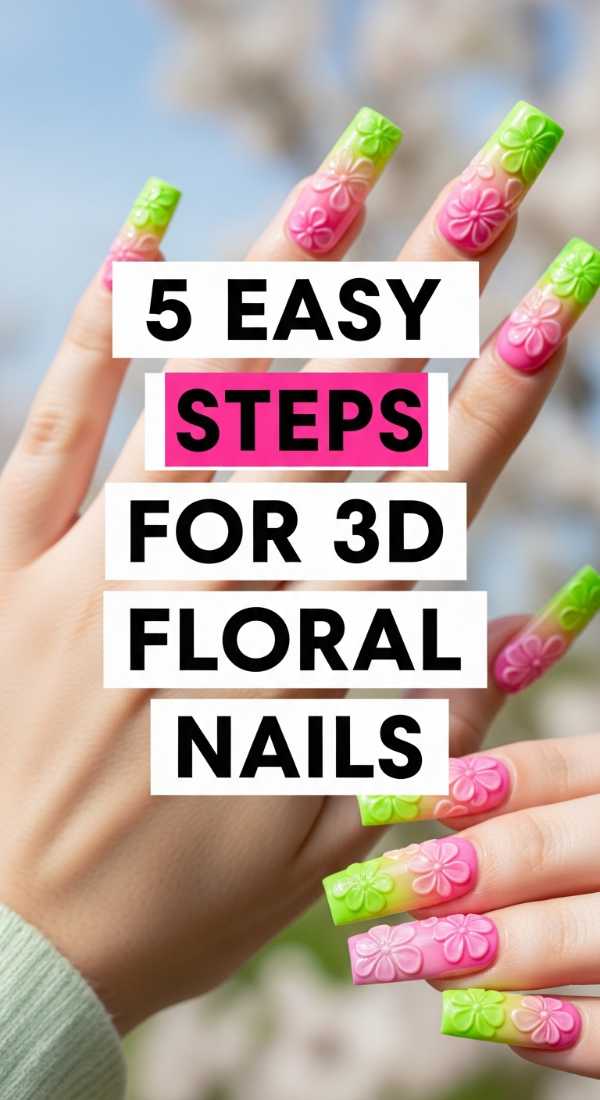
The Petal Press: 5 Easy Steps for 3D Floral Nails
Why to love this recipe:
This look is like wearing a secret garden on your hands. It captures the fleeting beauty of spring blossoms in a way that feels tactile and romantic. It’s perfect for those moments when you want to feel a little more connected to nature’s delicate architecture.
Essential Ingredients:
- Nude base gel polish
- 3D Sculpting Gel (white or soft pink)
- Silicone sculpting tool
- Small pearl embellishments
- UV/LED Lamp
How to Prepare:
- Apply and cure your favorite nude base coat to create a clean, soft canvas.
- Take a small bead of 3D sculpting gel and place it where you want your first petal.
- Use the silicone tool to gently press and shape the bead into a teardrop petal shape.
- Repeat for five petals to form a full flower, then cure for 60 seconds.
- Place a tiny drop of top coat in the center and nestle a small pearl inside; cure again.
Budget Range
- Beetles 4-Piece 3D Carving Gel ($12.99)
- Saviland Silicone Nail Tools ($7.99)
- Modelones Nude Gel Set ($15.00)
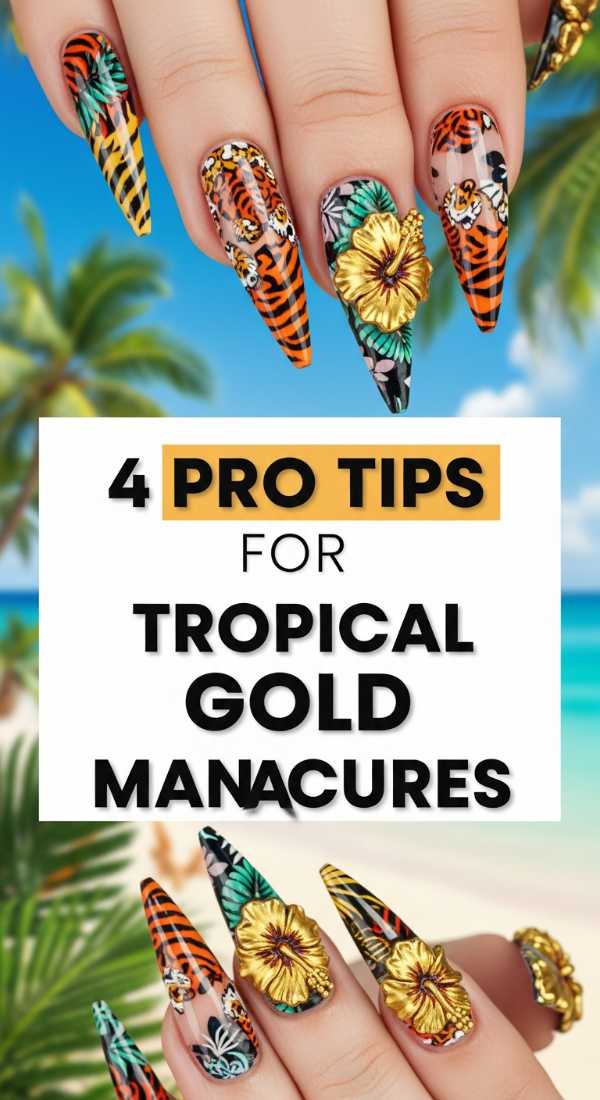
Gilded Tropics: 4 Pro Tips for Tropical Gold Manicures
Why to love this recipe:
There is a certain warmth that only gold can provide—it’s like a sunset caught in a bottle. When paired with tropical motifs, it feels like an early escape to a private island, bringing a touch of luxury to your everyday movements.
Essential Ingredients:
- Forest green gel polish
- Gold leaf flakes
- Gold chrome pigment
- Ultra-fine liner brush
How to Prepare:
- Tip 1: Always apply gold leaf onto a slightly tacky inhibition layer for the best grip without ruining the shine.
- Tip 2: Use a silicone brush to buff gold chrome pigment only onto specific leaf veins for a multidimensional metallic look.
- Tip 3: Mix a drop of top coat with gold pigment to create a custom ‘liquid gold’ paint for fine tropical lines.
- Tip 4: Seal with two thin layers of top coat to ensure the gold leaf doesn’t peel or lose its luster over time.
Budget Range
- Makartt Gold Foil Flakes ($6.49)
- Born Pretty Gold Chrome Powder ($8.00)
- OPI ‘Stay Off the Lawn’ Green ($11.50)
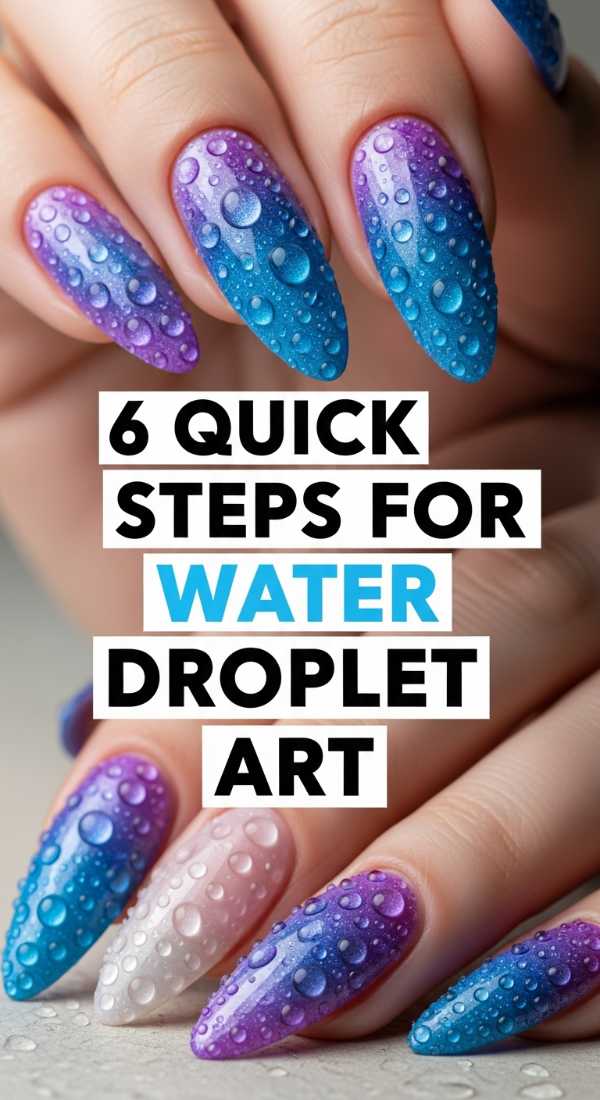
Dewdrop Dreams: 6 Quick Steps for Water Droplet Art
Why to love this recipe:
This trend is pure magic—it looks like you’ve just walked through a misty morning garden. It’s incredibly subtle yet so high-fashion, giving your nails a fresh, ‘just-rained-on’ aesthetic that feels cooling and modern.
Essential Ingredients:
- Matte top coat
- No-wipe thick builder gel
- Dotting tool
- Light blue or lavender base color
How to Prepare:
- Apply your base color and cure completely.
- Apply a matte top coat over the entire nail and cure; this creates the contrast for the ‘wet’ drops.
- Pick up a large bead of thick builder gel with your dotting tool.
- Gently place the bead onto the matte surface—don’t flatten it!
- Add smaller ‘droplets’ around the main bead to create a natural, organic look.
- Cure for 90 seconds to ensure the thick droplets are hardened all the way through.
Budget Range
- Kupa Gelfinity Hard Gel ($22.00)
- Kodi Professional Matte Top Coat ($14.00)
- DND Gel Polish ($9.00)
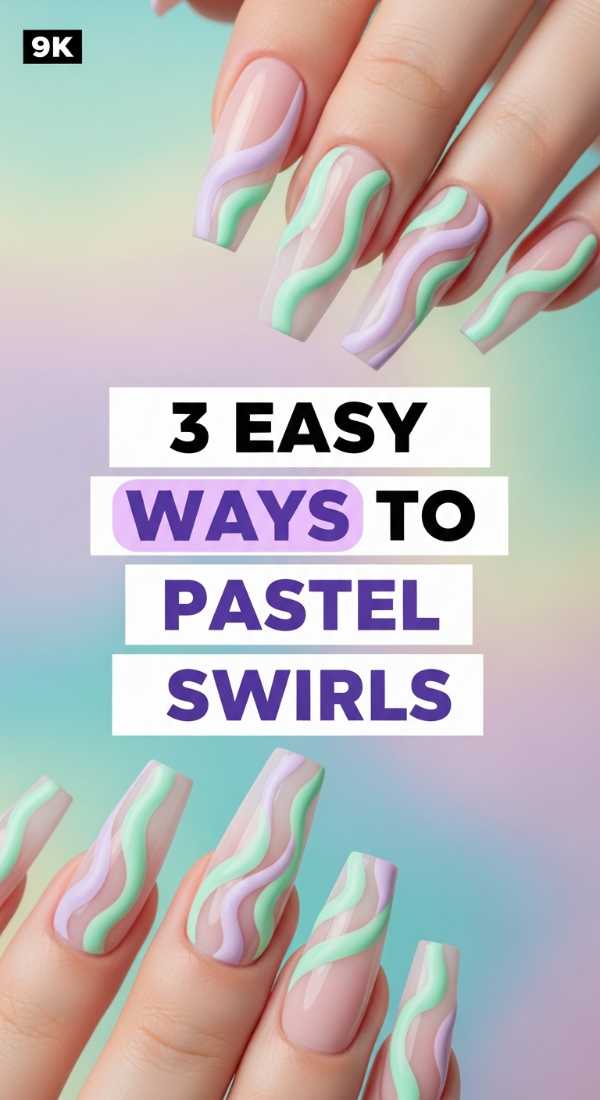
Whimsical Winds: 3 Easy Ways to Paint Pastel Swirls
Why to love this recipe:
Swirls are the ultimate expression of flow. They don’t have to be perfect, which makes the process so forgiving and soulful. Using pastels makes it feel like cotton candy clouds drifting across your nails.
Essential Ingredients:
- Pastel gel set (Mint, Lemon, Lilac)
- Long-haired striper brush
- Mixing palette
How to Prepare:
- Method 1 (The Freehand): Use a long liner brush to pull a single color from the cuticle to the tip in a soft ‘S’ shape.
- Method 2 (The Marbled): Drop three colors onto a palette, swirl them slightly with a toothpick, and scoop the mix onto the nail.
- Method 3 (The Layered): Paint one swirl, cure it, then overlay a semi-transparent white swirl for a ghostly, 3D depth effect.
Budget Range
- Gellen Pastel Gel Set ($16.99)
- Winstonia Long Liner Brushes ($8.50)
- Gelish Foundation Base ($14.00)
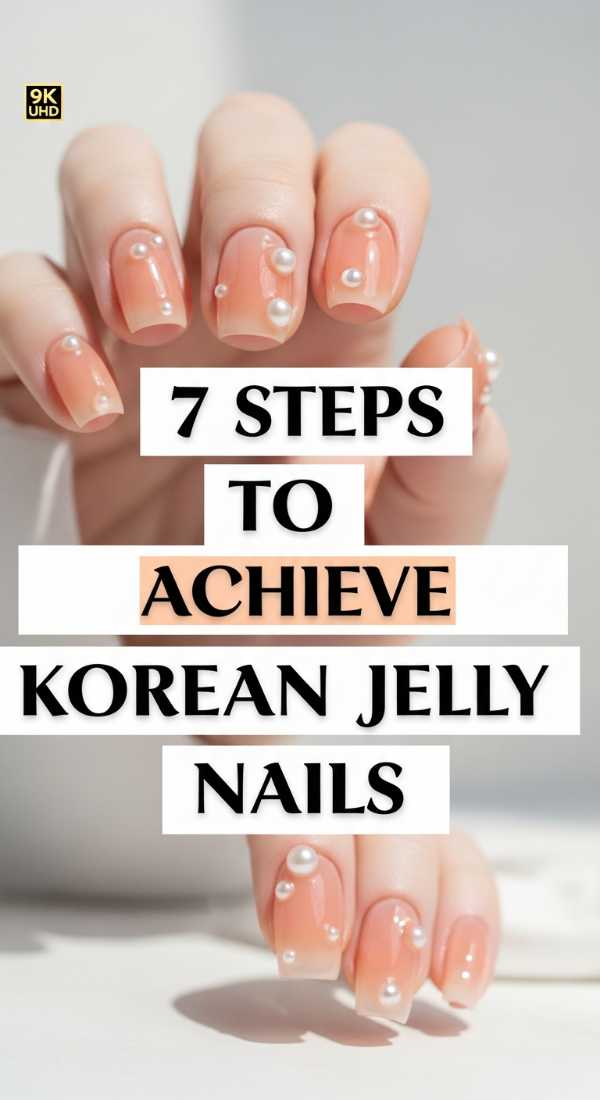
Glass Slippers: 7 Steps to Achieve Korean Jelly Nails
Why to love this recipe:
Korean jelly nails are all about translucency and ‘squishiness.’ They look like hard candy or sea glass, offering a soft-focus glow that makes your hands look incredibly youthful and delicate.
Essential Ingredients:
- Syrup/Jelly gel polish
- Clear builder gel
- Iridescent ‘ice’ film
- Buffer block
How to Prepare:
- Prep the nail and apply a thin layer of clear base; cure.
- Apply one very thin layer of jelly polish; it should look like a tint, not a solid color.
- Cut small, irregular shards of iridescent film and place them in the center of the nail.
- Apply a second layer of jelly polish over the film to ‘sandwich’ the sparkle.
- Add a dollop of clear builder gel to the center to create a ‘syrup’ hump.
- File and buff the sides to keep the shape sleek.
- Finish with a high-gloss top coat for that glass-like finish.
Budget Range
- Zillabeau Leafgel Syrup Series ($18.00/bottle)
- Daily Charme Ice Mylar Film ($5.00)
- Aprés Top Gel Coat ($15.00)
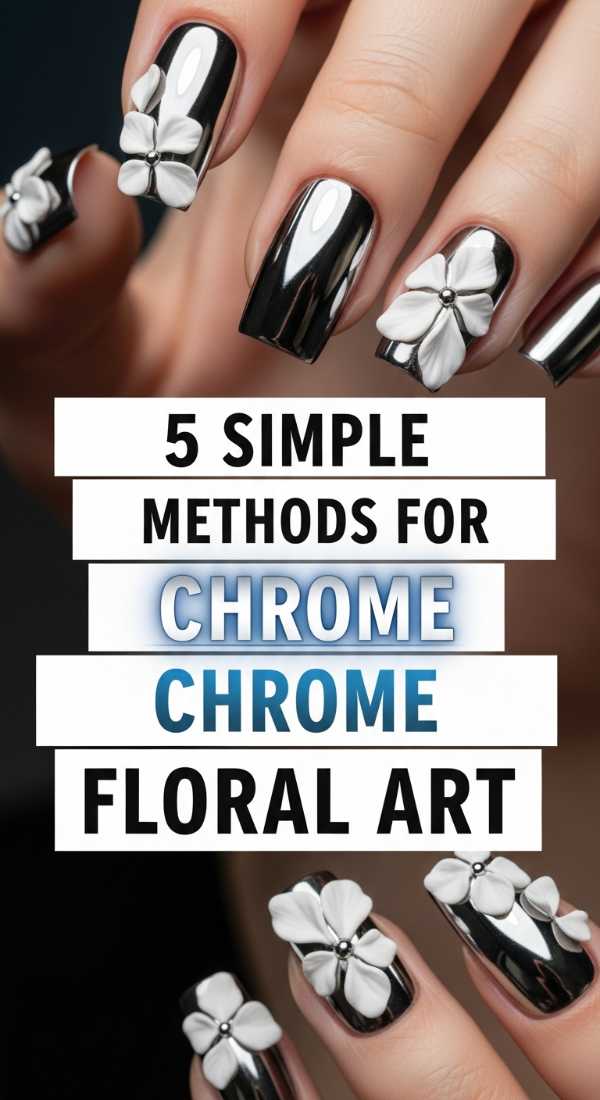
Metallic Blooms: 5 Simple Methods for Chrome Floral Art
Why to love this recipe:
If you love a bit of edge with your femininity, chrome florals are for you. It’s a futuristic take on a classic spring motif, blending the softness of flowers with the industrial cool of liquid metal.
Essential Ingredients:
- Silver or Rose Gold chrome powder
- Non-wipe top coat (used as ‘glue’)
- Detailing brush
- Black gel polish (optional base)
How to Prepare:
- Method 1: Paint your floral shapes with a non-wipe top coat over a matte base, cure, and rub chrome powder over the top.
- Method 2: Use a 3D gel to create raised petals, cure, and then buff the chrome into the raised texture only.
- Method 3: Mix chrome powder directly into clear gel and ‘sculpt’ the flowers for an internal metallic glow.
- Method 4: Use a sponge to ombre chrome onto the tips of 3D white petals.
- Method 5: Use a fine needle to scratch floral patterns into uncured chrome-covered gel for an etched look.
Budget Range
- Artdone 6 Colors Chrome Powder ($9.99)
- Young Nails Mission Control Gel ($19.00)
- Maniology Detail Brush ($7.00)
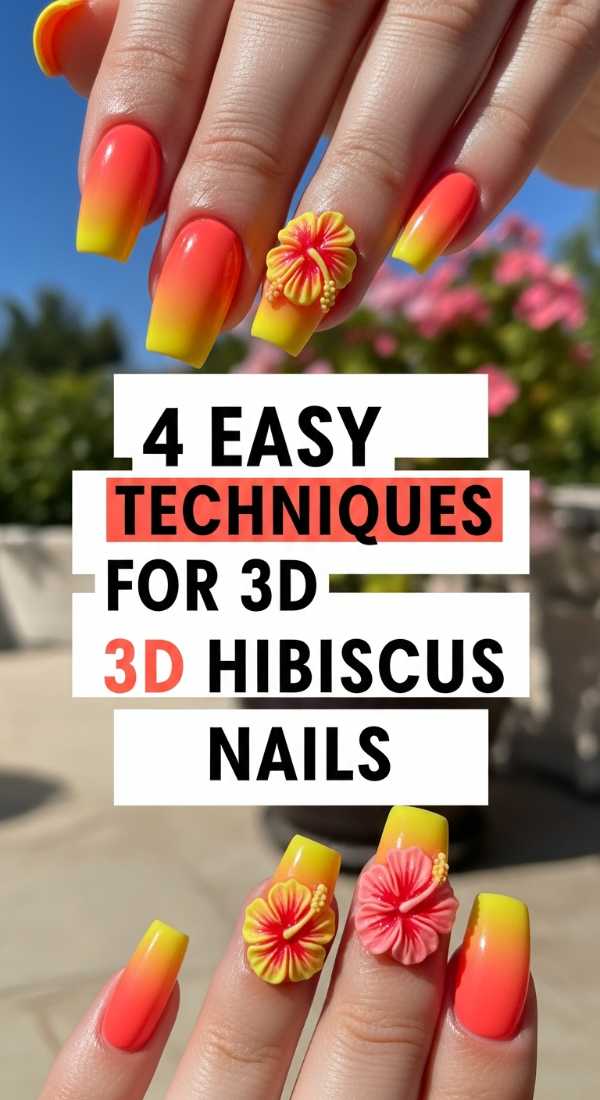
Island Soul: 4 Easy Techniques for 3D Hibiscus Nails
Why to love this recipe:
The hibiscus is the queen of May flowers as we transition into summer. Creating them in 3D adds a sculptural element that makes the petals look like they are fluttering in a tropical breeze.
Essential Ingredients:
- Solid ‘clay’ nail gel
- Vibrant pink and orange gel
- Yellow beads (for the stamen)
How to Prepare:
- Technique 1 (The Fold): Roll small beads of clay gel and flatten them, folding the edges slightly for a realistic petal look.
- Technique 2 (The Texture): Use a needle tool to score lines from the center of the petal outward to mimic natural floral veins.
- Technique 3 (The Gradient): Use a sponge to tap a darker pink onto the base of the 3D petals before curing.
- Technique 4 (The Center): Attach a long, thin wire or gel ‘stamen’ with tiny yellow beads at the end for the iconic hibiscus look.
Budget Range
- Morovan Solid Extension Gel ($10.00)
- Vixi Nail Art Beads ($6.00)
- Kiara Sky Gel Polish ($13.00)
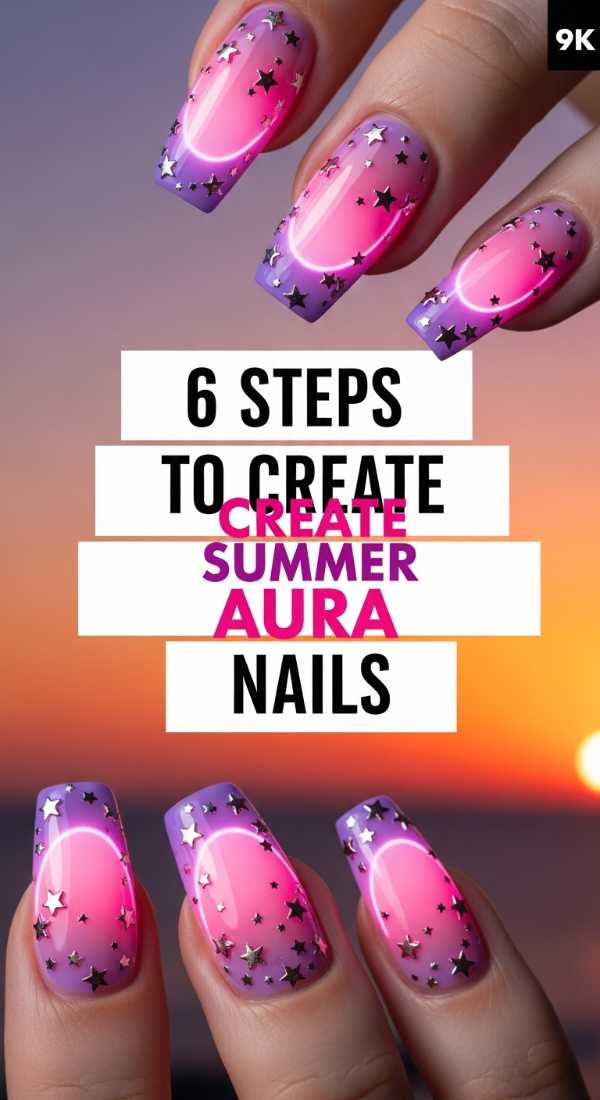
Luminous Glow: 6 Steps to Create Summer Aura Nails
Why to love this recipe:
Aura nails represent your inner energy. This soft, gradient-style manicure feels deeply personal and spiritual, like a gentle pulse of light radiating from your soul through your fingertips.
Essential Ingredients:
- Makeup sponges
- Two contrasting pastel colors
- White gel paint
How to Prepare:
- Apply your main base color (the ‘outer’ aura) and cure.
- Dab a small amount of your ‘inner’ aura color onto a makeup sponge.
- Gently press the sponge into the center of the nail, building the color in the middle.
- Use a clean part of the sponge to blur the edges so the transition is seamless.
- Add a tiny dot of white in the very center to give it a ‘glowing’ effect.
- Top with a shimmer top coat to add an ethereal finish.
Budget Range
- BeautyBlender Micro.Mini ($18.00) or generic makeup sponges ($2.00)
- Holo Taco Shimmer Top Coat ($13.00)
- Essie Gel Couture ($13.00)
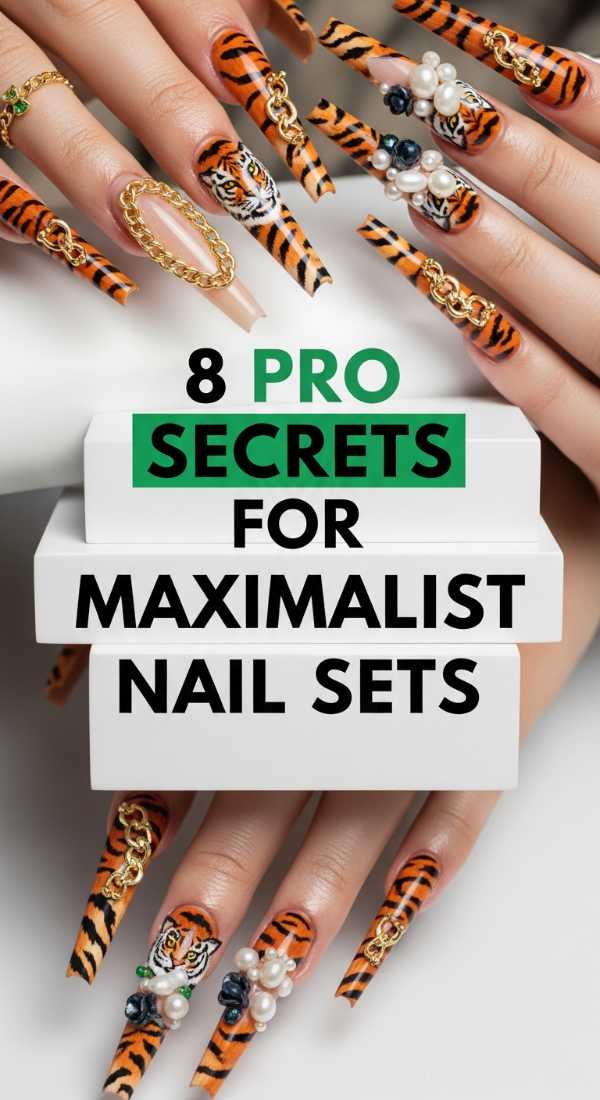
The More is More: 8 Pro Secrets for Maximalist Nail Sets
Why to love this recipe:
Sometimes, we just need to be extra. Maximalist nails are a joyful celebration of everything we love—charms, textures, and colors all at once. It’s a ‘party on your hands’ that defies every rule of minimalism.
Essential Ingredients:
- Nail charms (bears, hearts, bows)
- Tiny chains
- Oversized rhinestones
- Jewelry gel (extra strength)
How to Prepare:
- Secret 1: Map your layout on a silicone mat before touching the nail to ensure the composition is balanced.
- Secret 2: Use a high-viscosity ‘jewelry gel’ to ensure heavy charms don’t slide during curing.
- Secret 3: Fill the ‘gaps’ between charms with tiny caviar beads to make the set look cohesive.
- Secret 4: Use a flash-cure lamp to freeze charms in place one by one before doing a full cure.
- Secret 5: Seal around (but not over) rhinestones to keep their facets sparkling.
- Secret 6: Mix textures—combine matte bases with shiny 3D objects for visual interest.
- Secret 7: Use a ‘grabby’ wax pen to pick up tiny elements without the frustration.
- Secret 8: Don’t forget the thumb! It’s the biggest canvas for your ‘hero’ charm.
Budget Range
- Enailcouture Gummy Jelly ($20.00)
- Amazon Bulk Nail Charm Kits ($15.00)
- Swarovski Crystal Pixie ($25.00)
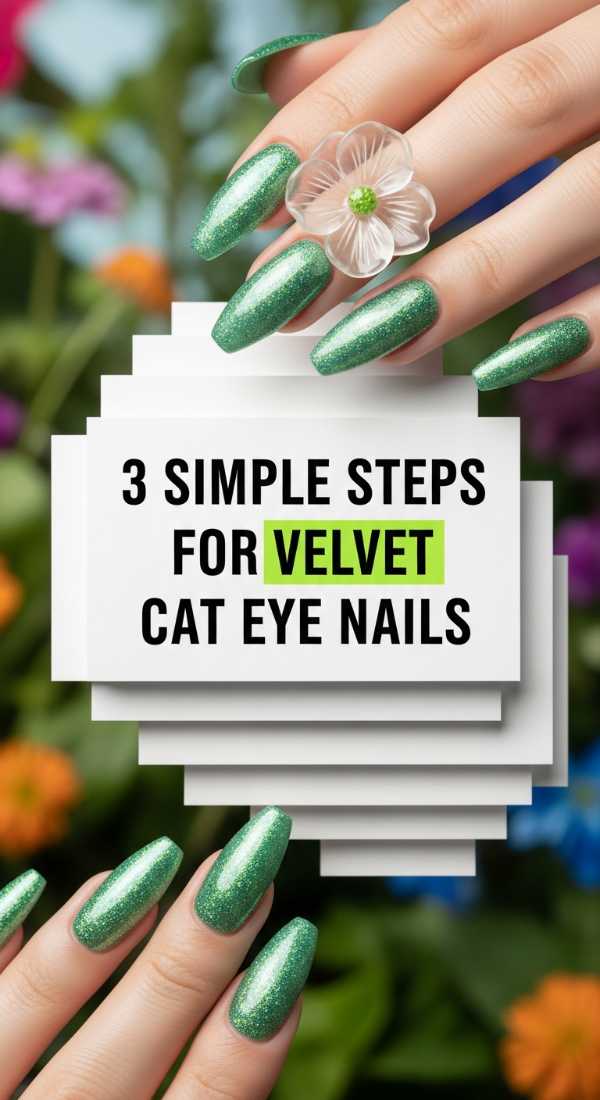
Velvet Whispers: 3 Simple Steps for Velvet Cat Eye Nails
Why to love this recipe:
Velvet nails have a depth that feels almost impossible. They capture the light as you move, looking like plush fabric. It’s a sophisticated way to do ‘sparkle’ that feels cozy and high-end.
Essential Ingredients:
- Magnetic ‘Cat Eye’ gel polish
- Strong rectangular magnet
- Dark base color (to make the magnetic particles pop)
How to Prepare:
- Apply a dark base color (like navy or plum) and cure; then apply a generous layer of cat eye polish.
- Hold the magnet at the sides of the nail (not just the top) to pull the particles toward the center from all angles, creating that ‘velvet’ look.
- Once you see the plush effect, cure immediately so the particles don’t settle back down.
Budget Range
- Cirque Colors Magnetic Polish ($16.00)
- IGEL Beauty Cat Eye Set ($12.00)
- Magnetic Wand ($5.00)
Embracing Your Inner Artist
As we wrap up our little journey through May’s trends, I want you to remember that your nails are an extension of your creative heart. There is no ‘wrong’ way to create—only your way. Whether you choose a single dewdrop or a full maximalist set, the magic is in the time you spend honoring yourself and your beauty. I can’t wait to see what you sculpt this month. Tag me in your creations, my loves, so I can celebrate your artistry with you!
Frequently Asked Questions
- Q: How long do 3D gel nails usually last?
A: With proper prep and high-quality jewelry gel, 3D elements can last 2-3 weeks. Just be careful with snagging on knitwear! - Q: Can I do 3D art on natural nails?
A: Absolutely! Just ensure you use a strong base coat to support the extra weight of the sculpting gel or charms. - Q: Is the 3D sculpting gel hard to remove?
A: It requires a bit more patience. I recommend filing down the bulk of the 3D element before soaking in acetone to speed up the process. - Q: How do I keep my 3D flowers from getting dirty?
A: Use a non-wipe top coat to seal the 3D shapes. If they get dingy, a quick wipe with alcohol or a scrub with a soft nail brush and soap will brighten them right up!