
May 2026 Mani Magic: 10 Fresh Designs for Your Spring Refresh
Hello my loves! Can you feel it? May 2026 has arrived like a warm, cloud-soft embrace, bringing with it the scent of rain-kissed jasmine and the promise of new beginnings. As the world awakens in a symphony of pastel hues, I find myself wanting to mirror that beauty right down to my fingertips. There is something so healing about taking a moment for ourselves, isn’t there? A little ritual of self-love that starts with a fresh coat of polish and a deep, centering breath.
This month, our nail journey is all about texture, light, and that ethereal ‘coquette’ energy that makes every day feel like a stroll through a Parisian garden. Whether you are sipping an iced lavender latte or prepping for a sun-drenched getaway, these designs are curated to make you feel like the best version of yourself. Grab your favorite mug of tea, settle into your favorite chair, and let’s dive into the magic of May manicures together.
The Blooming 3D Floral

Why to love this recipe:
There is something so incredibly tactile and romantic about 3D florals. It’s like carrying a tiny, blooming garden on your fingertips, reminding you that growth is beautiful and multi-dimensional. This look is a total conversation starter and feels so luxe.
Essential Ingredients:
- Clear 3D builder gel or sculpture gel
- A fine detailing brush
- Nude base polish
- Pearl accents or gold caviar beads
How to Prepare:
- Apply two thin coats of your favorite nude base and cure.
- Dip your detail brush into the 3D gel and place five small beads in a circle to form petals.
- Gently pull the gel toward the center of the circle to create a petal shape, then cure immediately to hold the height.
- Place a tiny pearl or bead in the center with a dot of top coat and give it one final cure.
Budget Range
- OPI GelColor in ‘Bubble Bath’ ($20)
- Saviland 5-in-1 Builder Base ($12)
- Nail Art Rhinestone Kit from Amazon ($8)
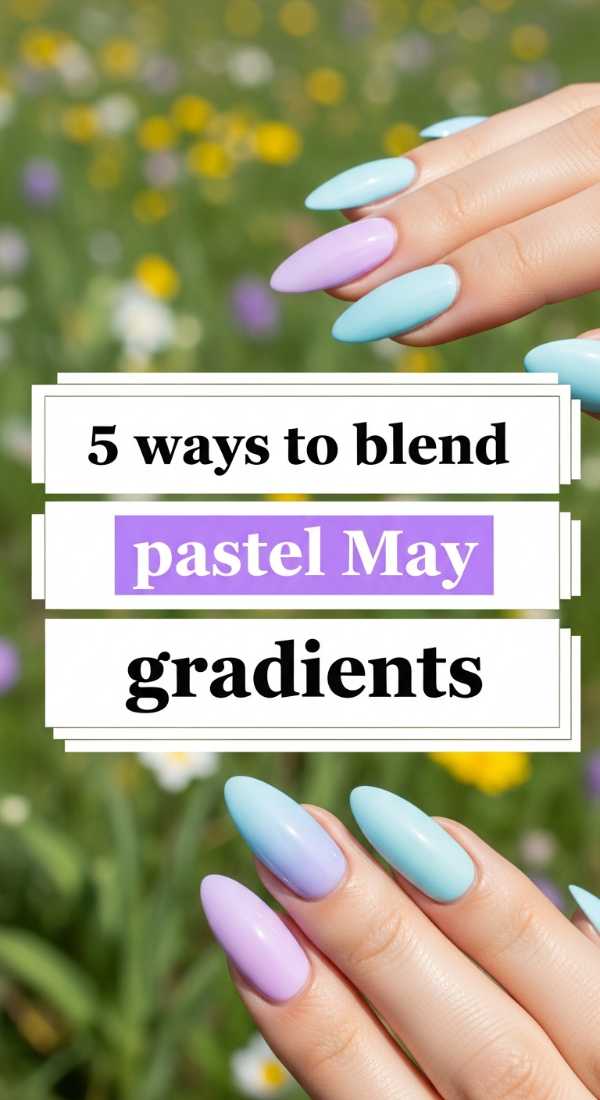
Pastel Sunset Gradients
Why to love this recipe:
Gradients are the ultimate way to wear every color you love at once without it feeling overwhelming. This blend of May pastels feels like a soft sunset reflected in a spring puddle—pure, dreamy serenity for your soul.
Essential Ingredients:
- Lavender, soft mint, and peach polishes
- Latex-free makeup sponges
- Liquid latex (for easy cleanup)
- Matte or glossy top coat
How to Prepare:
- Paint your nails with a crisp white base to make the pastels pop.
- Apply liquid latex around your cuticles to catch any over-spray.
- Paint horizontal stripes of lavender, mint, and peach onto the makeup sponge.
- Dab the sponge onto the nail repeatedly, moving it slightly up and down to blur the lines.
- Apply a top coat while the polish is still slightly tacky to further blend the colors.
Budget Range
- Essie Spring Collection Set ($27)
- Wedge Makeup Sponges ($5)
- Pueen Latex Tape ($9)
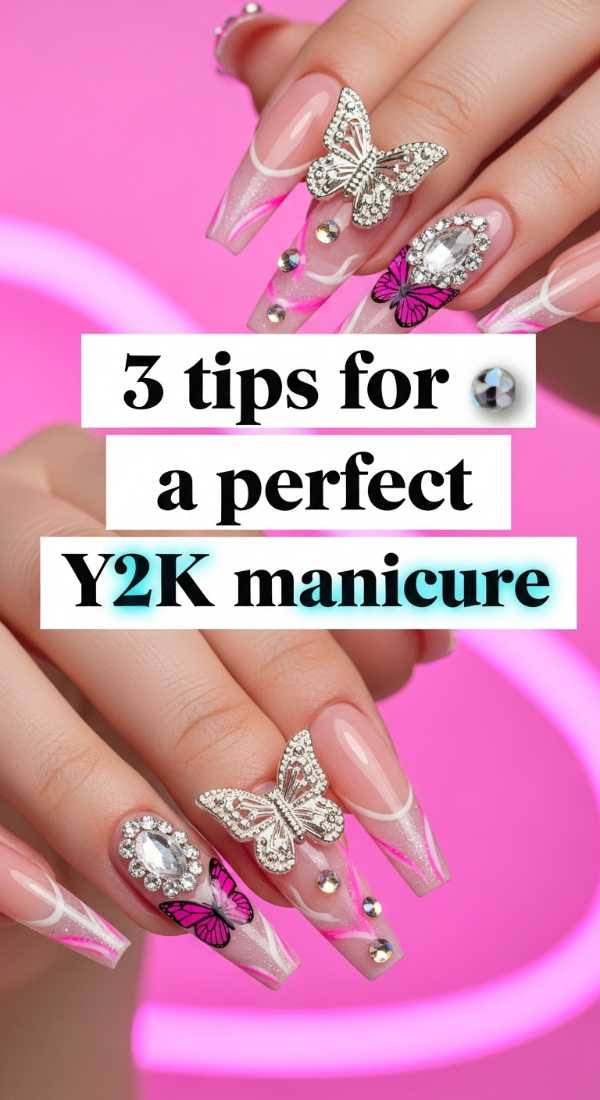
The Y2K Butterfly Revivial
Why to love this recipe:
This design is a playful nod to our younger selves, bringing back that nostalgic joy of the early 2000s. It’s bright, it’s fun, and it’s a reminder not to take life too seriously. Let your inner child fly free!
Essential Ingredients:
- Icy blue shimmer polish
- Butterfly nail decals or stickers
- Silver holographic glitter
How to Prepare:
- Tip 1: Always apply your butterfly stickers to a completely dry or cured surface to prevent lifting.
- Tip 2: Use tweezers to place the decals precisely near the tip or the cuticle for an asymmetrical, modern look.
- Tip 3: Seal with two coats of high-shine top coat to ensure the edges of the stickers stay flat and snag-free.
Budget Range
- Sally Hansen Insta-Dri in ‘Blueberry Blitz’ ($7)
- Holographic Butterfly Decals ($6)
- Seche Vite Dry Fast Top Coat ($10)
Luxury Golden Charms

Why to love this recipe:
Sometimes we just need to feel a little extra, don’t we? Adding gold charms is like wearing jewelry for your nails. It’s sophisticated, heavy in the best way, and feels like a true indulgence for your hands.
Essential Ingredients:
- Deep emerald or royal navy polish
- Gold bow or heart charms
- Nail jewelry glue (resin)
- UV lamp
How to Prepare:
- Apply your dark base color and cure fully.
- Dab a small amount of nail resin where you want the charm to sit.
- Use a wax picker tool to place the gold charm onto the glue.
- Hold the charm in place for a few seconds to ensure it doesn’t slide.
- Carefully brush top coat around the base of the charm (not over it, to keep the shine).
- Cure for an extra 60 seconds to lock it in.
Budget Range
- Zoya Professional Lacquer ($12)
- Makartt Nail Glue ($8)
- Luxury Gold Charm Variety Pack ($15)
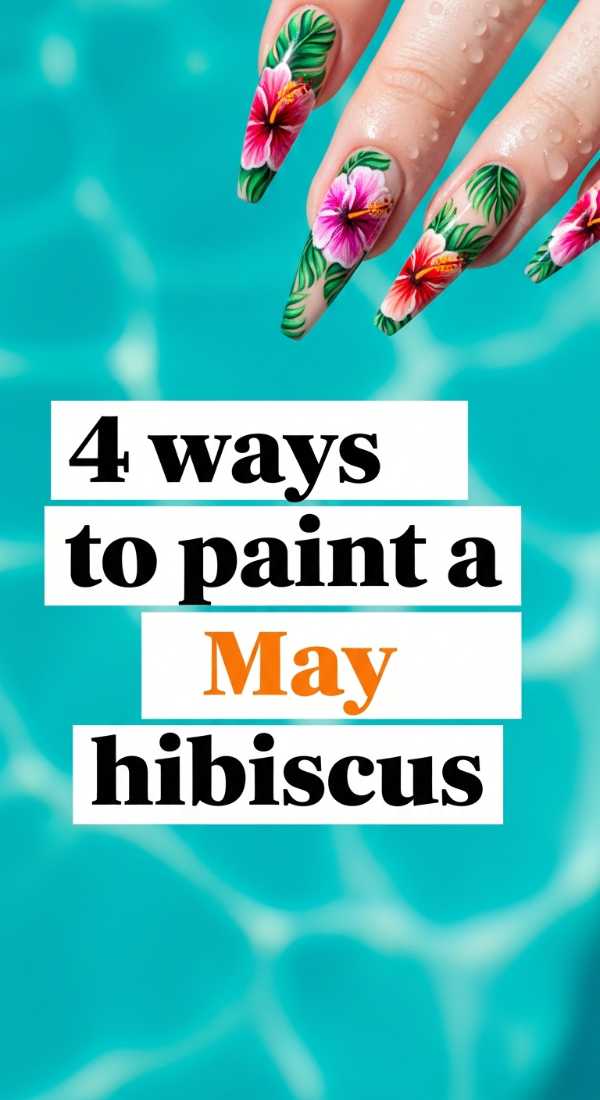
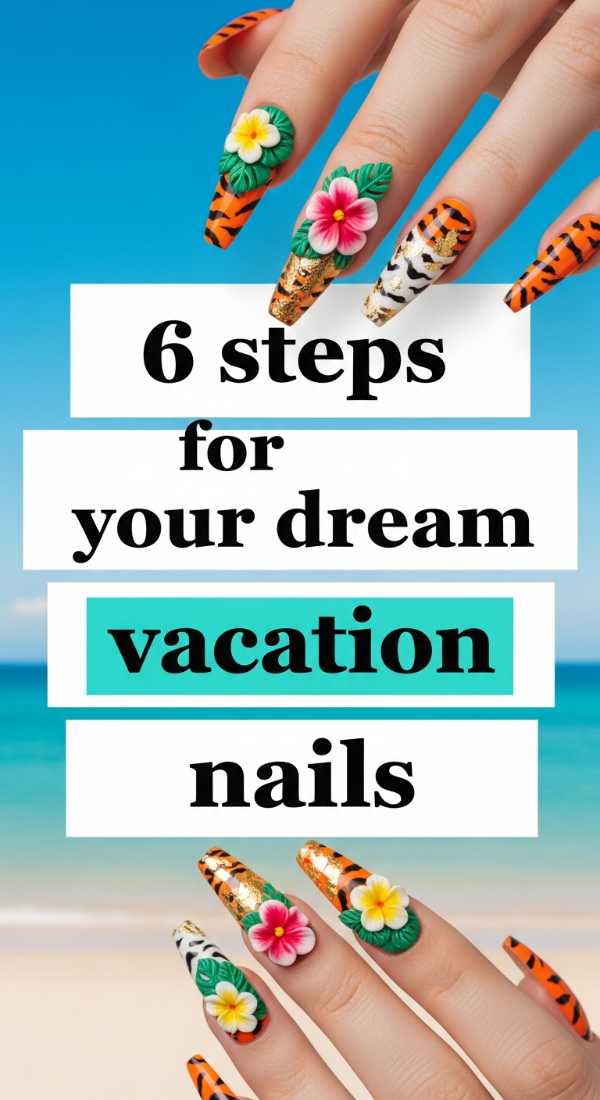
The Tropical May Hibiscus
Why to love this recipe:
We are manifesting warm weather and sandy toes! The hibiscus is the ultimate symbol of tropical relaxation. Painting this makes me feel like I’m already on island time, sipping something cold and fruity.
Essential Ingredients:
- Vibrant pink and yellow polish
- Fine liner brush
- White acrylic paint or polish
How to Prepare:
- Way 1: Use a ‘wet-on-wet’ technique by dropping pink polish onto a wet white base and swirling for a marbled petal look.
- Way 2: Use a dotting tool to create five large dots, then drag them to the center with a needle.
- Way 3: Paint thin white ‘veins’ on the petals to give the flower depth and realism.
- Way 4: Finish with a tiny yellow dot and a flick for the stamen in the center.
Budget Range
- Orly Neon Heat Collection ($15)
- Beetles Nail Art Liner Brushes ($9)
- Holler and Glow Nail Stickers ($5)
Electric Rainbow French
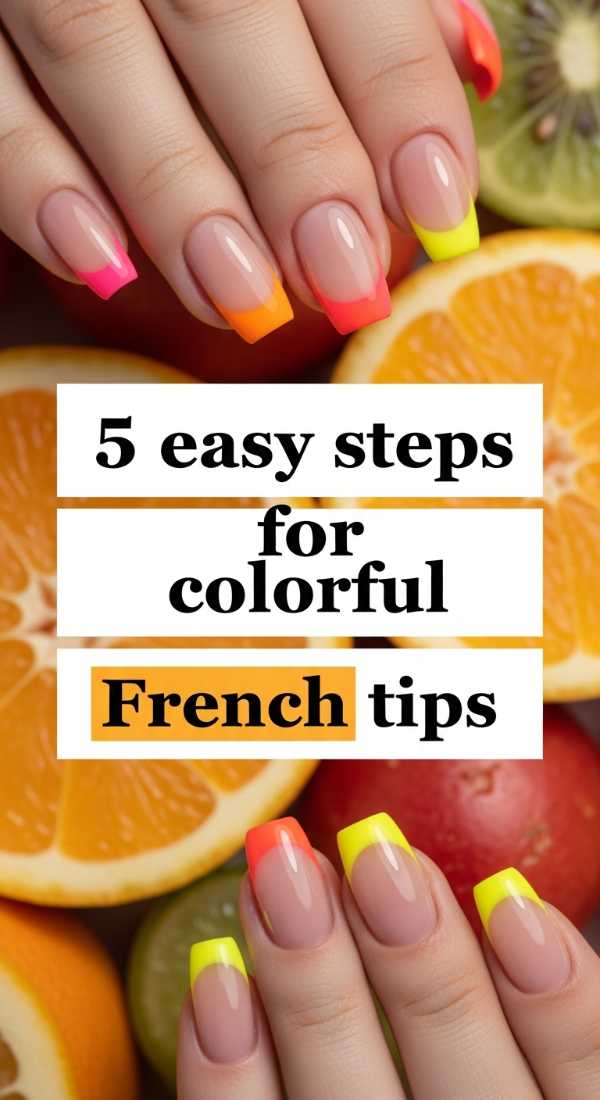
Why to love this recipe:
The classic French manicure gets a 2026 glow-up with vibrant, electric edges. It’s a way to keep things professional and clean while still showing off your colorful, vibrant personality.
Essential Ingredients:
- Sheer pink base coat
- Set of 5 neon polishes
- French tip guides or a silicone stamper
How to Prepare:
- Prep the nail with a sheer, healthy-looking pink base.
- Apply a different neon color to each finger’s tip for a ‘skittles’ French effect.
- Use a silicone nail stamper by painting polish on the stamper and pressing your finger in at an angle.
- Refine the ‘smile line’ with a brush dipped in acetone if needed.
- Finish with a super-glossy top coat to make the neon glow.
Budget Range
- Olive & June ‘The Subtle Neutrals’ ($10)
- Silicone Nail Art Stamper ($7)
- Modelones Neon Gel Set ($18)
The Coquette Ribbon Aesthetic
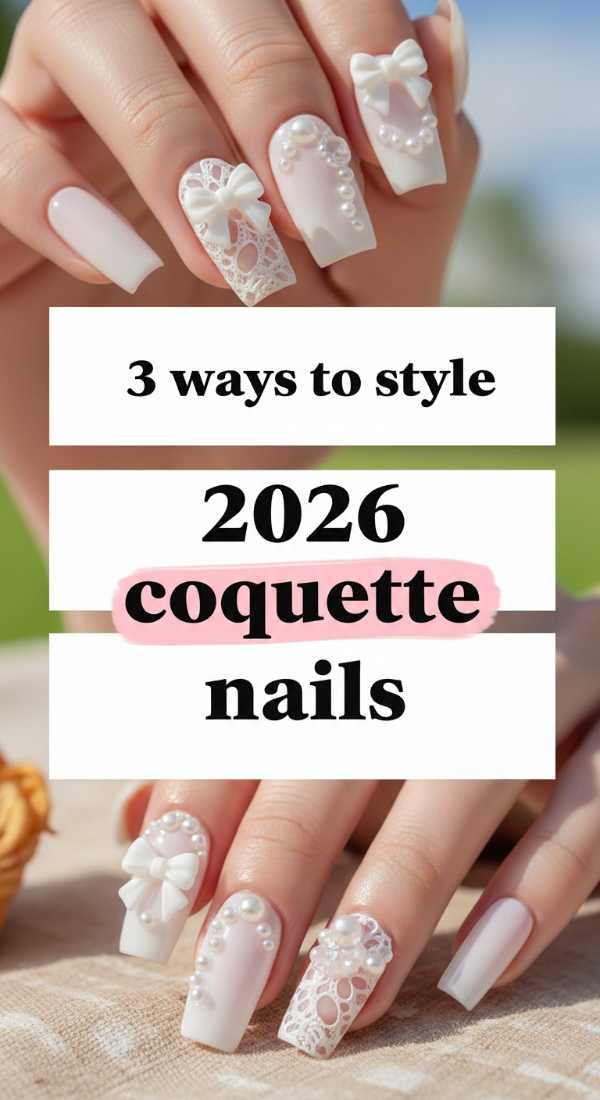
Why to love this recipe:
This is the ‘it-girl’ look of the season. Soft ribbons, bows, and pearls are the height of femininity. It’s delicate, sweet, and makes every movement of your hands feel like a dance.
Essential Ingredients:
- Milky white polish
- Thin pink ribbon stickers or hand-paint gel
- Tiny flat-back pearls
How to Prepare:
- Way 1: Style with a ‘milky’ base coat to give that soft, diffused cloud-like appearance.
- Way 2: Place a delicate pink bow at the base of the ring finger for a ‘statement’ coquette accent.
- Way 3: Pair with almond-shaped nails to elongate the fingers and enhance the feminine aesthetic.
Budget Range
- DND Gel Polish in ‘White Bunny’ ($13)
- Nail Art Bow 3D Stickers ($7)
- Flatback Pearl Assortment ($6)
Iridescent Glazed Donut
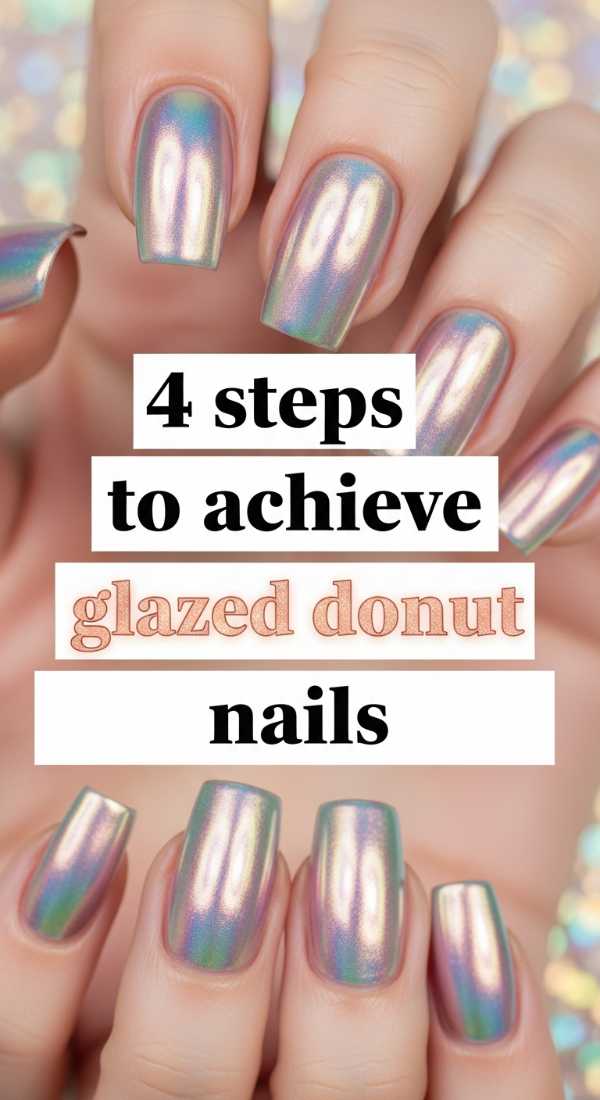
Why to love this recipe:
The glaze craze isn’t going anywhere! For May 2026, we are adding a slight lavender undertone to the classic chrome. It’s clean, it’s fresh, and it catches the light in the most mesmerizing way.
Essential Ingredients:
- Lavender-tinted sheer base
- Pearl chrome powder
- Sponge applicator
- No-wipe top coat
How to Prepare:
- Apply one coat of sheer lavender and cure.
- Apply a no-wipe top coat and cure for only 30 seconds (it should be slightly ‘tacky’).
- Rub the pearl chrome powder onto the nail using a sponge applicator until it glows.
- Wipe away excess powder and seal with a final layer of no-wipe top coat.
Budget Range
- Lights Lacquer ‘Spaced Out’ ($13)
- Artdone Chrome Powder ($10)
- Born Pretty No Wipe Top Coat ($8)
Whimsical Abstract Swirls
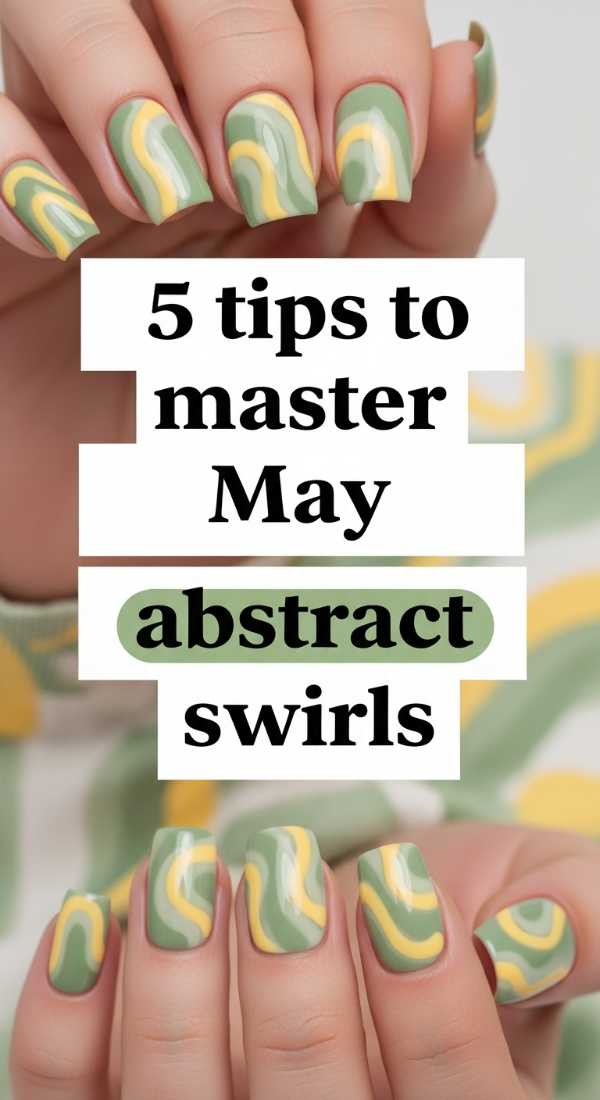
Why to love this recipe:
Abstract swirls are so forgiving and therapeutic to create. There are no mistakes here—only ‘happy accidents.’ It’s a design that celebrates the fluid, ever-changing nature of our lives.
Essential Ingredients:
- Three contrasting colors (e.g., teal, cream, gold)
- Long-haired liner brush
- Steady hand (and maybe a glass of wine!)
How to Prepare:
- Tip 1: Always start with your lightest color first to map out the general flow of the swirls.
- Tip 2: Use very light pressure on the brush; let the bristles do the work as you ‘pull’ the paint.
- Tip 3: Overlap the colors slightly to create a sense of movement and depth.
- Tip 4: Keep the swirls concentrated on one side of the nail for a modern, ‘negative space’ look.
- Tip 5: Clean your brush thoroughly between colors to keep the swirls crisp.
Budget Range
- Cirque Colors ‘Vice’ Collection ($14)
- Winstonia Long Liner Brush ($8)
- Ella + Mila Nail Polish ($11)
Dream Vacation Blueprints
Why to love this recipe:
Whether you’re heading to the Amalfi Coast or just the local pool, these nails are a blueprint for relaxation. They feature ‘pool water’ textures and golden ‘sand’ glitters that scream ‘I’m on vacation!’
Essential Ingredients:
- Turquoise jelly polish
- White blooming gel (for water effect)
- Fine gold glitter
How to Prepare:
- Paint a base of turquoise jelly polish and cure.
- Apply a thin layer of blooming gel but do not cure yet.
- Drop tiny bits of white polish into the wet blooming gel and watch them spread into ‘water ripples.’
- Once the pattern looks like a swimming pool, cure immediately.
- Add a dusting of gold glitter at the cuticle to represent the beach.
- Seal the entire ‘vacation’ with a thick, protective top coat.
Budget Range
- Gelish Mini ‘Garden Party’ ($12)
- Kodi Professional Blooming Gel ($14)
- Beyond Polish Glitter Dust ($6)
A Soft Farewell to Spring
I hope these designs spark a little bit of joy in your heart and a lot of beauty on your nails. Remember, loves, your manicure is more than just polish—it’s a reflection of your mood and a way to celebrate the season of growth we are all in. Take these ideas, make them your own, and don’t forget to show yourselves some kindness this May. Until next time, keep shining!