
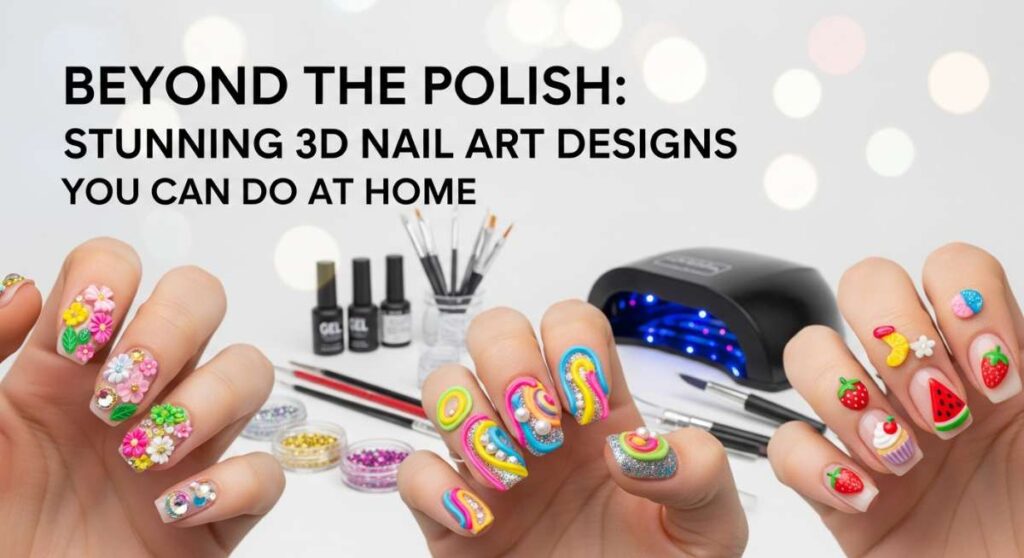
Beyond the Polish: Stunning 3D Nail Art Designs You Can Do at Home
Hello, my loves. Welcome back to our little corner of the world, where the tea is always warm and the inspiration flows like a gentle stream. Today, I want to talk to you about something that has been bringing so much joy to my heart lately—the magic of maximalist 3D nail art. There is something incredibly grounding about taking an hour for yourself, sitting in a sun-drenched nook, and turning your fingertips into tiny, colorful canvases of self-expression.
I know, I know—3D art can feel a little intimidating at first, like trying to paint a masterpiece on a grain of rice! But trust me, darling, it’s all about the rhythm and the love you put into it. We aren’t just painting nails; we are sculpting little bits of happiness that we get to carry with us all day. Whether you’re a seasoned pro or just picking up a dotting tool for the first time, this guide is a soft embrace to help you find your creative spark.
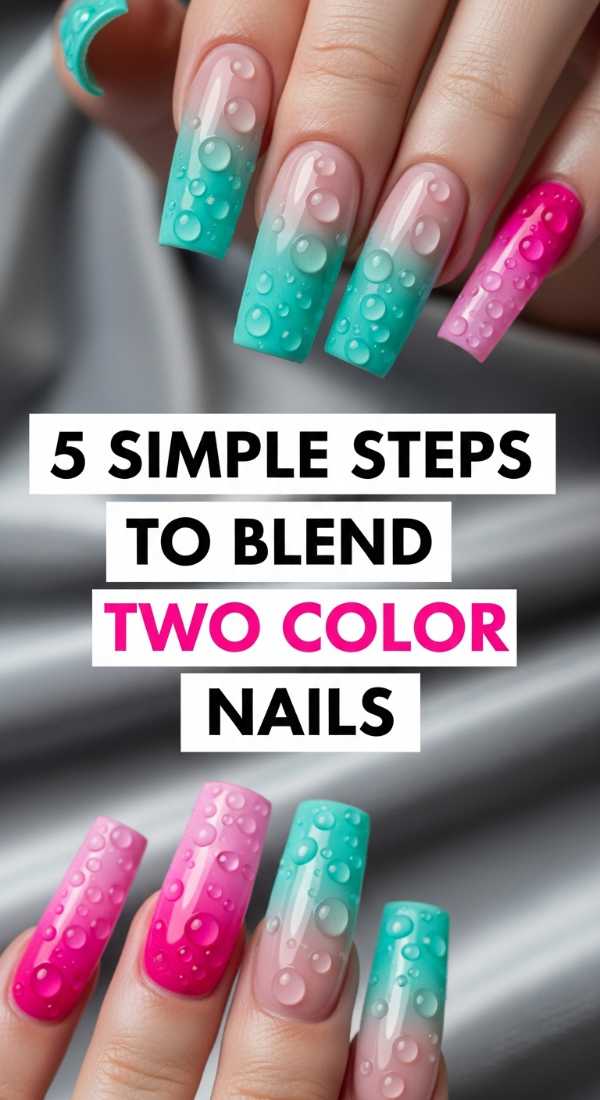
5 simple steps to blend TWO COLOR nails
Why to love this recipe:
This is the ultimate comfort food for your nails. Blending two colors creates a dreamy, sunset-like gradient that feels soft and sophisticated without being overwhelming. It’s the perfect way to transition your mood from the morning mist to the evening glow.
Essential Ingredients:
- Two complementary gel polishes (like soft lilac and peach)
- A small makeup sponge
- Liquid latex or nail tape
- High-gloss top coat
How to Prepare:
- Apply your base color and let it dry completely.
- Apply liquid latex around your cuticles to keep things tidy.
- Paint two horizontal stripes of your colors directly onto the makeup sponge, slightly overlapping them.
- Gently dab the sponge onto your nail in a light, bouncing motion until the colors melt together.
- Seal the magic with a shiny top coat and peel away the latex.
Budget Range
- Zoya Professional Lacquer – $12
- Wedge Makeup Sponges (Bulk) – $5
- Pueen Latex Tape – $9
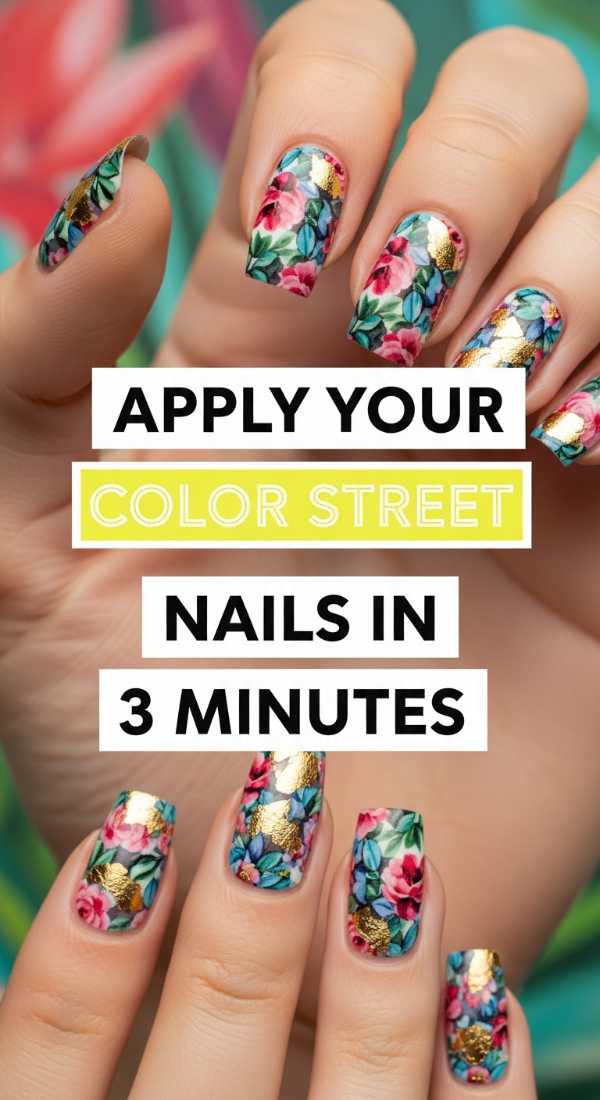
Apply your COLOR STREET nails in 3 minutes
Why to love this recipe:
For my busy loves who are always on the move, these real nail polish strips are a total lifesaver. It’s like having a professional salon tucked into your pocket, ready to give you a flawless, colorful look in the time it takes to brew a cup of coffee.
Essential Ingredients:
- A pack of Color Street nail strips
- Nail prep pads (usually included)
- A small glass nail file
How to Prepare:
- Clean your nails thoroughly with the prep pad to remove any natural oils.
- Select the strip size that best fits your nail and peel off the clear plastic cover.
- Place the strip near the cuticle and smooth it down toward the tip.
- Fold the excess strip over the edge of your nail.
- Use the file in a downward motion to gently remove the excess for a clean finish.
Budget Range
- Color Street Mainline Sets – $11-$14
- Glass Nail File – $7
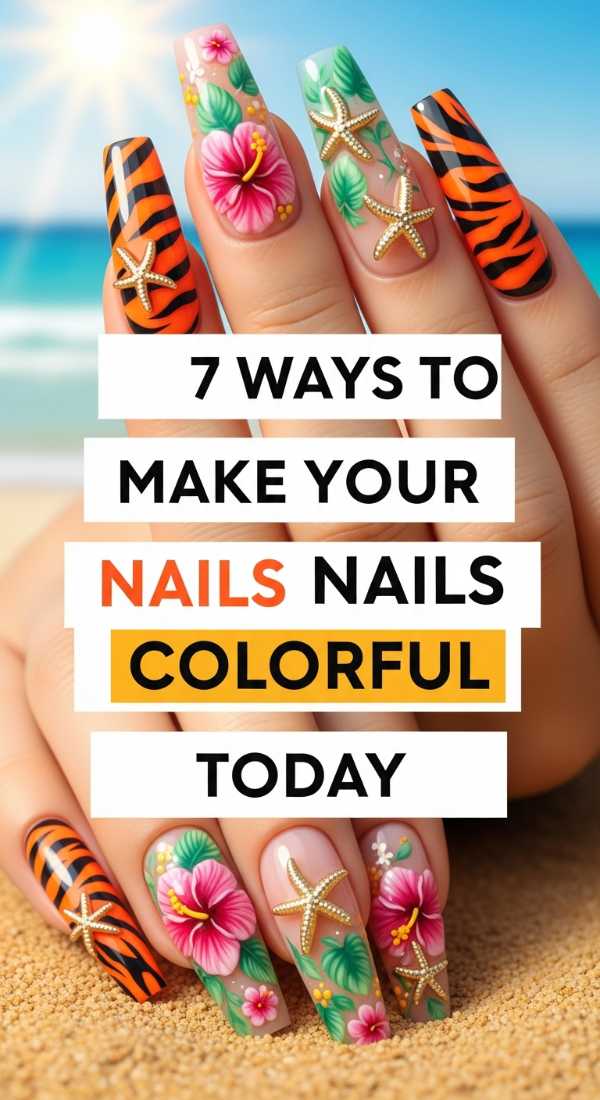
7 ways to make your NAILS COLORFUL today
Why to love this recipe:
Sometimes we just need a burst of dopamine! This approach is all about playfulness—using different textures and shades to reflect all the beautiful facets of your personality. It’s a celebration of color in its purest, most joyful form.
Essential Ingredients:
- A collection of bright neon polishes
- Matte top coat
- Iridescent glitter flakes
- Fine-liner brush
How to Prepare:
- Try a ‘Skittles’ mani by painting each finger a different vibrant shade.
- Add a matte finish to one or two accent nails for a modern touch.
- Dab glitter flakes onto the tips for a ‘party’ feel.
- Use a liner brush to create thin, colorful squiggles.
- Experiment with negative space by leaving half the nail bare.
- Layer a sheer shimmer over a solid color for a holographic effect.
- Create tiny polka dots using a toothpick and a contrasting bright shade.
Budget Range
- Essie Summer Collection Set – $25
- Holo Taco Unicorn Skins – $13
- Nail Art Brushes Set – $8
Design MULTICOLOR nails in 4 easy stages
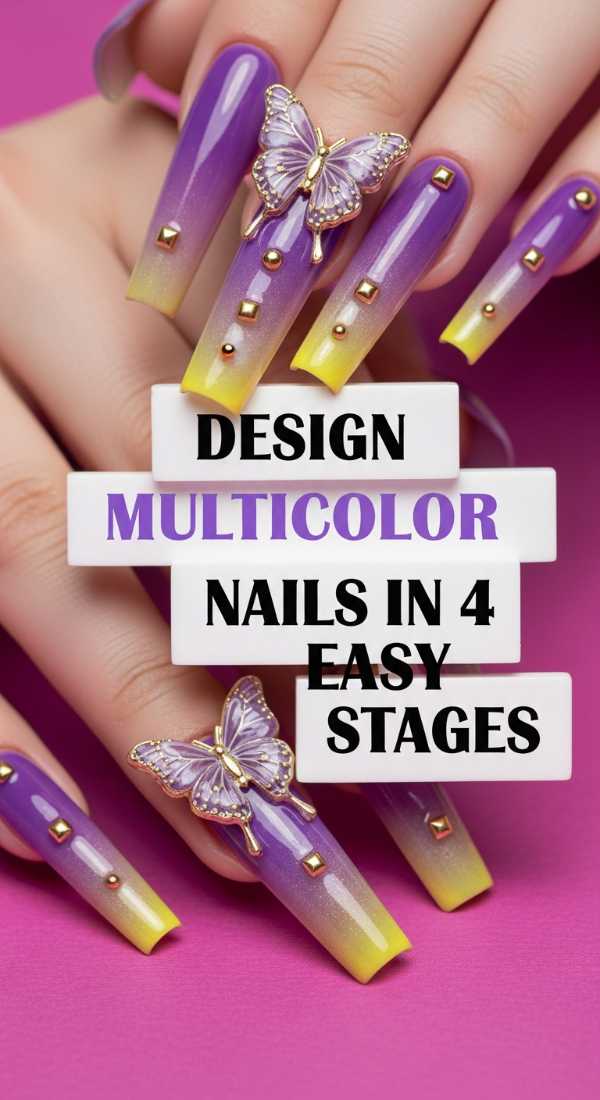
Why to love this recipe:
Multi-color designs can often feel chaotic, but by following these stages, you create a harmonious masterpiece. It feels like organizing a beautiful bouquet of wildflowers—structured yet wonderfully wild.
Essential Ingredients:
- Three primary colors of polish
- A palette or piece of foil
- Detailing brush
- Clear builder gel
How to Prepare:
- Stage 1: Lay down a neutral or white base to make your colors pop.
- Stage 2: Paint large, organic ‘blobs’ of your three colors in different corners of the nails.
- Stage 3: Use the detailing brush to connect the shapes with thin lines or swirls.
- Stage 4: Add a drop of builder gel to the center of each shape for a 3D ‘water droplet’ effect.
Budget Range
- Modelones Gel Polish Starter Kit – $30
- Saviland Builder Gel – $15
Find COLORFUL NAIL INSPO with 10 designs

Why to love this recipe:
We all have those days where the creative well feels a little dry, my loves. This is your invitation to dream. Looking at a variety of designs helps you find the specific ‘vibe’ that resonates with your soul today.
Essential Ingredients:
- Pinterest or Instagram access
- A notebook for sketching
- A mood board of textures and fabrics
How to Prepare:
- Search for ‘Maximalist 3D Art’ and save your top 10 favorites.
- Notice the common threads—are you drawn to flowers, gems, or abstract swirls?
- Pick elements from three different designs and combine them.
- Sketch your plan on paper before touching the polish.
Budget Range
- Digital Mood Board (Free)
- Art Sketchbook – $10
Sculpt COLOURFUL ACRYLIC nails in 6 steps
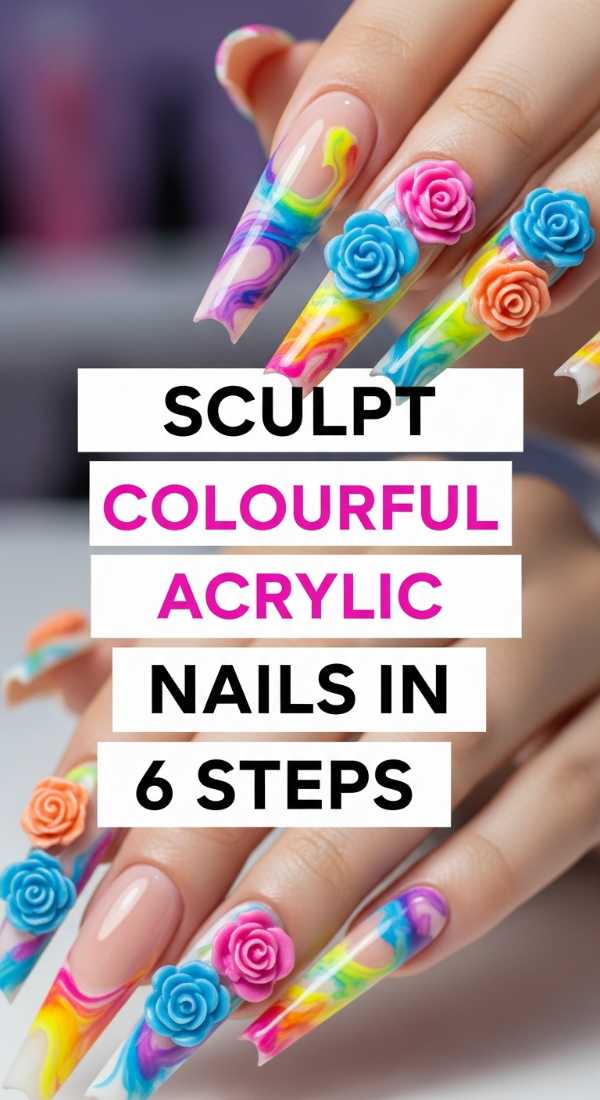
Why to love this recipe:
There is a profound sense of accomplishment in building something from scratch. Sculpting your own acrylics allows you to control the architecture of your beauty, creating a strong foundation for any 3D art your heart desires.
Essential Ingredients:
- Acrylic powder (colored or clear)
- Monomer liquid
- Acrylic brush (Size 8 or 10)
- Nail forms
- Dappen dish
- Nail primer
How to Prepare:
- Prep the natural nail and apply the primer for a secure bond.
- Secure the nail form snugly under the free edge.
- Dip your brush into the monomer, then into the powder to create a perfect bead.
- Place the bead at the junction of the nail and form, sculpting the length.
- Apply a second bead near the cuticle to build the apex for strength.
- Once hardened, file the shape until it feels smooth and graceful.
Budget Range
- Mia Secret Acrylic System – $20
- Professional Kolinsky Brush – $35
Shape COLORFUL STILETTO nails using 3 tips
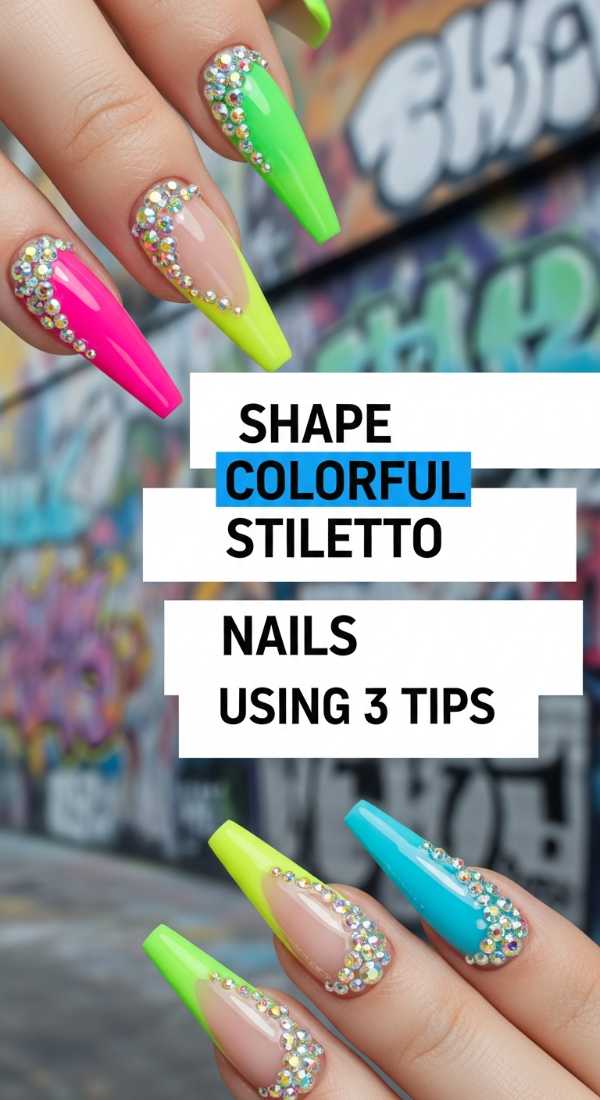
Why to love this recipe:
Stiletto nails are the ultimate ‘boss’ look, aren’t they? They are sharp, elegant, and provide a long canvas for maximalist art. Shaping them correctly ensures they look intentional and fierce, like a beautiful piece of modern architecture.
Essential Ingredients:
- 100/180 grit nail file
- Buffing block
- Nail clippers
How to Prepare:
- Tip 1: Find the center. Mark the exact center of your tip—this is your ‘aiming point’ for the point.
- Tip 2: File from the sidewall toward the center at a 45-degree angle, keeping the movement consistent on both sides.
- Tip 3: Taper the underside. Gently file the bottom edges to ensure the point isn’t too bulky.
Budget Range
- Makartt Professional Files – $10
- Manicure Tool Kit – $15
Create 8 BOLD looks for MULTICOLOR nails
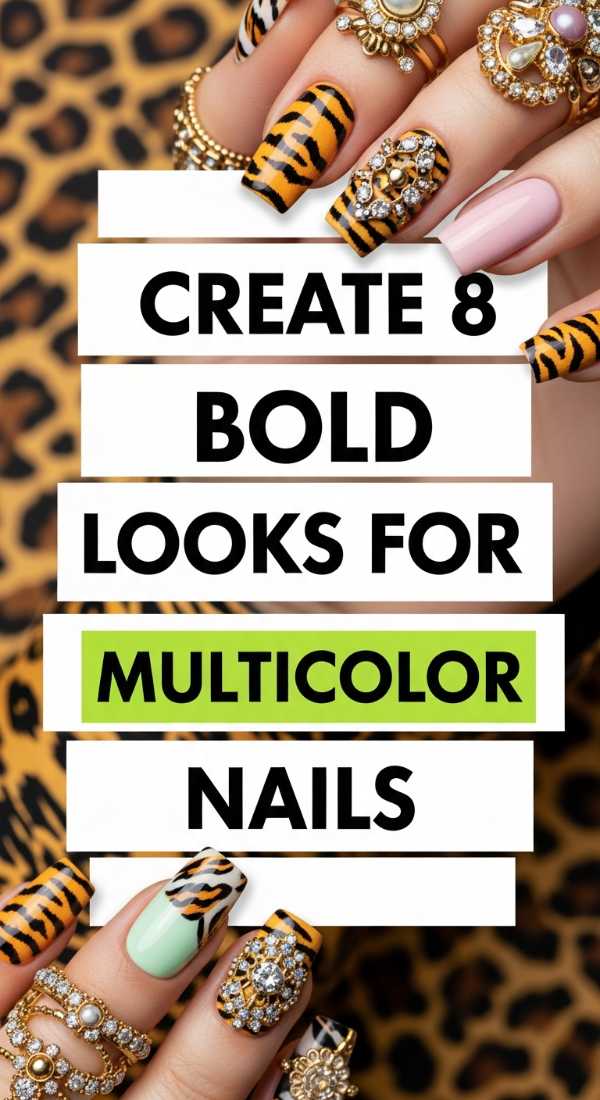
Why to love this recipe:
Boldness is a quiet form of courage. These looks are for the days when you want your hands to speak before you do. They are vibrant, layered, and full of life—just like you.
Essential Ingredients:
- Chunky glitter
- 3D nail charms (cherries, bows, hearts)
- Chrome powder
- Nail glue
How to Prepare:
- Design a ‘Candy Land’ look using pastel 3D spheres.
- Try a ‘Galaxy’ vibe with deep purples and holographic stars.
- Go ‘Jungle’ with neon green bases and 3D leaf charms.
- Create ‘Mermaid’ nails using scale-patterned chrome.
- Build ‘Pop Art’ nails with primary colors and black outlines.
- Try ‘Floral Fantasy’ using 3D acrylic flowers.
- Go ‘Cyberpunk’ with metallic foils and wire accents.
- Design ‘Fairy Core’ with dried flowers and gold flakes.
Budget Range
- 3D Nail Charm Variety Pack – $12
- Chrome Powder Set – $15
- Ardell Nail Glue – $6
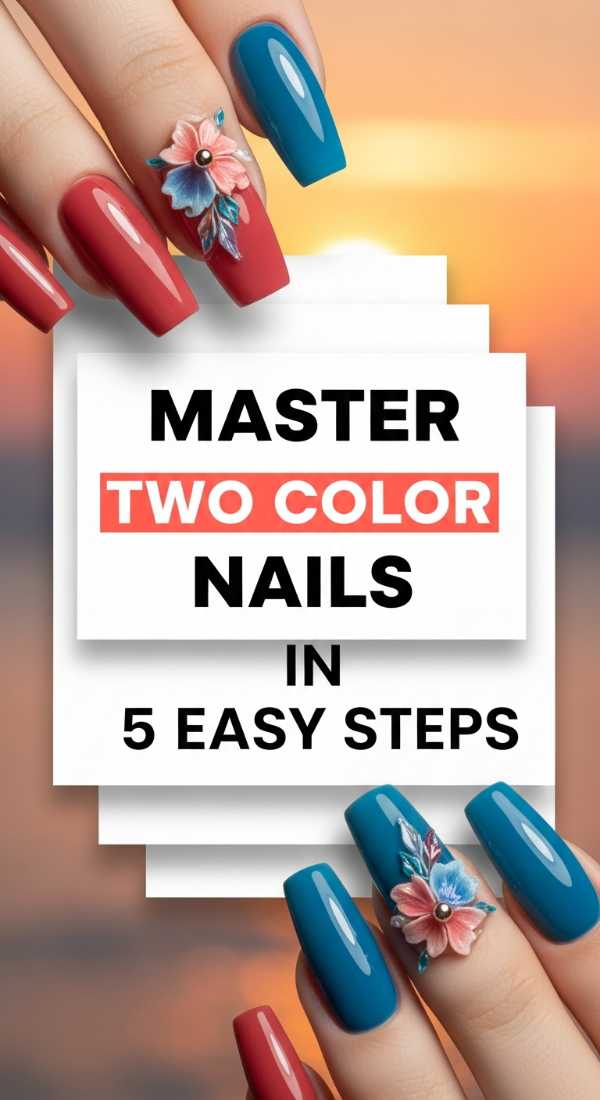
Master TWO COLOR nails in 5 easy steps
Why to love this recipe:
Mastering the two-color look is about finding the perfect balance between two worlds. It’s a lesson in harmony, showing how two different shades can come together to create something more beautiful than they were alone.
Essential Ingredients:
- High-pigment cream polishes
- Ombre brush (whispy bristles)
- Mixing palette
How to Prepare:
- Apply two coats of your lighter shade as the base.
- Place a drop of both colors on your palette and mix them slightly in the middle.
- Dip the ombre brush into the mixed transition shade.
- Lightly flick the brush where the two colors meet on your nail.
- Build the intensity slowly for a seamless, professional finish.
Budget Range
- OPI Nail Lacquer Duo – $22
- Kween Ombre Brush – $9
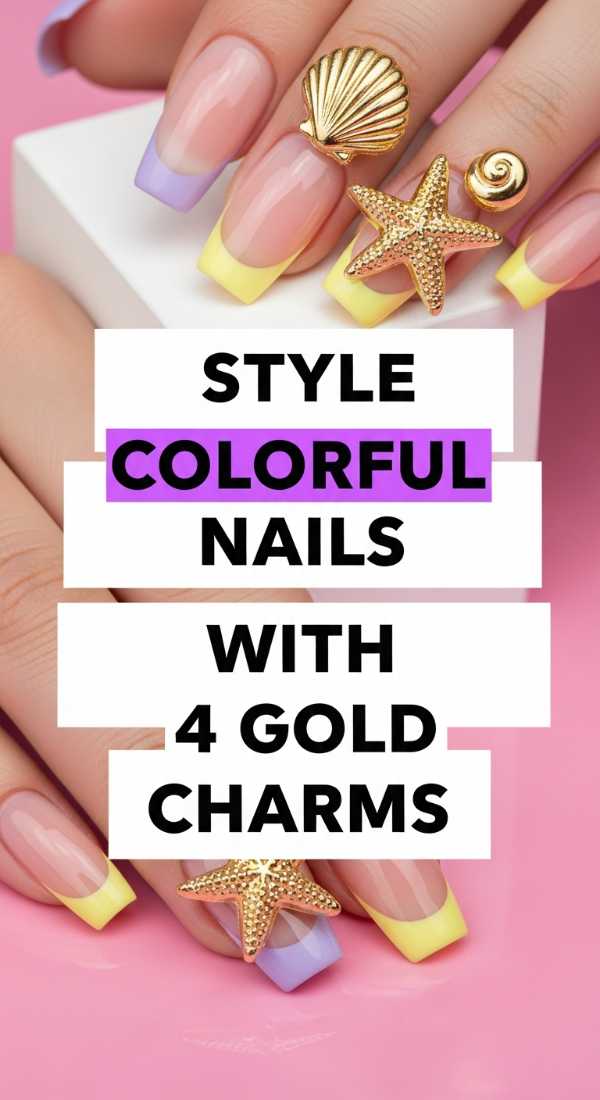
Style COLORFUL NAILS with 4 gold charms
Why to love this recipe:
Gold charms are like the jewelry for your jewelry! They add a touch of luxury and vintage charm to even the brightest colors. It feels like wearing a tiny crown on every finger.
Essential Ingredients:
- Assorted gold charms (moons, stars, chains, snakes)
- Jewel picker tool or tweezers
- Strong gem gel or resin
- UV/LED Lamp
How to Prepare:
- Apply your colorful base and cure.
- Place a small bead of gem gel where you want the first charm.
- Carefully place a gold moon or star charm using your picker tool.
- Add a tiny gold chain draped across the nail for a ‘dangle’ effect.
- Finish with gold studs at the cuticle and cure under the lamp to lock them in place.
Budget Range
- Luxury Gold Nail Charm Set – $18
- Beetles Gel Jewelry Glue – $10
- UV LED Nail Lamp – $25
Wrapping You in Color
Oh, my loves, I hope these ideas have filled your heart with as much excitement as they have mine. Remember, nail art isn’t about perfection; it’s about the process of creation and the joy of seeing your personality reflected in every gesture. Whether you choose a simple blend or go full-on maximalist with gold charms, wear your designs with pride. You are a masterpiece, and your nails are just the beginning. Go forth and shine, darling!