
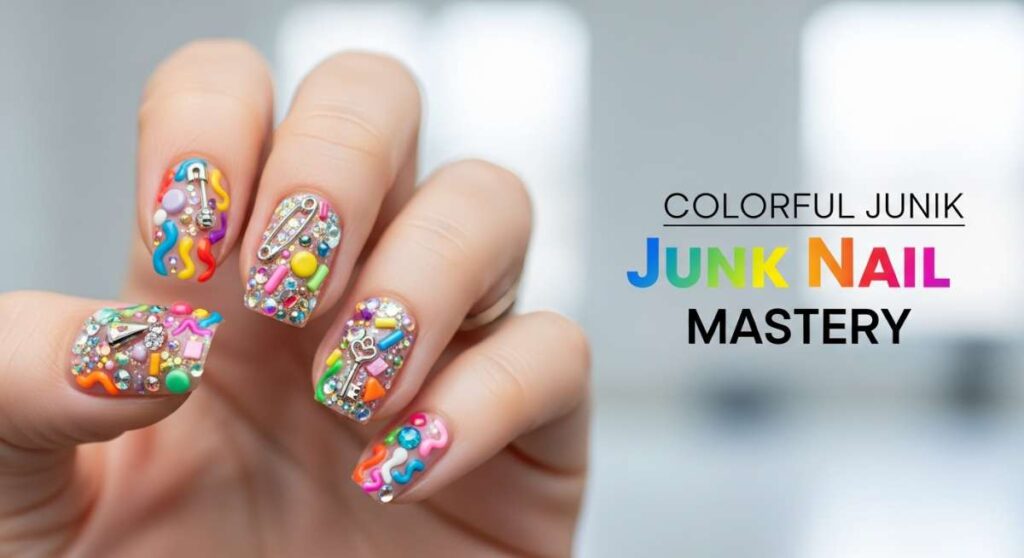
Chaos to Couture: How to Master the Colorful Junk Nail Trend
Hello, my lovely souls. Welcome back to our little corner of the internet where we turn the ordinary into something truly magical. Lately, I’ve been feeling like life is a bit of a whirlwind, haven’t you? Between the morning rush and the evening wind-down, it’s so easy to lose that spark of playfulness. But then I looked down at my hands and realized—our nails are the perfect canvas for a little bit of beautiful chaos.
Today, we are diving deep into the world of ‘Junk Nails.’ I know the name sounds a bit messy, but trust me, it’s pure couture. It’s about taking all those vibrant colors, tiny charms, and bold textures and weaving them into a story that is uniquely yours. It’s a soft embrace for your inner child who loved stickers and glitter, but with a chic, grown-up twist. Let’s get creative together, shall we?
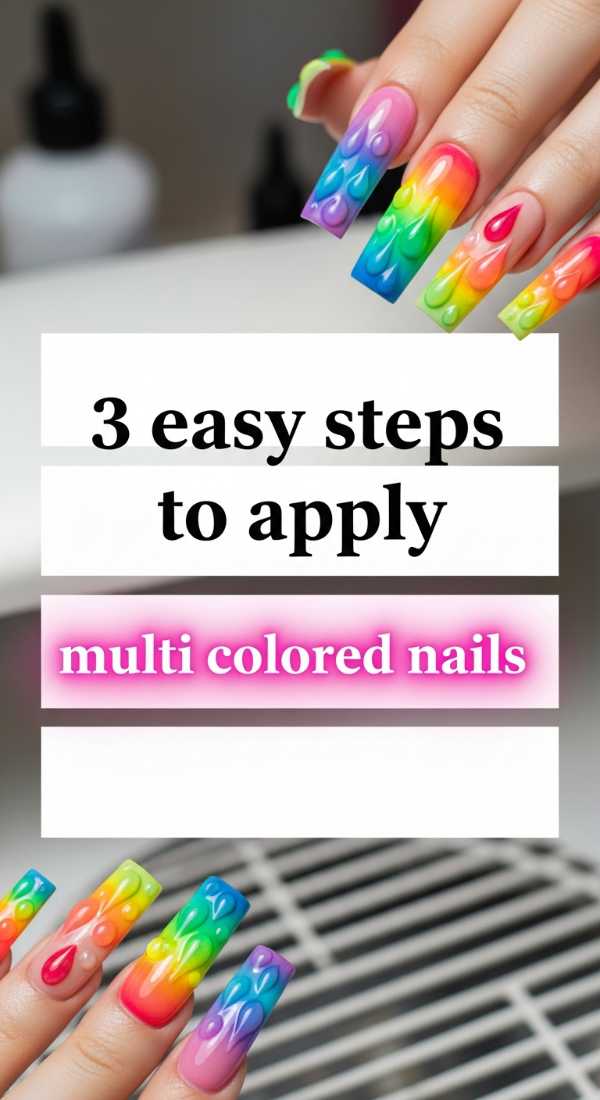
3 Easy Steps to Apply Multi Colored Nails
Why to love this recipe:
This is the ultimate ‘soft-start’ for anyone feeling a bit shy about the maximalist trend. It’s simple, soothing, and gives you an instant boost of dopamine every time you look at your keyboard. It’s like wearing a rainbow on your fingertips without needing a degree in fine arts.
Essential Ingredients:
- 5 different pastel or neon polish shades
- A high-shine top coat
- Nail polish remover for clean-up
How to Prepare:
- Pick your palette: Select five colors that make your heart hum—I love a soft gradient of sunset oranges and pinks.
- The Alternating Swipe: Apply two thin coats of a different color to each finger on one hand. Repeat for the second hand in the same order.
- Seal the Joy: Once dry, apply a thick layer of top coat to bridge the colors together into one cohesive look.
Budget Range
- Essie Expressie Quick-Dry Polishes ($10 each)
- Holo Taco Glossy Taco ($11)
- Target Brand Acetone ($3)
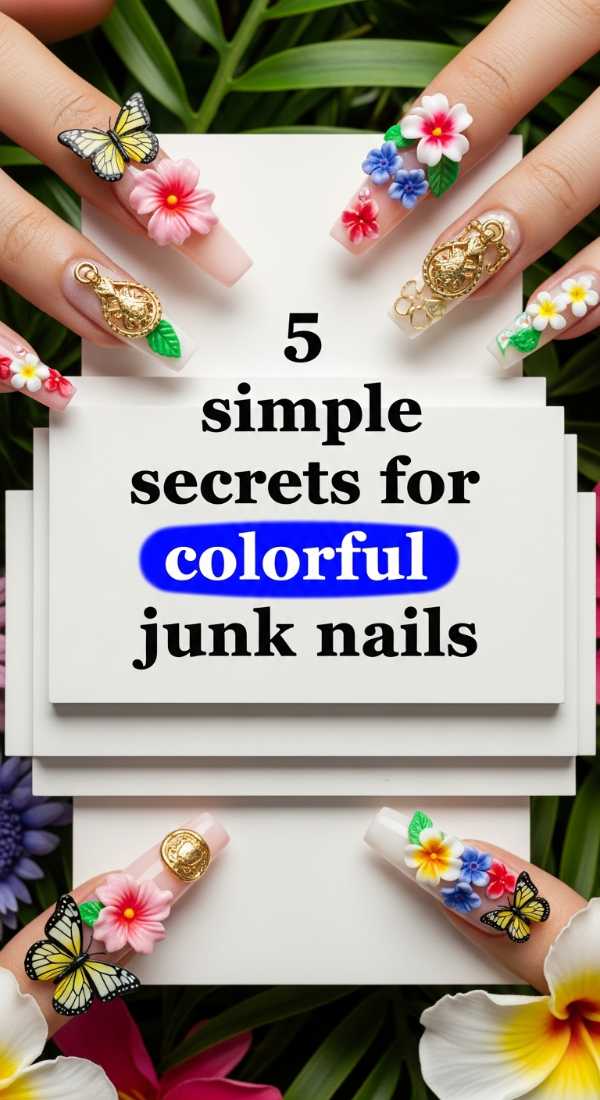
5 Simple Secrets for Colorful Junk Nails
Why to love this recipe:
Junk nails are all about ‘more is more,’ but there’s a secret rhythm to the madness. These secrets help you balance the weight and texture so your nails feel like jewelry rather than a burden. It’s the art of curated clutter!
Essential Ingredients:
- Assorted nail charms (bears, stars, hearts)
- Builder gel or strong nail glue
- A pair of fine tweezers
- UV/LED lamp
How to Prepare:
- The Anchor Secret: Place your largest charm in the center of the nail first to act as your focal point.
- Texture Play: Mix matte finishes with glossy charms to create visual depth.
- The Fill-In: Use tiny rhinestones or gold caviar beads to fill the ’empty’ spaces between larger charms.
- The Symmetry Hack: Make the thumb and ring finger the busiest, leaving the others slightly lighter for balance.
- Double Seal: Go over the edges of your charms with a thin liner brush dipped in top coat to prevent snagging on your favorite sweaters.
Budget Range
- Amazon Nail Charm Bulk Kits ($8-15)
- Makartt Rhinestone Glue Gel ($12)
- SUNUV LED Lamp ($25)
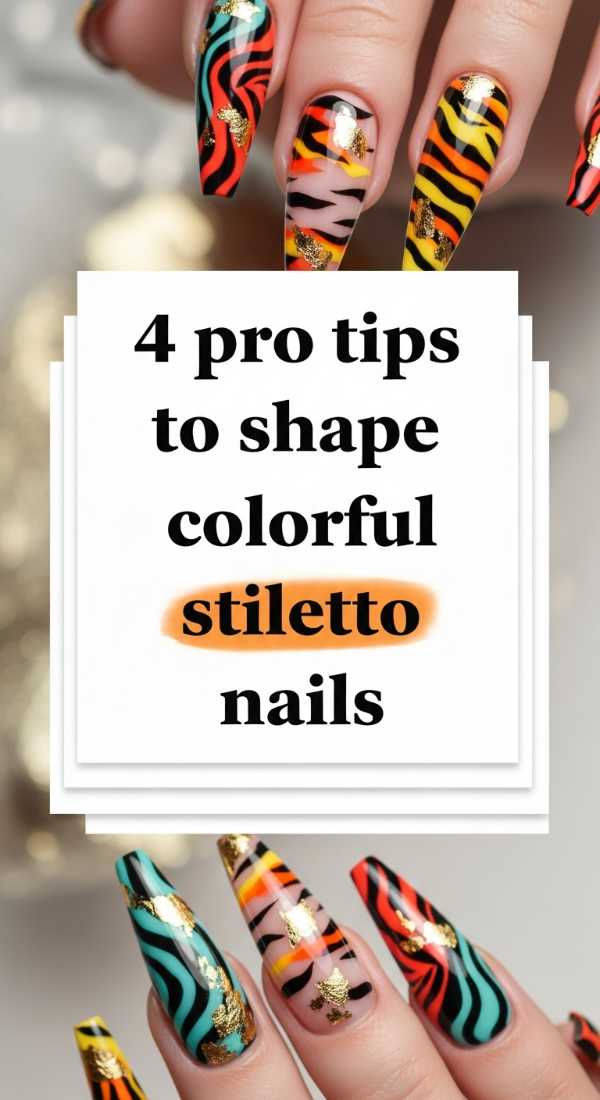
4 Pro Tips to Shape Colorful Stiletto Nails
Why to love this recipe:
There is something so empowering about a sharp, elegant stiletto nail. It elongates the fingers and provides the perfect long canvas for all those colorful designs. It’s the ‘couture’ in Chaos to Couture.
Essential Ingredients:
- 100/180 grit nail file
- Metal cuticle pusher
- Buffer block
How to Prepare:
- Find the Center: Mark a tiny dot at the very tip of your nail’s center to act as your guide.
- The Side Angle: File from the sidewall toward the center point at a 45-degree angle, keeping your movements fluid.
- The Symmetry Check: Flip your hand over frequently to ensure the ‘point’ is perfectly aligned with your knuckle.
- Softening the Edge: Use the buffer block to slightly dull the very tip so it’s sharp to the eye but safe for your skin.
Budget Range
- OPI Edge Silver 150 Grit File ($4)
- Flowery Blue Buffer Blocks ($6 pack)
- Tweezerman Stainless Steel Pusher ($18)
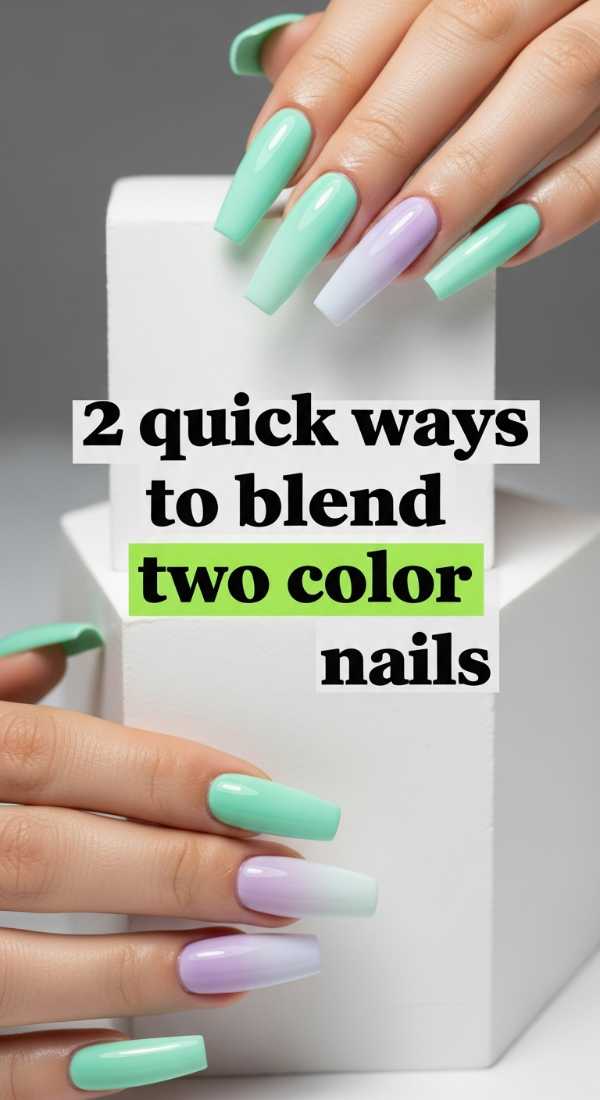
2 Quick Ways to Blend Two Color Nails
Why to love this recipe:
Sometimes we just want a soft, romantic transition between two of our favorite shades. Blending creates a dreamy, watercolor effect that feels like a sunset melting right onto your nails. It’s pure magic in minutes.
Essential Ingredients:
- Two complementary polish colors
- Makeup sponges or a dry ombre brush
How to Prepare:
- The Sponge Method: Paint two stripes of color directly onto a makeup sponge, then dab it repeatedly onto the nail until the line disappears.
- The Wet Brush Drag: Apply both colors side-by-side on the nail while wet, then use a clean, dry brush to lightly ‘zig-zag’ the middle line together.
Budget Range
- Wet n Wild Makeup Sponges ($3)
- Sally Hansen Insta-Dri Polishes ($6)
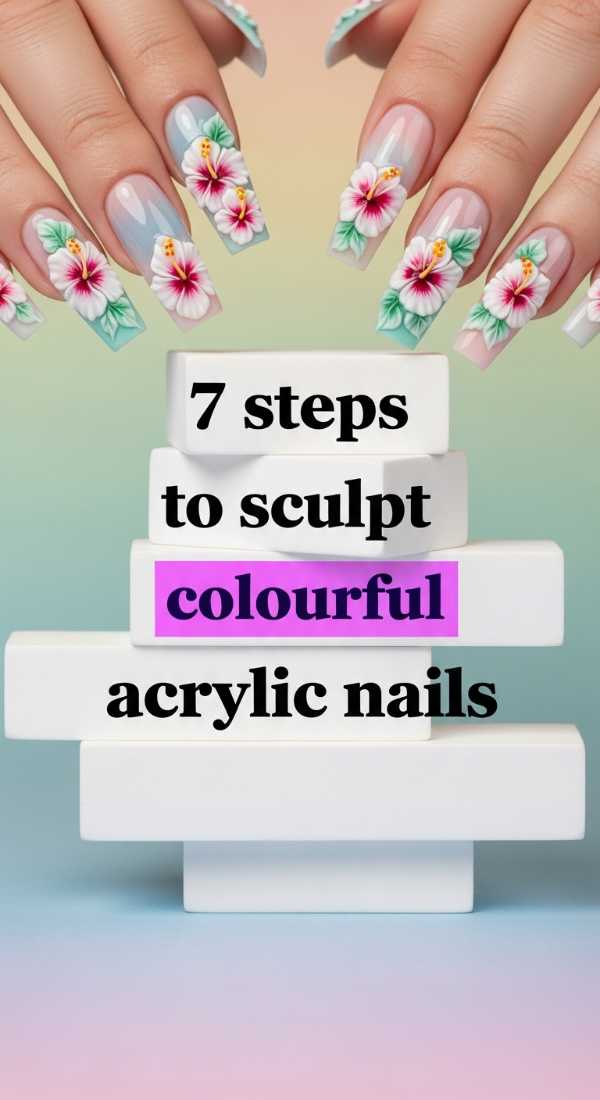
7 Steps to Sculpt Colourful Acrylic Nails
Why to love this recipe:
Sculpting your own acrylics is the ultimate act of self-care and craftsmanship. It allows you to build the strength needed for heavy junk nail decorations while playing with ‘encapsulated’ colors like dried flowers or glitter.
Essential Ingredients:
- Acrylic powder (clear and colored)
- Monomer liquid
- Acrylic brush (Size 8 or 10)
- Nail forms
How to Prepare:
- Prep: Dehydrate the natural nail and apply a primer.
- Fit the Form: Secure the nail form snugly under the free edge.
- The First Bead: Place a medium bead at the junction of the nail and form to create the length.
- The Apex: Place a larger bead at the center of the nail to create a strong ‘hump’ for durability.
- Color Swirl: While the acrylic is still tacky, drop in bits of colored powder or glitter.
- The Cap: Cover the entire design with a thin layer of clear acrylic.
- Refine: Once hardened, file the shape until smooth and crisp.
Budget Range
- Mia Secret Professional Acrylic Kit ($30)
- Kolinsky Acrylic Brush ($20)
- Young Nails Protein Bond ($15)
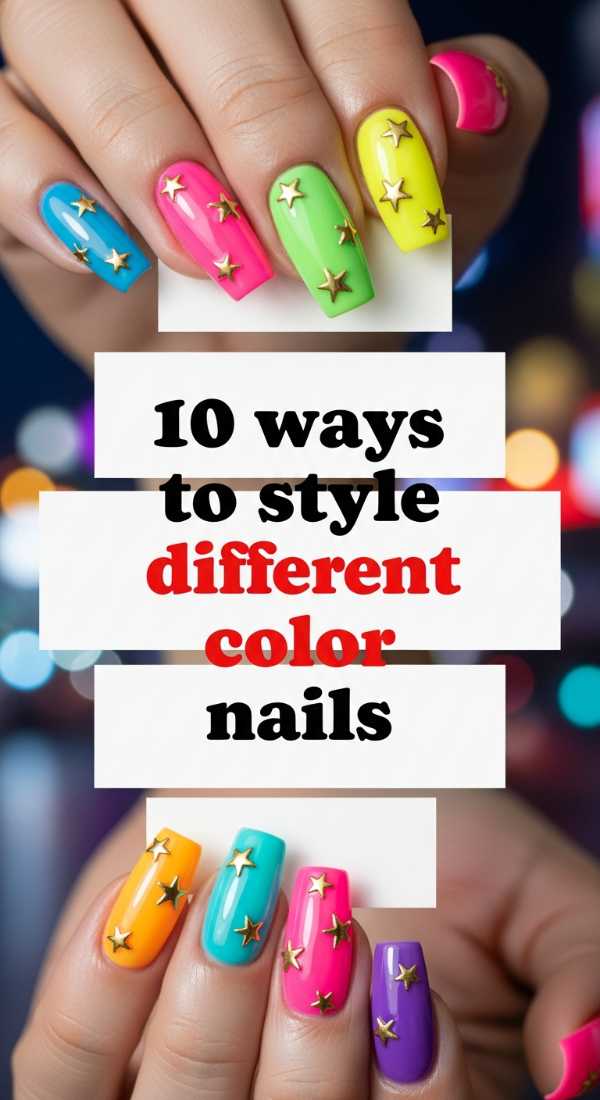
10 Ways to Style Different Color Nails
Why to love this recipe:
Styling is where your personality truly shines, loves. This isn’t just about paint; it’s about how those colors interact with your wardrobe and your mood. It’s about being unapologetically you.
Essential Ingredients:
- A collection of multi-finish polishes
- Creativity and a mirror
How to Prepare:
- The Skittles Hand: Every finger a different bright neon.
- Tonal Shift: Five shades of the same color family (e.g., navy to baby blue).
- The ‘Odd One Out’: Four neutral nails and one neon ‘junk’ nail.
- Complementary Pairs: Pink and Green or Purple and Yellow on alternating hands.
- The Pastel Rainbow: Soft, muted tones for a ‘cloud-soft’ vibe.
- Primary Pop: Red, Yellow, and Blue for a retro comic book feel.
- Metallic Mix: Gold, Silver, and Copper junk accents.
- Earth Tones: Sage, terracotta, and sand for a boho look.
- Moody Maximalism: Deep berries and blacks with bright 3D charms.
- Translucent Jelly: Different colored ‘jelly’ polishes for a glass-like finish.
Budget Range
- Zoya Professional Lacquer ($12)
- Orly Breathable Polish ($15)
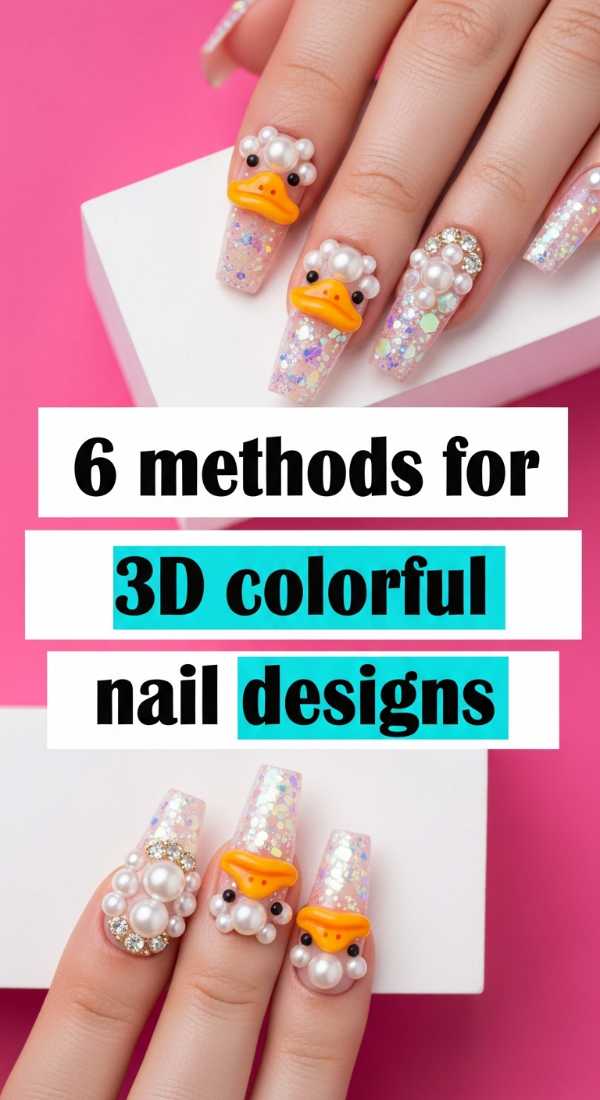
6 Methods for 3D Colorful Nail Designs
Why to love this recipe:
This is the heart of the junk nail trend! Adding 3D elements makes your nails a conversation starter. It’s tactile, fun, and adds a sculptural element that elevates your look from ‘DIY’ to ‘Designer.’
Essential Ingredients:
- 3D Gel (non-wipe)
- Tiny pearls and crystals
- Gummy bear charms
- Chain link accents
How to Prepare:
- The Jelly Blob: Use 3D gel to create raised, clear ‘water droplets’ over your color.
- The Charm Stack: Layer a small charm on top of a larger flat charm for a 3D pyramid effect.
- The Chain Border: Glue tiny gold chains around the perimeter of one nail.
- The Pearl Cluster: Group pearls of different sizes in one corner.
- The Hand-Sculpted Bow: Use 3D clay to mold a tiny bow directly on the nail.
- The Embedded Glitter: Build a 3D ‘dome’ of clear gel filled with chunky glitter.
Budget Range
- Saviland 3D Nail Art Gel ($10)
- Bulk Rhinestone Wheels ($6)
3 Fast Tricks for Color Street Nails
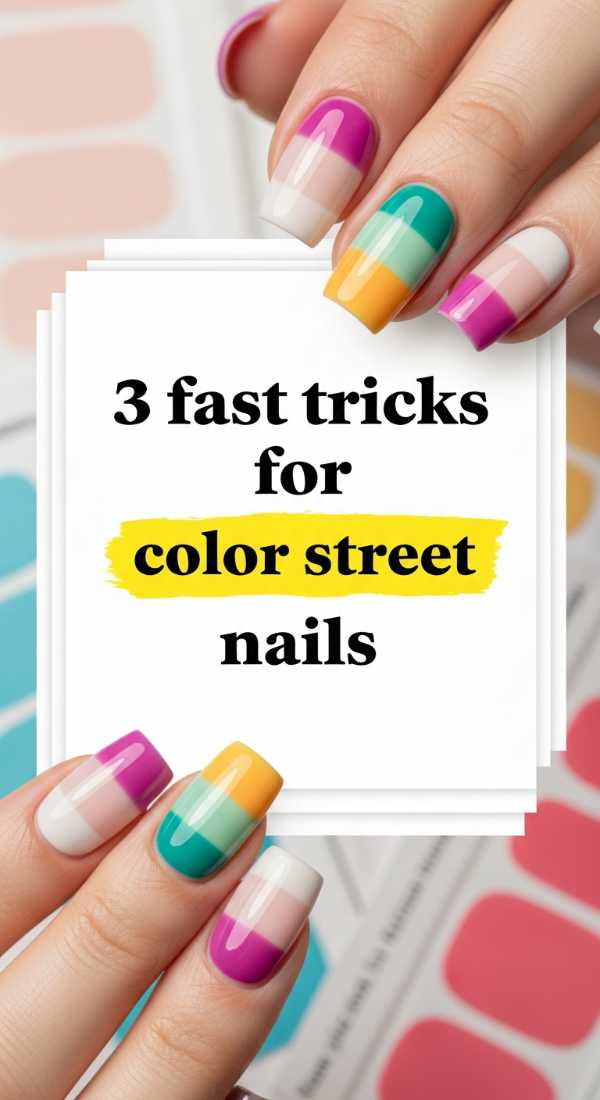
Why to love this recipe:
If you’re on the go but still want that ‘junk nail’ complexity, nail strips are your best friend. They offer intricate patterns without the dry time, making them perfect for busy babes.
Essential Ingredients:
- Color Street or similar nail strips
- Glass nail file
How to Prepare:
- The Warm-Up: Rub the strip between your palms for 10 seconds to make it more pliable.
- The Anchor: Press the center of the strip down first, then smooth outward to avoid bubbles.
- The Vertical File: Always file downward at a 90-degree angle to remove excess—never side to side!
Budget Range
- Color Street Strips ($12-14)
- Germanikure Glass Nail File ($15)
5 Minutes to Prep Multicolor Nails
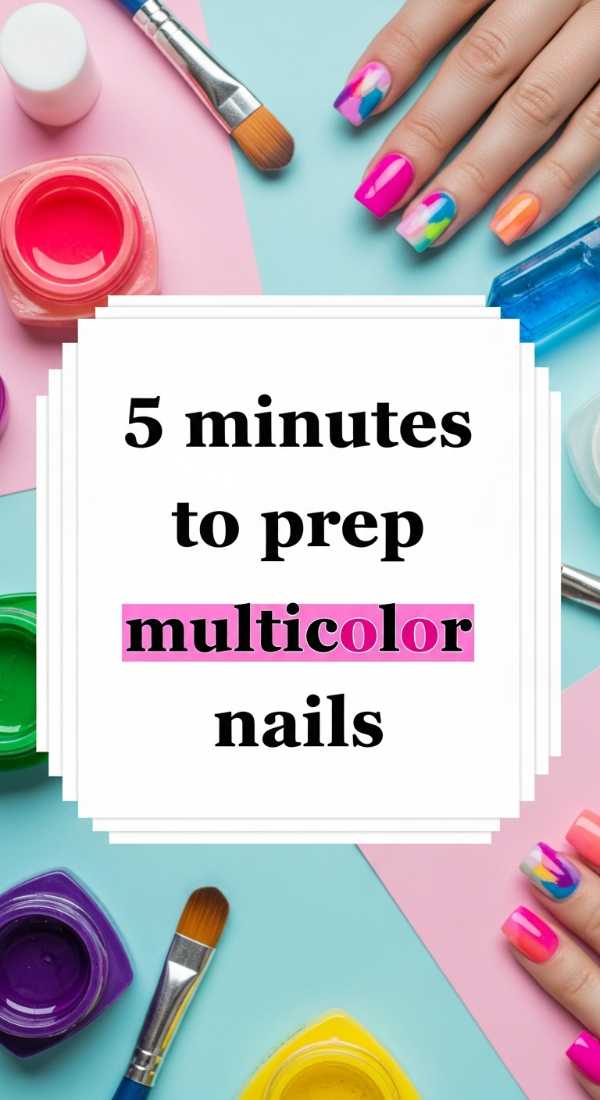
Why to love this recipe:
A house is only as strong as its foundation, and the same goes for your manicure. Taking five minutes to prep ensures your colorful chaos stays put for weeks instead of days.
Essential Ingredients:
- Isopropyl alcohol
- Lint-free wipes
- Cuticle oil (for aftercare)
How to Prepare:
- The Scrub: Wipe each nail with alcohol to remove natural oils.
- The Push: Gently push back cuticles to reveal more nail surface.
- The Buff: Lightly scuff the shine off the nail so the polish has something to ‘grip.’
Budget Range
- 91% Isopropyl Alcohol ($4)
- Cuccio Revitalize Oil ($10)
8 Ideas to Make Your Nails Colorful
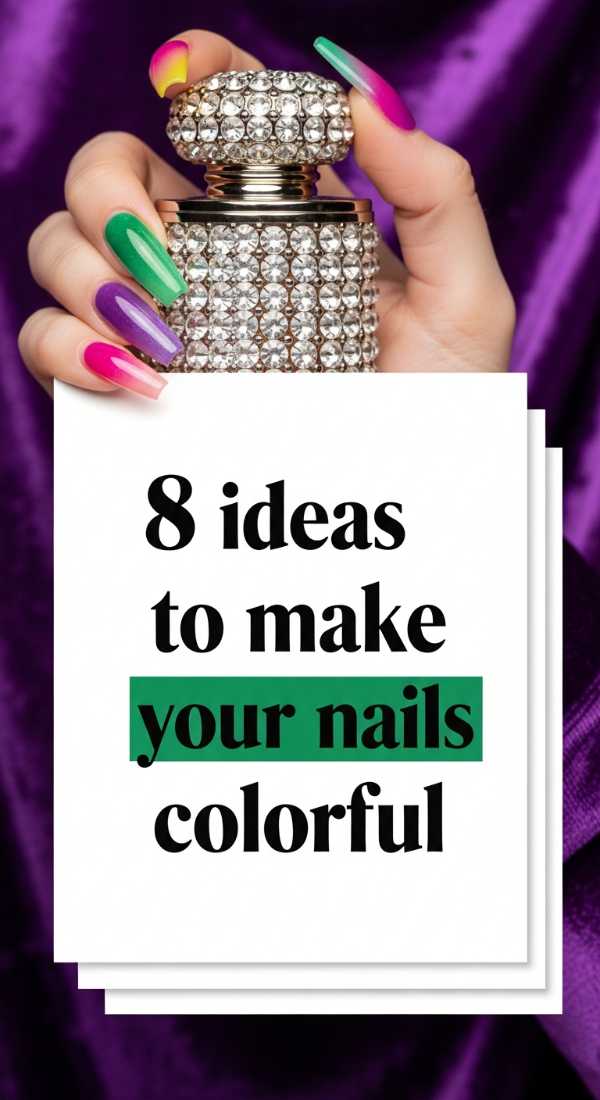
Why to love this recipe:
If you’re staring at your collection wondering where to start, these ideas are the spark you need. There are no rules here—only what makes you smile!
Essential Ingredients:
- Dotting tools
- Striper brushes
- Stickers and decals
How to Prepare:
- Confetti Dots: Use a dotting tool to add random colorful spots.
- Fruit Slices: Apply tiny clay fruit decals.
- Checkerboard: Paint a two-tone grid on the thumb.
- Marble Swirl: Drop colors into water and dip.
- Gold Leaf: Press gold flakes into tacky polish.
- Negative Space: Leave half the nail bare with colorful tips.
- Mismatched Prints: Leopard on one, stripes on the other.
- Chrome Rub: Use Aurora powder over any color for a magical glow.
Budget Range
- Nail Art Brushes Set ($7)
- Nail Art Stickers ($5/sheet)
- Chrome Powder Tins ($9)
Embrace Your Beautiful Chaos
Loves, I hope this guide helps you feel empowered to try something a little wild and a lot of fun. The ‘Junk Nail’ trend isn’t about being perfect; it’s about the joy of the process and the explosion of color that represents our vibrant lives. Don’t be afraid to mix, match, and make a mess. After all, that’s where the best art happens. Stay bright and stay bold!