
The Ultimate Guide to Creating a Pinterest-Worthy Food Board in Minutes
Imagine the golden afternoon sun streaming through your kitchen window, illuminating a table filled with vibrant reds, lush greens, and the kind of effortless elegance that usually only lives on your ‘Dream Home’ Pinterest board. We’ve all been there—scrolling through endless feeds of perfectly curated grazing tables, feeling a mix of inspiration and a little bit of ‘how on earth do they do that?’ Well, grab your apron and a glass of iced tea, because I’m letting you in on a little secret: that viral aesthetic is actually just a collection of simple, thoughtful choices that anyone can master.
Creating a food board that stops the scroll isn’t about being a professional chef; it’s about celebrating textures, colors, and the joy of sharing something beautiful with the people you love. Whether you’re hosting a backyard bash or just want to make your Tuesday night dinner feel a bit more special, these ideas are designed to be high-impact with low-stress. From the tart pop of fresh rhubarb to the savory zing of garden-fresh chives, we are diving deep into the ingredients that make summer taste—and look—absolutely divine.
7 Best Rhubarb Summer Desserts (Step-by-Step Guide)
Why we love this
There is something inherently nostalgic about the scent of rhubarb bubbling away in a hot oven, its tart aroma cutting through the heavy sweetness of summer sugar. These desserts celebrate the dramatic transition of rhubarb from a crisp, celery-like stalk into a soft, silken ribbons of ruby-red goodness that melt against a buttery crust. We love the way the vibrant pink hues pop against white ceramic platters, creating a visual centerpiece that feels both rustic and sophisticated. Each bite offers a complex dance of acidity and warmth, making it the perfect palate cleanser after a heavy barbecue meal.
Ingredients
- 4 cups fresh rhubarb, chopped into 1-inch pieces
- 1.5 cups granulated sugar
- 1 cup all-purpose flour
- 1/2 cup cold unsalted butter, cubed
- 1 tsp ground cinnamon
- 1 tbsp lemon zest
- 1/4 tsp salt
How to make it
- Begin by washing your rhubarb stalks thoroughly and trimming the ends, ensuring you discard any leaves as they are toxic. Slice the stalks into uniform 1-inch pieces to ensure even cooking and a consistent texture throughout the dish.
- In a large mixing bowl, toss the rhubarb with 1 cup of sugar and the lemon zest. Let this mixture sit for at least 15 minutes; this process, known as macerating, allows the sugar to draw out the natural juices, creating a syrupy base that prevents the dessert from being too dry.
- For the crumble topping, combine the flour, the remaining 1/2 cup of sugar, cinnamon, and salt in a separate bowl. Use your fingertips or a pastry cutter to work the cold, cubed butter into the dry ingredients until the mixture resembles coarse breadcrumbs with some pea-sized lumps remaining.
- Preheat your oven to 375°F (190°C). Transfer the macerated rhubarb into a buttered baking dish, spreading it into an even layer so the heat can circulate properly.
- Sprinkle the crumble mixture generously over the rhubarb. Bake for 35-40 minutes. Look for the fruit to be bubbling vigorously around the edges and the topping to achieve a deep, golden-brown hue. Let it cool for 10 minutes before serving to allow the juices to set.
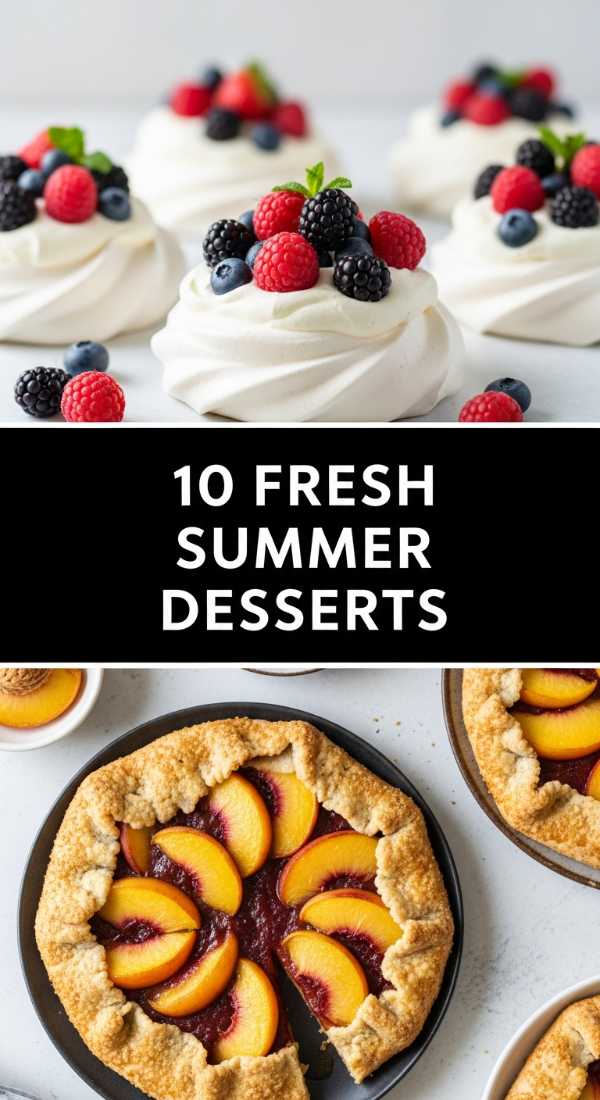
10 Fresh Summer Dessert Recipes You’ll Love
Why we love this
Summer is synonymous with abundance, and these fresh dessert recipes capitalize on the peak ripeness of seasonal stone fruits and berries. We love the airy lightness of these treats; they feel like a cool breeze on a humid July evening, featuring whipped textures and zesty citrus notes that never weigh you down. The aesthetic appeal lies in the natural, unrefined beauty of the ingredients—think piles of blackberries, sprigs of mint, and the velvety sheen of a perfectly set panna cotta. It’s about minimal intervention and maximum flavor, allowing the sun-drenched sweetness of the produce to speak for itself.
Ingredients
- 2 cups assorted summer berries (strawberries, blueberries, raspberries)
- 1 pint heavy whipping cream
- 1/4 cup powdered sugar
- 1 tsp pure vanilla extract
- Fresh mint leaves for garnish
- Shortcake biscuits or angel food cake
- Lemon curd for drizzling
How to make it
- Chill your mixing bowl and whisk attachment in the freezer for 10 minutes before starting. Cold equipment is the secret to achieving maximum volume and a stable structure when whipping cream.
- Pour the heavy cream into the chilled bowl and begin whisking on medium speed. Once the cream starts to thicken slightly, gradually sift in the powdered sugar and add the vanilla extract to ensure a smooth, grit-free texture.
- Increase the speed to high and continue whisking until stiff peaks form. You’ll know it’s ready when you lift the whisk and the cream stands straight up without drooping; be careful not to over-beat, or it will turn into butter.
- Slice your berries and toss them gently with a teaspoon of sugar to enhance their natural gloss. Prepare your base of shortcake or angel food cake by slicing it into generous wedges.
- Assemble by placing a dollop of the whipped cream on the cake, followed by a mountain of berries and a drizzle of tangy lemon curd. Garnish with a single mint leaf for that professional, Pinterest-worthy finishing touch.
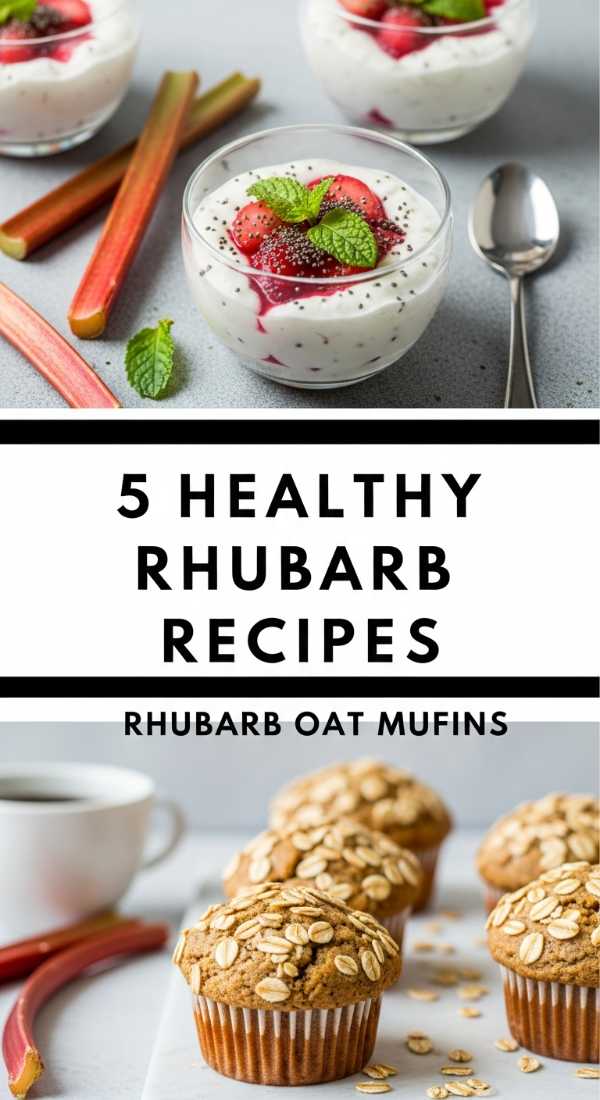
5 Healthy Rhubarb Recipes for Breakfast
Why we love this
Starting your day with rhubarb is a revelation; its sharp tang is the ultimate wake-up call for your taste buds, providing a refreshing contrast to creamy yogurts and hearty oats. These recipes are designed to be nutrient-dense without sacrificing that gourmet feel, utilizing the fiber-rich stalks to create compotes and parfaits that look like art in a jar. We love the earthy, wholesome vibe of a rhubarb-topped breakfast, where the deep crimson syrup swirls beautifully into white Greek yogurt. It feels indulgent and special, yet it’s packed with antioxidants and vitamins to fuel your morning adventures.
Ingredients
- 3 cups rhubarb, diced small
- 2 tbsp maple syrup or honey
- 1/2 cup orange juice
- 2 cups Greek yogurt
- 1 cup toasted granola
- 1 tbsp chia seeds
- Pinch of ground ginger
How to make it
- In a small saucepan, combine the diced rhubarb, orange juice, maple syrup, and a pinch of ground ginger. The ginger adds a subtle heat that complements the rhubarb’s acidity perfectly.
- Place the saucepan over medium heat and bring the liquid to a gentle simmer. Reduce the heat to low and cook for about 8-10 minutes. Use a wooden spoon to occasionally stir; the rhubarb should break down into a thick, jam-like consistency but still retain some visible chunks.
- Remove the pan from the heat and stir in the chia seeds. Let the mixture cool completely; the chia seeds will absorb the excess moisture, turning the compote into a spreadable, nutrient-dense topping.
- To assemble your breakfast jars, start with a thick layer of Greek yogurt at the bottom. The high protein content of the yogurt provides a sturdy base for the heavier toppings.
- Layer the cooled rhubarb compote over the yogurt, then top with a generous sprinkle of toasted granola for crunch. Serve immediately, or refrigerate overnight for a grab-and-go option that keeps its vibrant color and texture.
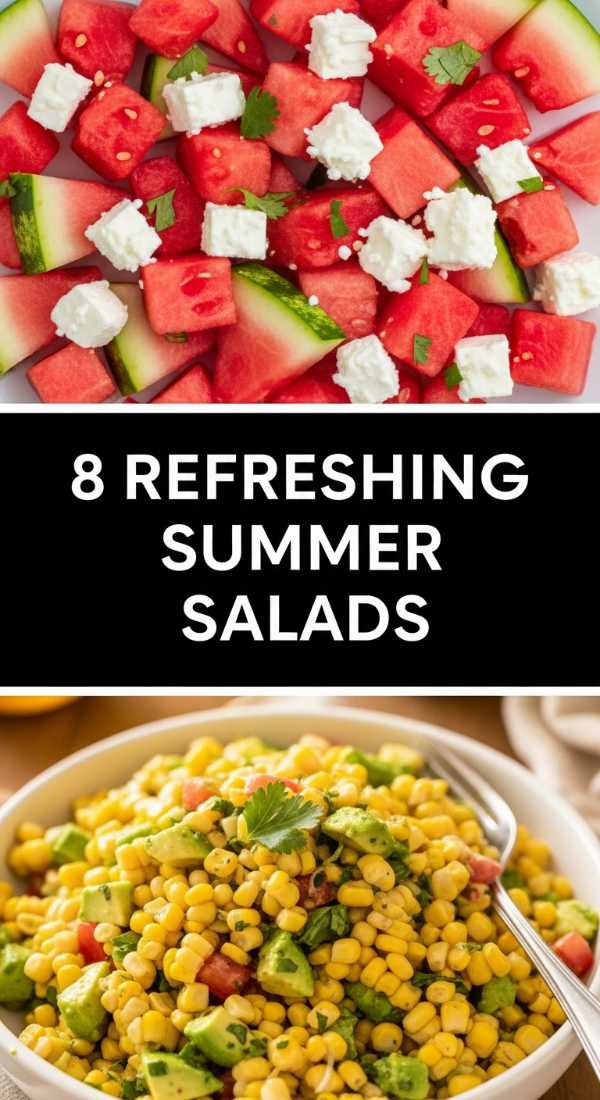
8 Refreshing Summer Salads Recipes for Crowds
Why we love this
When the sun is high, nothing beats the crisp, hydrating crunch of a massive summer salad shared among friends. We love these recipes for their incredible versatility and the way they bring a rainbow of colors to the table—vibrant greens, shocking purples, and sun-kissed oranges. The sensory experience is all about contrast: the cold snap of cucumber against the creamy crumble of feta, and the burst of sweet fruit juice balanced by a sharp, acidic vinaigrette. These salads are designed to stay fresh even as the party goes on, making them the ultimate functional-yet-beautiful addition to your food board.
Ingredients
- 1 large seedless watermelon, cubed
- 2 cups arugula or baby spinach
- 1 cup feta cheese, crumbled
- 1/2 red onion, thinly shaved
- 1/4 cup extra virgin olive oil
- 2 tbsp balsamic glaze
- Handful of fresh basil leaves
How to make it
- Begin by cubing your watermelon into bite-sized squares. For a more professional look, use a melon baller to create uniform spheres. Place the watermelon in a large colander for 5 minutes to drain excess juice so the salad doesn’t become soggy.
- Use a mandoline slicer to shave the red onion into paper-thin translucent slivers. To mellow the sharp bite of the onion, soak the slices in a bowl of ice water for 10 minutes, then pat them dry.
- In a large, shallow serving platter (this allows the ingredients to be seen clearly rather than buried in a deep bowl), lay down a bed of fresh arugula. The peppery notes of the greens provide a necessary base for the sweet fruit.
- Scatter the watermelon cubes and shaved onions over the greens. Sprinkle the crumbled feta evenly across the top; the saltiness of the cheese is vital for balancing the watermelon’s sugar.
- Whisk the olive oil with a pinch of salt and pepper and drizzle it over the salad. Just before serving, add the balsamic glaze in a decorative zig-zag pattern and tear fresh basil leaves over the top to release their aromatic oils.
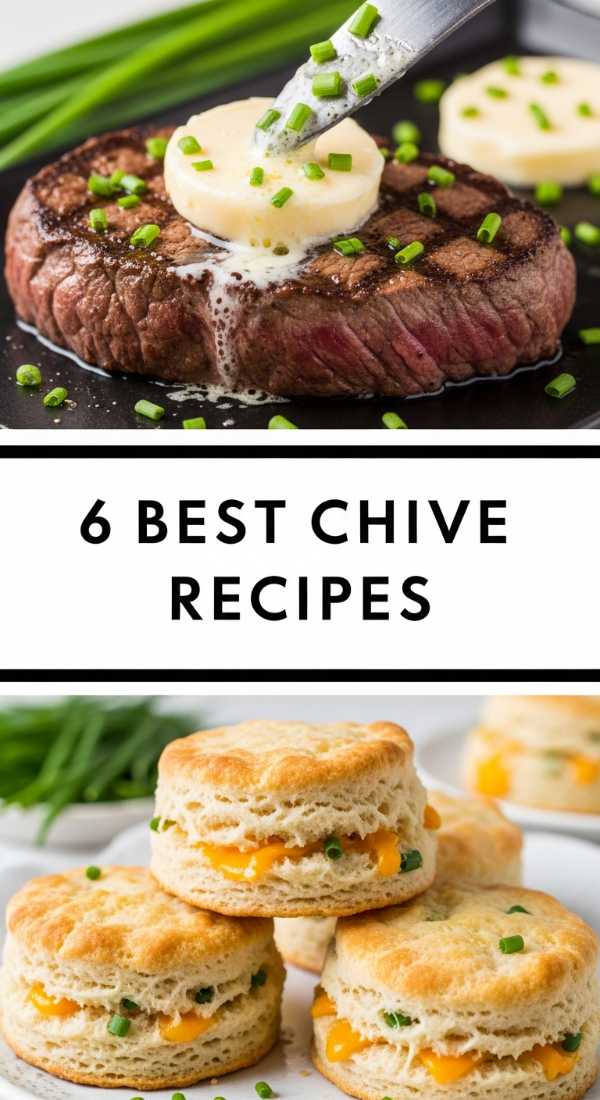
6 Best Chives Recipe Ideas for Dinner
Why we love this
Chives are the unsung heroes of the herb garden, offering a delicate, oniony brightness that elevates a simple dinner into a culinary event. We love the way their slender, emerald-green blades add height and a professional finish to any plate, bringing a sense of freshness and ‘just-picked’ charm. The aroma is subtle yet sophisticated, enhancing everything from creamy pastas to seared proteins without overpowering the main ingredients. Incorporating chives into your dinner board adds a layer of savory complexity and a pop of verdant color that makes the entire spread look cohesive and curated.
Ingredients
- 1 large bunch fresh chives, finely chopped
- 1/2 cup unsalted butter, softened
- 2 cloves garlic, minced
- 1 lb fingerling potatoes
- 2 tbsp olive oil
- 1 tsp sea salt
- 1/2 tsp cracked black pepper
How to make it
- Start by making a compound chive butter. In a small bowl, combine the softened butter with half of your chopped chives and the minced garlic. Use a fork to whip them together until the green flecks are evenly distributed. This can be rolled in parchment paper and chilled for a beautiful presentation slice.
- Preheat your oven to 400°F (200°C). Halve the fingerling potatoes lengthwise and toss them in a bowl with olive oil, sea salt, and black pepper.
- Arrange the potatoes cut-side down on a baking sheet. This technique ensures a crispy, golden-brown crust while the interior remains fluffy and tender. Roast for 25-30 minutes until the skins are wrinkled and the bottoms are caramelized.
- While the potatoes are hot, toss them with a few dollops of the chive butter. The heat from the potatoes will melt the butter, creating a glossy, fragrant coating that clings to every crevice.
- Transfer the potatoes to your serving board and finish with the remaining fresh chives. The contrast between the dark roasted potatoes and the bright green herbs is a classic aesthetic that never fails to impress.
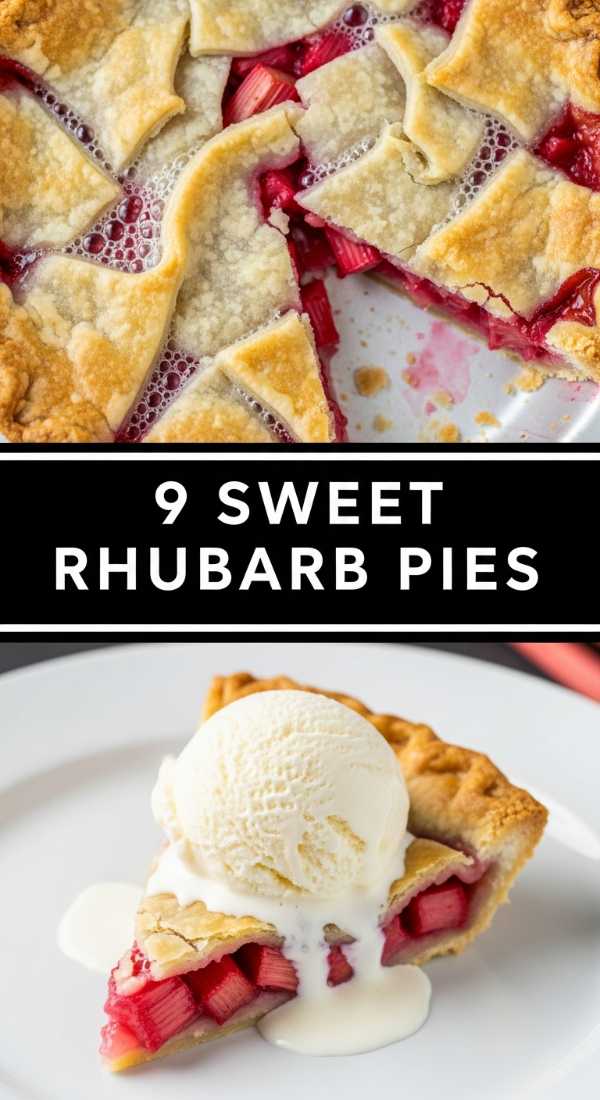
9 Sweet Rhubarb Pie Variations to Try

Why we love this
The rhubarb pie is the undisputed queen of the summer dessert table, a masterclass in the balance of tart fruit and flaky, buttery pastry. We love the architectural beauty of a well-crafted lattice crust, revealing the bubbling, jewel-toned filling underneath like a peek into a treasure chest. The smell of a rhubarb pie cooling on a windowsill is the essence of summer hosting—homely, welcoming, and undeniably delicious. Whether paired with strawberries for a classic twist or ginger for a modern kick, these variations ensure that every slice is a unique sensory journey of textures and tastes.
Ingredients
- Double pie crust (homemade or store-bought)
- 5 cups rhubarb, sliced into 1/2 inch pieces
- 1 cup strawberries, hulled and halved (for variation)
- 1.25 cups sugar
- 1/3 cup cornstarch
- 1 tbsp egg wash (1 egg beaten with 1 tbsp water)
- Coarse sparkling sugar for topping
How to make it
- Roll out your bottom pie crust and fit it into a 9-inch pie plate. Trim the edges, leaving a 1-inch overhang, and refrigerate while you prepare the filling. Keeping the dough cold is essential for a flaky crust.
- In a large bowl, stir together the rhubarb, strawberries (if using), sugar, and cornstarch. The cornstarch is crucial as rhubarb releases a lot of moisture; it acts as a thickener to ensure the filling is jammy rather than runny.
- Pour the fruit mixture into the prepared crust. Roll out the second piece of dough and cut it into 1-inch wide strips using a pastry wheel for a decorative fluted edge.
- Weave the strips over the filling to create a lattice pattern. Fold the bottom crust overhang over the lattice ends and crimp the edges tightly with your fingers or a fork to seal the pie.
- Brush the lattice with egg wash and sprinkle generously with coarse sparkling sugar. Bake at 400°F (200°C) for 20 minutes, then reduce the heat to 350°F (175°C) and bake for another 35-40 minutes. The crust should be deep golden, and the filling should be thick and bubbling through the lattice gaps.
10 Cool No-Bake Summer Treats
Why we love this
When the thermometer climbs, the last thing anyone wants is to turn on the oven. These no-bake treats are the ultimate summer hack, offering chilled, creamy, and refreshing indulgence with minimal effort. We love the sleek, modern look of layered parfaits and icebox cakes, which rely on the magic of refrigeration to set into perfect, sliceable masterpieces. The textures are velvety and smooth, often featuring cold mascarpone, tart fruit purees, and crunchy biscuit bases. They are the perfect ‘make-ahead’ additions to your food board, allowing you to stay cool while your dessert sets in the fridge.
Ingredients
- 1 pack graham crackers or digestive biscuits
- 2 cups heavy cream
- 8 oz mascarpone cheese, softened
- 1/2 cup powdered sugar
- 2 cups fresh peaches or mangoes, sliced
- 1/2 cup fruit preserves
- Zest of 1 lime
How to make it
- Start by creating the creamy filling. In a large bowl, beat the mascarpone cheese with powdered sugar and lime zest until smooth and aerated. In a separate bowl, whip the heavy cream to stiff peaks, then gently fold it into the mascarpone mixture using a spatula to maintain the airiness.
- Line a loaf pan or square dish with plastic wrap, leaving plenty of overhang on the sides to help you lift the treat out later.
- Dip each graham cracker quickly into a shallow bowl of milk or fruit juice (this helps them soften into a cake-like texture) and create a single layer at the bottom of the pan.
- Spread a layer of the mascarpone cream over the crackers, followed by a thin layer of fruit preserves and a few slices of fresh peach or mango.
- Repeat the layers until the pan is full, ending with a final layer of cream. Cover with the plastic wrap overhang and refrigerate for at least 6 hours, or ideally overnight. The crackers will absorb the moisture from the cream, transforming into a tender, melt-in-your-mouth dessert. Slice and serve directly from the board.
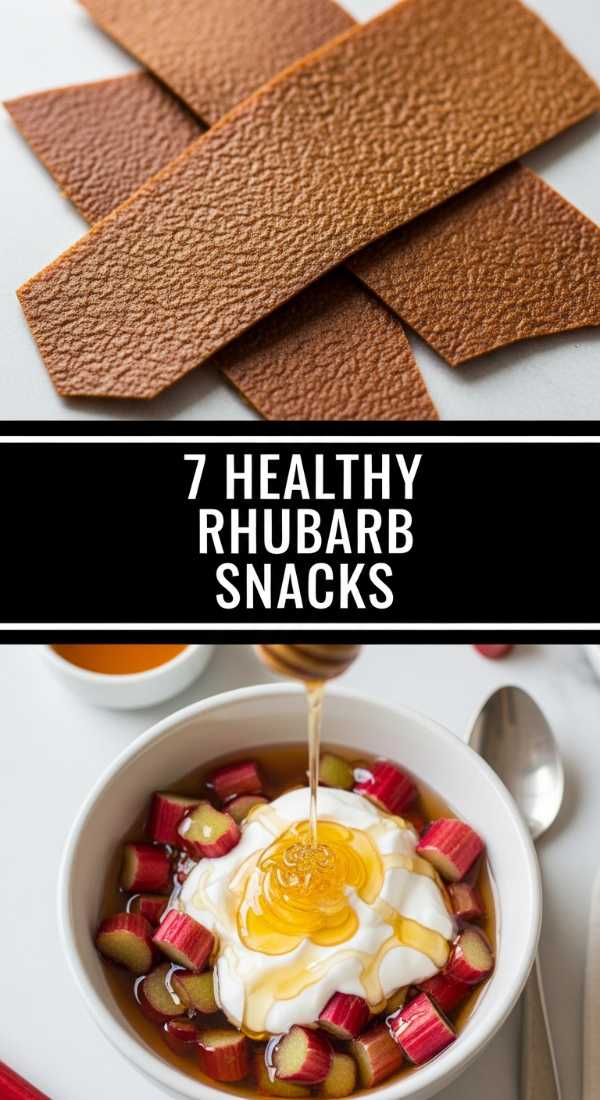
7 Guilt-Free Healthy Rhubarb Snack Ideas
Why we love this
Healthy snacking doesn’t have to be boring, and rhubarb is the secret weapon for anyone looking for a low-calorie, high-flavor treat. We love the chewy, candy-like texture of dried rhubarb and the refreshing zing of rhubarb-infused waters. These snacks bring a sophisticated, spa-like quality to your food board, offering guests a light alternative to heavier appetizers. The naturally bright pink color makes these snacks visually stunning, proving that ‘healthy’ can also be incredibly ‘aesthetic.’ It’s about celebrating the raw, rustic power of the plant in bite-sized, guilt-free portions.
Ingredients
- 4 long stalks of rhubarb
- 1/4 cup honey or agave nectar
- 1 tsp vanilla extract
- 1 cup Greek yogurt (for dipping)
- 1/4 cup crushed pistachios
- Dried hibiscus flowers (optional for color)
How to make it
- To make ‘Rhubarb Leather’ or dried ribbons, use a vegetable peeler to shave the rhubarb stalks into long, thin translucent ribbons. This maximizes the surface area for flavoring and drying.
- In a small bowl, whisk together the honey and vanilla extract. Toss the rhubarb ribbons in this mixture until they are thoroughly and evenly coated.
- Lay the ribbons out in a single layer on a baking sheet lined with a silicone mat or parchment paper. Make sure they aren’t overlapping so they dry out rather than steam.
- Place the tray in the oven at its lowest possible setting (usually around 150°F / 65°C) for 2-3 hours. You are looking for the ribbons to be tacky but firm, similar to a fruit rollup texture.
- Once cooled, roll the ribbons into tight spirals and secure with a toothpick if needed. Serve them on your board alongside a small bowl of Greek yogurt topped with crushed pistachios for a snack that provides a perfect balance of tart, sweet, and nutty.
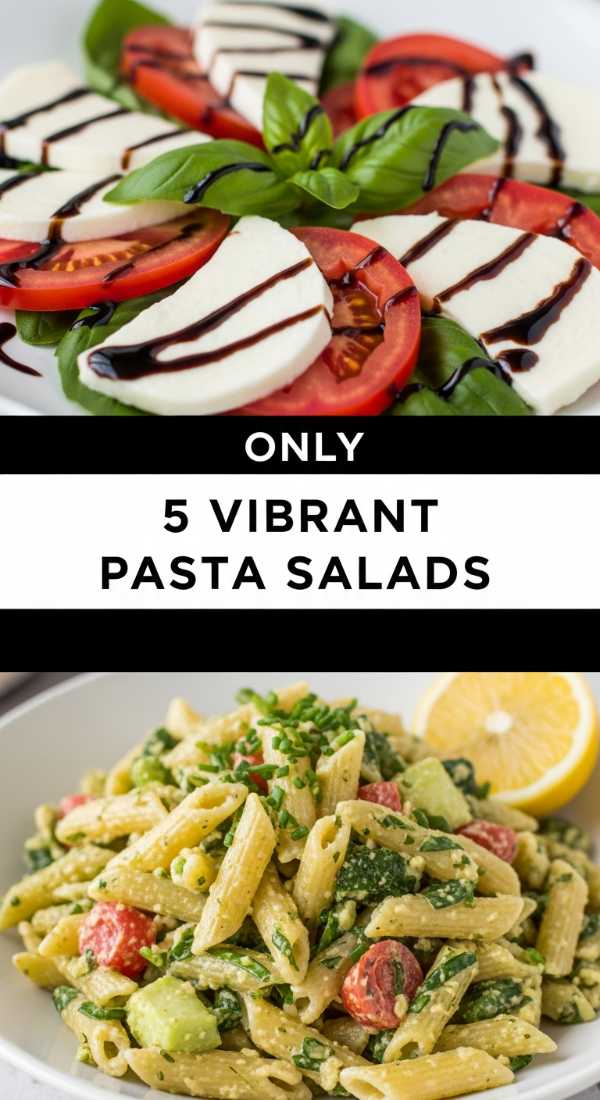
5 Vibrant Summer Pasta Salads for BBQ
Why we love this
A summer BBQ isn’t complete without a pasta salad that’s as vibrant as the season itself. We love these recipes because they move away from heavy, mayo-based dressings and instead embrace the zesty, herb-forward flavors of the Mediterranean. The aesthetic is all about the ‘tumble’—a beautiful, messy-on-purpose heap of rotini or orzo mixed with charred vegetables and pearls of fresh mozzarella. Every bite is a discovery of different textures, from the ‘al dente’ snap of the pasta to the burst of a sun-ripened cherry tomato. It’s the ultimate crowd-pleaser that looks just as good as it tastes.
Ingredients
- 1 lb fusilli or farfalle pasta
- 1 cup cherry tomatoes, halved
- 1 yellow bell pepper, diced
- 1/2 cup kalamata olives, pitted
- 1/2 cup basil pesto (fresh is best!)
- 1/4 cup pine nuts, toasted
- 1/2 cup mini mozzarella pearls
How to make it
- Cook the pasta in a large pot of heavily salted water. Aim for ‘al dente’—usually 1-2 minutes less than the package directions. This is vital because the pasta will continue to absorb the dressing as it sits, and you want to avoid a mushy texture.
- Immediately after draining, rinse the pasta under cold running water. This ‘shocks’ the pasta, stopping the cooking process instantly and removing excess starch so the pieces don’t stick together.
- In a very large mixing bowl, combine the cold pasta with the basil pesto. Stir thoroughly until every spiral and crevice is coated in the vibrant green sauce.
- Add the halved cherry tomatoes, diced bell pepper, olives, and mozzarella pearls. Fold them in gently so you don’t bruise the tomatoes or break the mozzarella.
- Transfer the salad to a wide, flat wooden bowl for your board. Just before serving, sprinkle the toasted pine nuts over the top. The toasted nuts provide a necessary earthy crunch and a professional, finished look that elevates the entire dish.
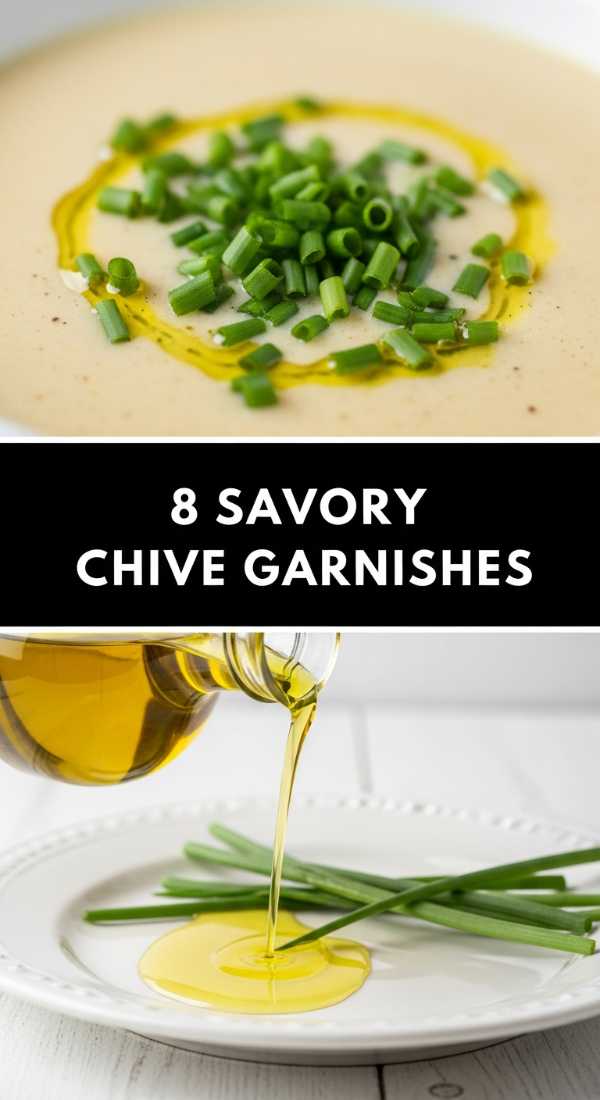
8 Savory Chive Garnish Ideas for Hosting
[IMAGE_10]
Why we love this
The secret to a viral-worthy food board often lies in the finishing touches, and savory chive garnishes are the ultimate ‘pro-tip’ for hosts. We love the way a simple sprinkle of bright green can transform a beige dip or a plain deviled egg into something that looks like it came from a high-end bistro. Chives provide a structural elegance; they can be tied into knots, cut into precise batons, or minced into a fine dust. The scent of freshly cut chives as you set the board down is an immediate signal to your guests that care and attention have been paid to every detail.
Ingredients
- 2 bunches fresh chives (look for firm, dark green stalks)
- Cream cheese or labneh
- Smoked salmon slices
- Capers
- Cracked black pepper
- Artisan crackers
How to make it
- For a ‘Chive-Wrapped’ appetizer, take a small dollop of cream cheese and place it on a piece of smoked salmon. Place two full-length chive stalks across the center and roll the salmon tightly, using the chives as a decorative ‘ribbon’ that peeks out of the ends.
- To create ‘Chive Batons,’ cut the chives into perfectly even 2-inch lengths. These are best used to garnish thick dips like hummus or labneh; poke them into the dip at varying angles to create a modern, architectural look.
- For a fine mince, bundle a handful of chives together and use a very sharp chef’s knife. Use a circular rocking motion, keeping the tip of the knife on the board. A sharp knife is crucial—if the knife is dull, it will bruise the chives and turn them black rather than keeping them vibrant green.
- Create a ‘Chive Oil’ by blanching a handful of chives in boiling water for 10 seconds, shocking them in ice water, and then blending them with 1/2 cup of neutral oil. Strain through a coffee filter for a vivid green oil that you can drizzle over the entire board.
- Arrange your garnished items in clusters on the board, ensuring there is a balance of color. The fine green bits of chive act as a visual ‘thread’ that connects different sections of your spread, making the entire board feel intentional and professionally styled.
Conclusion
Building a Pinterest-worthy food board is truly an act of love—for the ingredients, for the process, and for the people who get to enjoy it. By focusing on seasonal stars like rhubarb and chives, and paying attention to the small details like garnishes and textures, you can create something that feels both high-end and incredibly approachable. Remember, the ‘viral’ secret isn’t perfection; it’s the warmth and vibrancy you bring to your table. So go ahead, layer those berries, swirl that pesto, and don’t forget to take a photo before everyone digs in!