
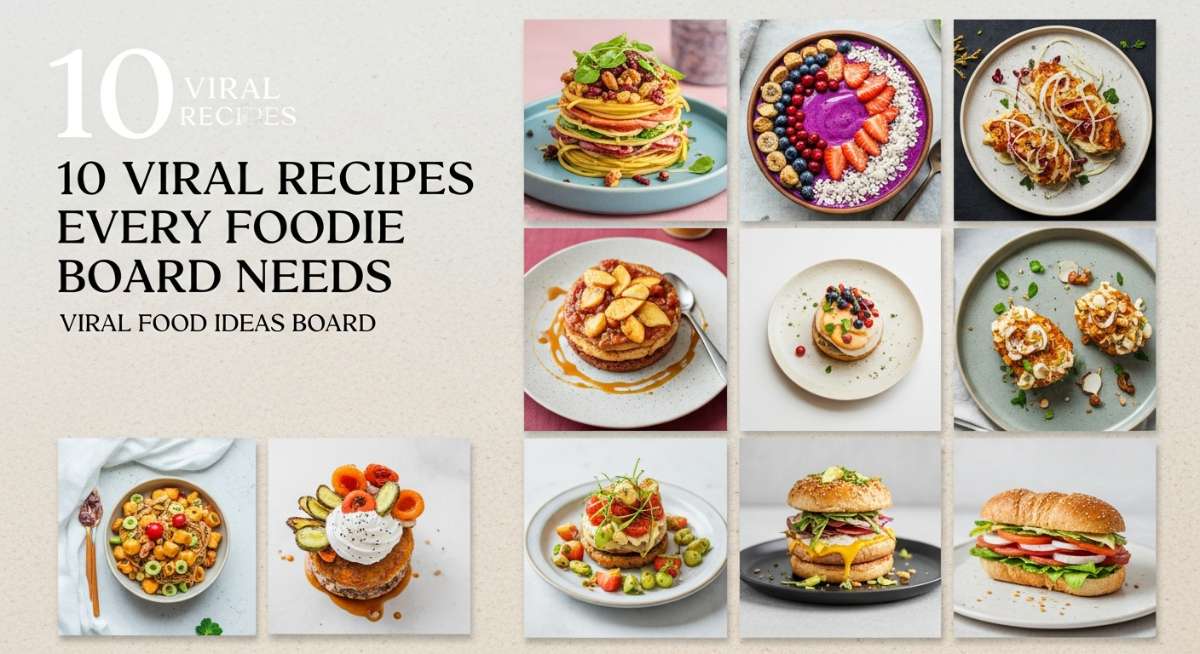
Hello, my beautiful loves! Welcome back to my cozy little corner of the internet. Today, I want to talk about the heartbeat of the home: the kitchen. There is something so profoundly healing about the sound of a simmering pot or the smell of freshly baked cookies wafting through the hallways, wrapping us in a cloud-soft embrace after a long day. It’s more than just food; it’s about creating moments of pure, unhurried joy with the people we cherish most.
Lately, my Pinterest feed has been an absolute dream, overflowing with viral inspirations that I simply couldn’t keep to myself. I’ve spent the last few weeks testing, tasting, and perfecting these recipes just for you, ensuring each one feels like a warm hug for your soul. Whether you’re a seasoned pro or just starting your culinary journey, these ten ideas are the ultimate additions to your foodie board, promising to bring a little extra magic to your table.
So, grab a warm cup of tea, settle into your favorite nook, and let’s dive into these viral sensations. These aren’t just recipes; they are the secrets to a more delicious, intentional lifestyle. I can’t wait to see which ones become your new favorites!
Secret Homemade Recipe for Perfectly Crispy Wings

Why we love this
There’s something so nostalgic and comforting about the perfect wing, isn’t there? This recipe captures that golden, glass-shattering crunch without needing a deep fryer, making it my go-to for cozy Sunday game days. I’ve spent years tweaking this until it reached peak perfection, and now I finally get to share the magic with you all today. It’s light, it’s airy, and it’s about to become the star of your favorite Pinterest board forever.
Ingredients
- 2 lbs chicken wings (flats and drums separated)
- 1 tablespoon aluminum-free baking powder
- 1/2 teaspoon sea salt
- 1/2 teaspoon smoked paprika
- 1/4 teaspoon garlic powder
- Your favorite honey-garlic or buffalo sauce
How to make it
- Start by patting your wings completely dry with paper towels; moisture is the enemy of crispiness, so take your time with this step.
- In a large bowl, whisk together the baking powder, salt, paprika, and garlic powder until perfectly combined.
- Toss the wings in the powder mixture until each piece is lightly and evenly coated, shaking off any excess.
- Place a wire rack over a baking sheet and arrange the wings in a single layer, ensuring they aren’t touching to allow air circulation.
- Bake at 250°F for 30 minutes to render the fat, then crank the heat to 425°F for another 40-50 minutes until they are a deep, golden brown.
- Remove from the oven, let them rest for 2 minutes, then toss in your favorite sauce and serve immediately while they’re still sizzling.
Melt In Your Mouth Slow Cooker Beef Stew

Why we love this
When the rain starts pitter-pattering against the window, nothing feels more like a warm hug than a bowl of rich, velvety beef stew. This slow cooker version allows the flavors to dance together all day long until the meat literally falls apart at the mere suggestion of a fork. It’s the kind of meal that makes your kitchen smell like a dream and fills your soul with absolute peace. I promise this will be the most requested dinner in your household this season.
Ingredients
- 2 lbs beef chuck roast, cut into 1-inch cubes
- 4 large carrots, thickly sliced
- 3 large russet potatoes, cubed
- 1 yellow onion, chopped
- 3 cloves garlic, minced
- 4 cups rich beef bone broth
- 2 tablespoons tomato paste
- 1 tablespoon Worcestershire sauce
- Fresh thyme and rosemary sprigs
How to make it
- Season your beef cubes generously with salt and pepper, then sear them in a hot skillet with a splash of oil until browned on all sides.
- Transfer the seared beef into your slow cooker and add the carrots, potatoes, onion, and minced garlic.
- In a separate jug, whisk together the beef broth, tomato paste, and Worcestershire sauce until smooth, then pour over the meat and veggies.
- Nestle the fresh herb sprigs into the liquid and set your slow cooker to the ‘Low’ setting for 8 to 10 hours.
- About 30 minutes before serving, whisk a little cornstarch with water to create a slurry and stir it into the stew to thicken the gravy.
- Discard the herb stems, check for seasoning, and ladle into deep bowls, perhaps with a side of crusty buttered bread for dipping.
What To Wear To Your Next Culinary Workshop

Why we love this
Stepping into a culinary workshop is about more than just the food; it is about the experience and feeling confident in your creative skin. You want an outfit that breathes with you while you’re kneading dough but still looks chic enough for those inevitable “hands-in-frame” aesthetic photos. Finding that balance between functional linen and soft, breathable cotton is the secret to staying comfortable while you master a new skill. Let’s make sure you look as good as the dishes you are creating.
Ingredients
- A high-quality linen or heavy cotton apron in a neutral tone
- A breathable, long-sleeved cotton tee or a lightweight knit
- Comfortable, straight-leg denim or linen trousers
- Closed-toe leather loafers or stylish non-slip sneakers
- A simple gold locket or minimalist stud earrings
- A sturdy claw clip to keep hair elegantly out of the way
How to make it
- Begin with your base layer, choosing a breathable cotton top that allows for a full range of motion in your arms and shoulders.
- Pair your top with comfortable trousers that won’t feel restrictive after a few hours of standing and tasting delicious creations.
- Select footwear that offers support; leather loafers are a wonderful choice as they protect your feet while looking incredibly polished.
- Secure your hair away from your face with a chic claw clip or a low bun to ensure safety and hygiene while you work.
- Don your apron, adjusting the neck strap so it sits comfortably and provides full coverage for your lovely outfit underneath.
- Add one or two pieces of minimalist jewelry that won’t get in the way of your hands-on tasks, and you’re ready to create.
The Most Searched Cheesy Pasta Bake Dinner

Why we love this
We all have those long days where we just want to dive into a sea of molten cheese and perfectly al dente pasta. This bake is the ultimate viral sensation because it combines the simplicity of a one-dish meal with the luxury of high-end Italian comfort food. It’s bubbly, golden, and carries a depth of flavor that usually takes hours, but we’re doing it in under forty minutes. It’s pure, unadulterated joy served on a plate for you and your favorites.
Ingredients
- 1 lb rigatoni or ziti pasta
- 24 oz high-quality marinara sauce
- 15 oz whole milk ricotta cheese
- 2 cups shredded mozzarella cheese
- 1/2 cup grated Parmesan cheese
- 1 teaspoon dried oregano
- Fresh basil for garnish
How to make it
- Preheat your oven to 375°F and grease a large 9×13 inch baking dish with a light coating of olive oil.
- Boil your pasta in salted water until it is just slightly under-cooked (about 2 minutes less than the box instructions) so it stays firm during baking.
- In a large mixing bowl, combine the cooked pasta with the marinara sauce, ricotta cheese, oregano, and half of the mozzarella.
- Spread the pasta mixture evenly into your prepared baking dish, pressing down slightly to ensure there are no large air pockets.
- Top with the remaining mozzarella and the Parmesan cheese, creating a thick, even layer of cheesy goodness over the entire surface.
- Bake for 20-25 minutes until the cheese is melted and bubbling, then broil for 2 minutes for those beautiful golden brown spots.
This Dessert Recipe Will Break The Internet

Why we love this
If there was ever a recipe designed to stop a scroll in its tracks, this decadent chocolate lava skillet is definitely the one. It’s a symphony of textures, from the crisp, crackly edges to the molten, gooey center that spills out like a beautiful velvet ribbon. This isn’t just a dessert; it’s an event that brings everyone to the table with spoons in hand and smiles on their faces. Prepare for your notifications to blow up because everyone will be asking for this one.
Ingredients
- 1/2 cup unsalted butter, melted
- 1 cup semi-sweet chocolate chips
- 2 large eggs plus 2 egg yolks
- 1/4 cup granulated sugar
- 1 teaspoon pure vanilla extract
- 2 tablespoons all-purpose flour
- A pinch of flaky sea salt
How to make it
- Preheat your oven to 425°F and lightly butter an 8-inch cast-iron skillet or individual ceramic ramekins.
- Melt the butter and chocolate chips together in a microwave-safe bowl in 30-second intervals, stirring until the mixture is silky and glossy.
- In a separate bowl, beat the eggs, egg yolks, sugar, and vanilla together until the mixture becomes light, frothy, and slightly thickened.
- Gently fold the melted chocolate mixture into the egg mixture until just combined, being careful not to deflate the air you’ve built up.
- Sift the flour over the batter and fold it in very lightly until no white streaks remain, then pour the batter into your skillet.
- Bake for 12-14 minutes; the edges should be firm but the center should still have a soft, rhythmic jiggle when shaken.
The Secret To Juicy Slow Cooker Shredded Chicken

Why we love this
Getting that perfectly juicy, tender texture in shredded chicken can sometimes feel like a mystery, but I’ve finally cracked the code for you. No more dry, stringy meat; this method ensures every single bite is infused with moisture and savory aromatics that melt in your mouth. It’s the versatile staple you need for tacos, salads, or just eating straight from the slow cooker because it’s that good. This is the foundation of a million happy meals in your kitchen.
Ingredients
- 2 lbs boneless skinless chicken breasts
- 1/2 cup low-sodium chicken broth
- 2 tablespoons butter, cubed
- 1 teaspoon garlic powder
- 1 teaspoon onion powder
- 1/2 teaspoon salt and pepper
- A splash of apple cider vinegar
How to make it
- Place the chicken breasts in the bottom of your slow cooker, ensuring they are in a single layer and not overlapping too much.
- Sprinkle the garlic powder, onion powder, salt, and pepper evenly over the chicken, then add the cubes of butter on top.
- Pour the chicken broth and apple cider vinegar around the base of the chicken, taking care not to wash the spices off the meat.
- Cover and cook on the ‘Low’ setting for 3 to 4 hours; avoid the ‘High’ setting as it can toughen the delicate chicken fibers.
- Once the chicken reaches an internal temperature of 165°F, remove it to a plate and let it rest for 5 minutes before shredding with two forks.
- Return the shredded meat to the slow cooker and toss it with the leftover juices to soak up all that incredible flavor before serving.
Upgrade Your Sunday Morning Breakfast Routine

Why we love this
Sunday mornings are sacred, a time to slow down and savor the sunlight streaming through the kitchen window with a hot cup of coffee. Upgrading your routine isn’t about complexity, but about adding those little touches of luxury that make you feel truly nourished. Whether it’s the drizzle of local honey or the pinch of flaky sea salt, these small shifts turn a meal into a ritual. Let’s reclaim our mornings together with a breakfast that feels like a gentle kiss.
Ingredients
- 2 thick slices of sourdough bread
- 1 ripe avocado
- 2 organic large eggs
- 1 tablespoon chili oil or red pepper flakes
- Fresh microgreens
- A squeeze of lemon juice
- Flaky sea salt
How to make it
- Toast your sourdough slices in a pan with a little butter until they are golden brown and possess a satisfying crunch.
- In a small bowl, mash the avocado with a squeeze of lemon juice and a pinch of salt until it reaches your desired level of creaminess.
- Poach your eggs in simmering water for exactly 3 minutes, ensuring the whites are set while the golden yolks remain beautifully runny.
- Spread a generous layer of the avocado mash onto each slice of toast, smoothing it all the way to the very edges.
- Gently place a poached egg on top of each slice, then drizzle with chili oil for a tiny bit of morning heat and excitement.
- Garnish with a handful of fresh microgreens and a final sprinkle of flaky sea salt before enjoying your masterpiece slowly.
The Absolute Trick To Perfectly Soft Cookies

Why we love this
There is a specific kind of magic in a cookie that stays soft and chewy for days, evoking memories of childhood kitchens and warm glass bottles of milk. Many people struggle with cookies that turn into bricks, but the trick I’m sharing today will change your baking game forever. It’s all about the chemistry of the ingredients and a little bit of patience while the dough rests and develops. Once you try this, you will never go back to any other recipe in your collection.
Ingredients
- 1 cup softened unsalted butter
- 3/4 cup brown sugar (packed)
- 1/4 cup white sugar
- 1 box (3.4 oz) instant vanilla pudding mix
- 2 large eggs
- 1 teaspoon vanilla extract
- 2 1/4 cups flour
- 1 cup chocolate chips
How to make it
- Cream the softened butter and both sugars together in a large bowl until the mixture is light, fluffy, and almost pale in color.
- Beat in the dry vanilla pudding mix—this is the secret ingredient that keeps the cookies soft and moist for days on end.
- Add the eggs one at a time, followed by the vanilla extract, mixing well after each addition to ensure a smooth, emulsified dough.
- Gradually stir in the flour until just combined, then gently fold in your chocolate chips using a spatula so you don’t overwork the gluten.
- Scoop rounded tablespoons of dough onto a parchment-lined baking sheet and chill in the refrigerator for at least 30 minutes before baking.
- Bake at 350°F for 10-12 minutes; the edges should be just barely golden, and the centers should still look slightly underbaked when you pull them out.
How To Get A Professional Sear On Steak

Why we love this
Achieving that dark, crusty sear on a steak is the hallmark of a professional chef, and now you can do it right in your own home. It’s about the heat, the pan, and the incredible sound of that initial sizzle that promises a world of flavor hidden inside. This technique elevates a simple piece of protein into a masterpiece of culinary art that will impress even your most discerning foodie friends. It’s time to step into your power as a home cook and master the flame.
Ingredients
- 1.5-inch thick Ribeye or New York Strip steak
- 2 tablespoons high-smoke point oil (like avocado oil)
- 3 tablespoons unsalted butter
- 3 cloves garlic, smashed
- 2 sprigs fresh rosemary or thyme
- Coarse Kosher salt and freshly cracked black pepper
How to make it
- Remove your steak from the fridge at least 45 minutes before cooking to bring it to room temperature; this ensures an even cook throughout.
- Pat the steak extremely dry with paper towels and season very generously with salt and pepper on all sides, including the edges.
- Heat a cast-iron skillet over high heat until it is just starting to smoke, then add the oil and swirl it around the pan.
- Carefully lay the steak into the pan, pressing down slightly to ensure total contact, and sear undisturbed for 3-4 minutes per side.
- Lower the heat to medium and add the butter, garlic, and herbs; once the butter foams, tilt the pan and spoon it over the steak repeatedly.
- Remove the steak when it’s 5 degrees below your target temp and let it rest for at least 10 minutes before slicing into its juicy interior.
The Quickest Way To Prep Healthy Weekly Meals
[IMAGE_10]
Why we love this
Life can get so beautifully busy, and having a fridge full of healthy, vibrant meals is the greatest gift you can give to your future self. This prep method isn’t about boring Tupperware containers; it’s about celebrating fresh ingredients and saving your precious time for what matters most. By spending just a tiny bit of effort on a Sunday, you set a tone of wellness and ease for the entire week ahead. Let’s make healthy living feel effortless and absolutely delicious for you.
Ingredients
- 2 cups dry quinoa or brown rice
- 1 lb chicken breast or firm tofu, cubed
- 4 cups mixed vegetables (broccoli, bell peppers, sweet potatoes)
- 2 tablespoons olive oil
- 1 batch of lemon-tahini dressing
- Fresh parsley for garnishing
How to make it
- Start by getting your grains going on the stove or in a rice cooker; they act as the comforting base for all your bowls.
- Preheat your oven to 400°F and line two large baking sheets with parchment paper for easy cleanup and no sticking.
- Toss your cubed protein and all the chopped vegetables with olive oil, salt, and pepper until they are thoroughly and evenly coated.
- Spread the mixture across the baking sheets in a single layer and roast for 20-25 minutes until the veggies are tender and slightly charred.
- While things roast, whisk together your dressing and portion your cooked grains into four separate glass storage containers.
- Top the grains with the roasted mix, drizzle with a little dressing, and seal tightly; you now have four days of nourishing meals ready to go.
A Season of Flavor and Connection
I hope these recipes bring as much light and warmth into your home as they have into mine. Remember, the most important ingredient is always the love and intention you pour into the process. Whether you’re mastering the perfect steak sear or styling the perfect workshop outfit, do it with a heart full of gratitude. I can’t wait to hear about your kitchen adventures—tag me in your photos so I can see your beautiful creations! Stay cozy, my loves.